Photography is arguably my oldest hobby. I’ve loved taking photos for as long as I can remember. I reflected on my first encounter with digital photography in 2003 in a recent post, but I’m old enough that I first got to know photography through film. I still don’t know what it is exactly that draws me to still images, but I find the same joy capturing light with a camera as I did 30 years ago.
History
I first got serious about photography when I started high school. I got my first SLR camera, a Canon EOS 3000v, in 2006. Over the next few years I used it to shoot countless rolls of film. Many were the then-ubiquitous and cheap types like Kodak Gold, which I would process at a local photo studio. Even though I was shooting film, the digital writing was already on the wall, so I would have the studio scan the photos for me and burn them on a CD. I still have dozens of disks with scanned images from those days.
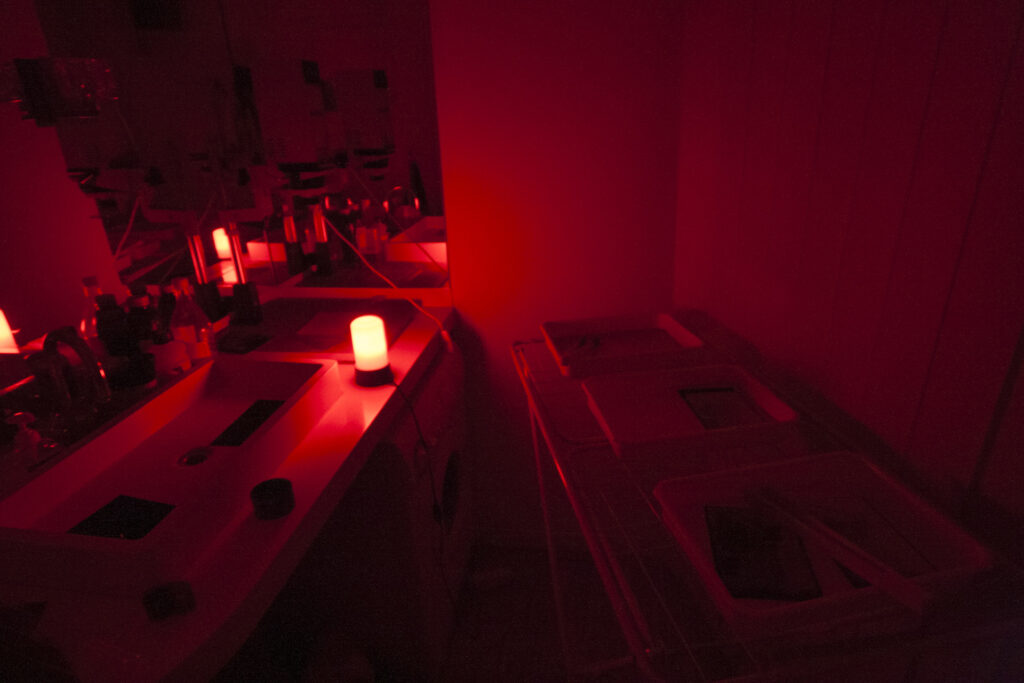
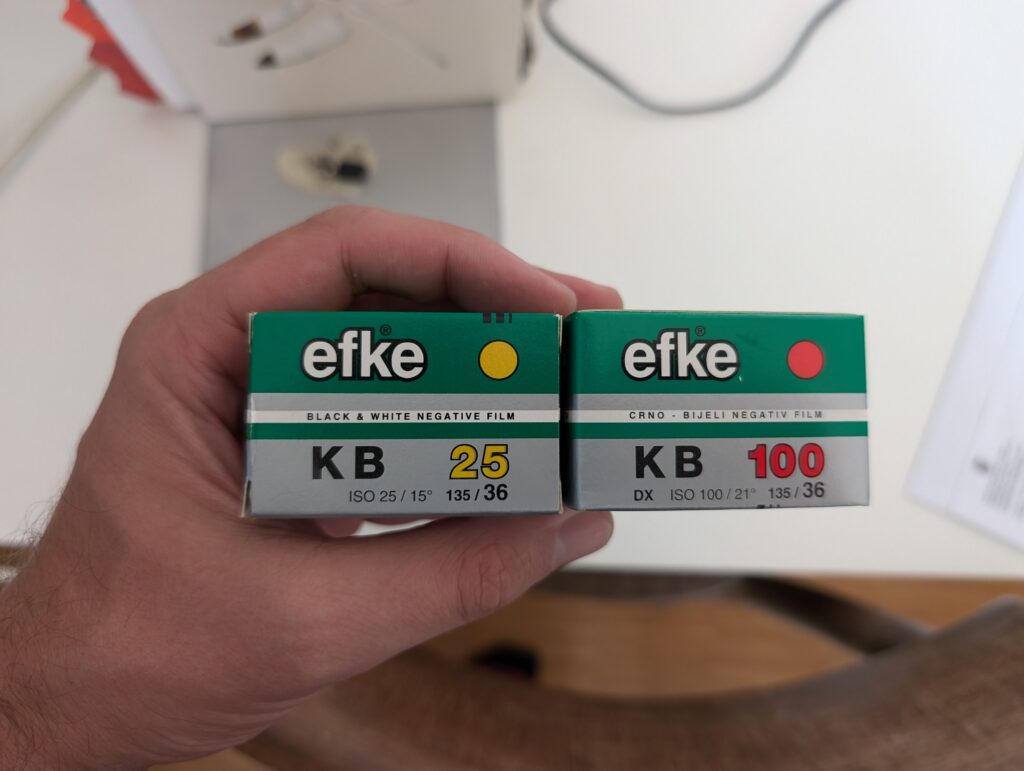
In 2008 I took a course on developing photos in a darkroom. This opened a whole new world for me, and from this point on I developed a lasting love for personally controlling the whole process, from selecting the camera and film, taking the photo, to developing the film and then making a print. Soon after I built my own darkroom at home, using an enlarger from Czechoslovakia that I found on the street. At this time my preferred film was Efke KB100. I still love the classic looking style of this black and white film, but back then I used it for a very simple reason – Efke film was produced in a small town called Samobor, just outside of Zagreb, and it was widely available for cheap. Fotokemika, the company that made Efke film, shut down a few years later. I wrote a brief reflection on my experience shooting their film when I came across some long forgotten Efke infrared stock.
However, even though I could now develop my own film and make prints, I didn’t have a film scanner. Occasionally I would use a flatbed scanner to scan prints, but a majority of my self-developed film remained undigitized. Later in college, I had access to a professional darkroom and an Epson V500 flatbed photo scanner, but I didn’t like it. This scanner got the job done, but it was painfully slow, its software was clunky and the image quality was only passable. After I graduated and moved to NYC I didn’t develop any film until I discovered Gowanus Darkroom, a community darkroom that I still use often. These days I mostly develop my black and white film at home (and I’ve just started to develop color with a C-41 development kit!) and I make prints in the community darkroom. But up until very recently, a dependable scanning workflow eluded me.
Macro scanning
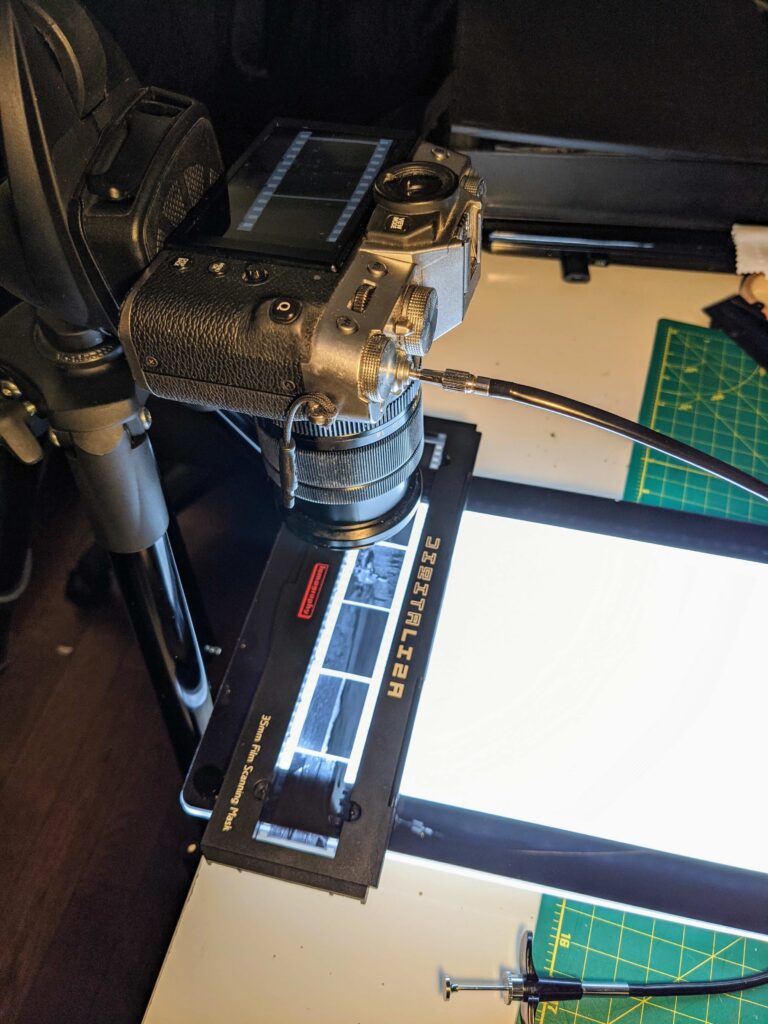
In 2021 I built a macro film scanning set up, using my FujiFilm XT-30 combined with macro extension tubes, a tripod, a light panel and a Lomography DigitaLIZA Scanning Mask. I built this rig after reading countless articles praising it for its speed and quality. I also purchased the Negative Lab Pro add-on for Adobe Lightroom, to assist with digital processing. My first results were encouraging. The speed of “scanning” was arguably much faster than any scanner I used before. However, with “scans” stuck on an SD card, I would have to either scan 36 images first, then review them, and then scan them again if something went wrong. While I had some early success, once I tried to replicate it, I found that there was an enormous inconsistency in my results. Sometimes I would get everything right. More often, I would deal with lens reflections, or curved edges on film, or something else. Scanning turned into a whole secondary photographic experience, since I was really taking photos of the negatives.
I occasionally deployed my macro scanning rig, but I felt like each time I used it the results were less consistent. It would take me at least 20 minutes to start scanning, and sometimes I would spend over 2 hours just to get through a roll of film. The process was unpleasant and it produced mediocre results. Of course, I could always pay someone else to scan the film for me, or I could go to the Gowanus Darkroom and use their Epson V700 or Kodak Pakon 135+ scanner. But I kept thinking that there had to be a better way to do this at home. 30+ years into the age of digital photography, how was it possible that digitizing film was still so hard?
The answer was right there. It made sense that scanning film still sucks. It’s because we stopped developing professional technology to do it.
It’s not unlike tape decks and CD players — older technologies currently going through a minor renaissance. They reached their technological peak in the early 2000s and they’ve only gone down since then. Companies trying to produce them in 2024 are stuck with bulky and low quality mechanisms because low quality mechanisms are all that can be produced in factories that long ago got rid of production lines that could make anything better. I dislike the Epson V series flatbeds, but that’s all you can get new these days, even though the models have hardly changed in decades. I realized that if I was going to find something better, I would have to look in the past.
Vintage computing to the rescue
Usurprisingly, I’m not the only person looking back to build my film scanning workflow. Decades old professional film scanners like the aforementioned Pakon 135+ may run you literal thousands of dollars. Even the more consumer grade Nikon Coolscan series scanners go for hundreds of dollars on eBay, and this is despite serious compatibility issues with modern operating systems. Luckily, this is where I had the advantage. Countless Reddit posts ask the same question — can you run Nikon Coolscan model xyz on Windows 11? What about FireWire compatibility? A few brave ones even dabble in SCSI. How about running Nikon Scan past OSX Snow Leopard? The further you go with old scanners, the more difficult they are to get working on modern hardware. Thankfully, over the years I’ve assembled a sizable collection of older computers, and I realized that building a bleeding-edge film scanning setup circa 1998 could be just the way to go.

I decided to go for a Nikon LS-2000. This is an old scanner – it was first sold in 1998 for over $2000. It can scan up to 2,700 dpi and it saves images in tiff. But most importantly, it uses SCSI, which makes it incredibly inconvenient to use in 2024. Unless you have a reasonably fast Mac OS System 9 computer that is already set up with networked storage because you recently participated in building a global AppleTalk network. Then it stops being inconvenient, and instead it begins to look quite attractive because it’s by far the cheapest film scanner on the used market today.
I started to watch eBay. I made sure to look at items that included both film strip and slide adapters. I included parts only and not-working listings as well — with devices like this, it is very rare that someone actually tests them before selling. Before long, I won an auction! I got a barely 26 year old scanner for $56 + shipping.
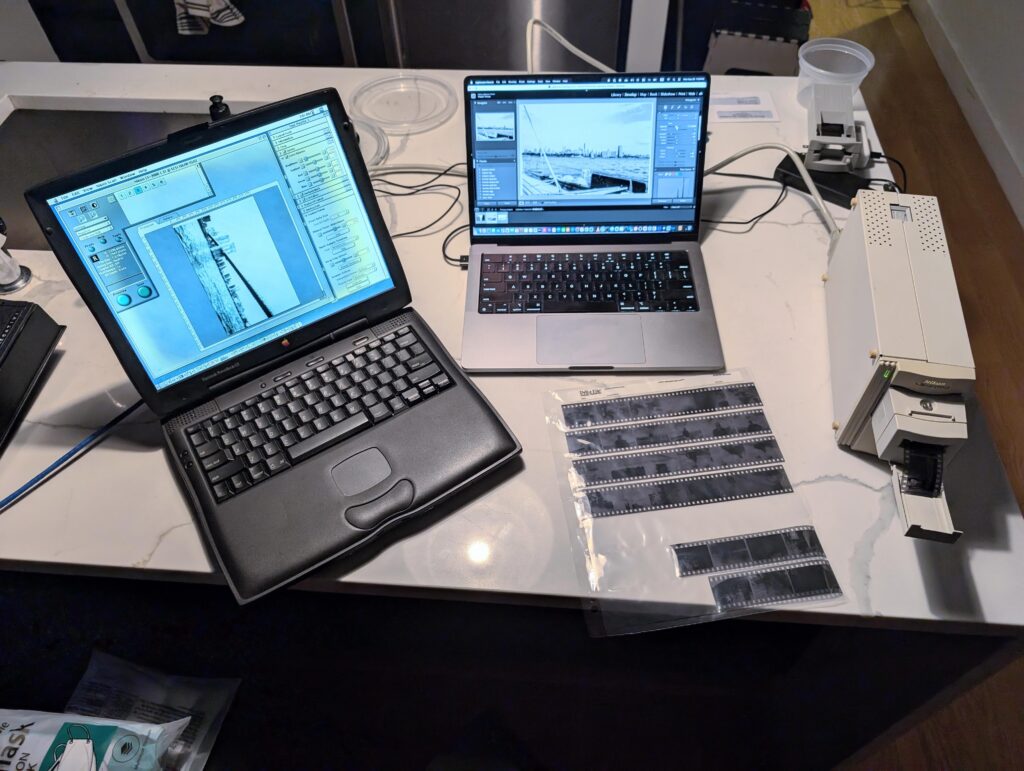
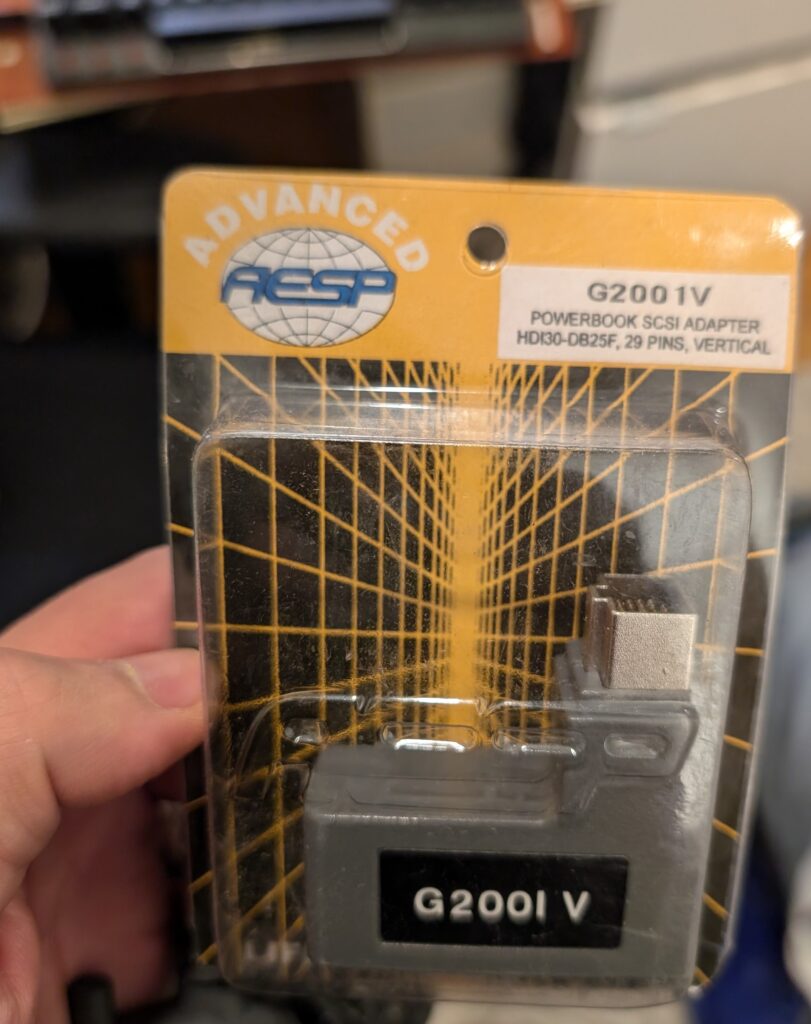
I decided to use it with my PowerBook G3 Wallstreet. It supports SCSI and 10 megabit Ethernet. It also has VGA video output, so I can set it up on my desk and output its video to a small screen. That way I can use the PowerBook to scan the film and immediately transfer files to networked storage, which I can access with my new M4 Mac Mini and then post process in Lightroom. I also had to get a HDI30-DB25F adapter for my PowerBook since it doesn’t have a full sized SCSI port, which set me back $20 for a new old stock adapter.
The scanner itself needed some minor work to get going. I had to disassemble the stepper motor and apply new grease, otherwise its shaft was stuck solid. This video was very helpful when doing this maintenance.
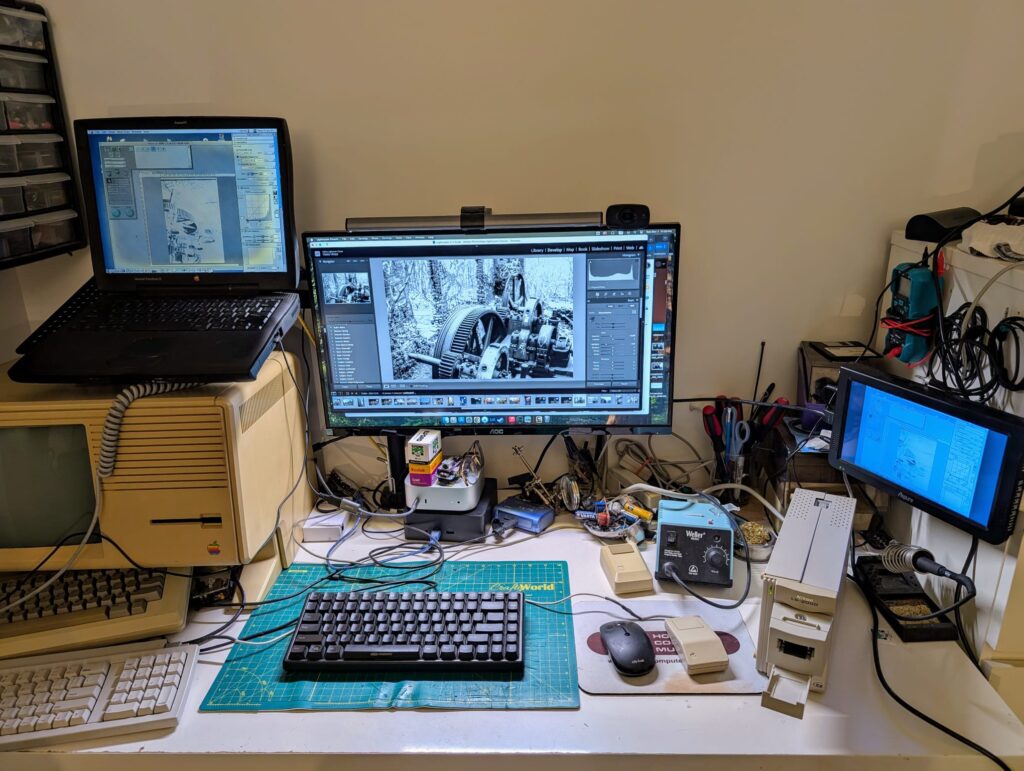
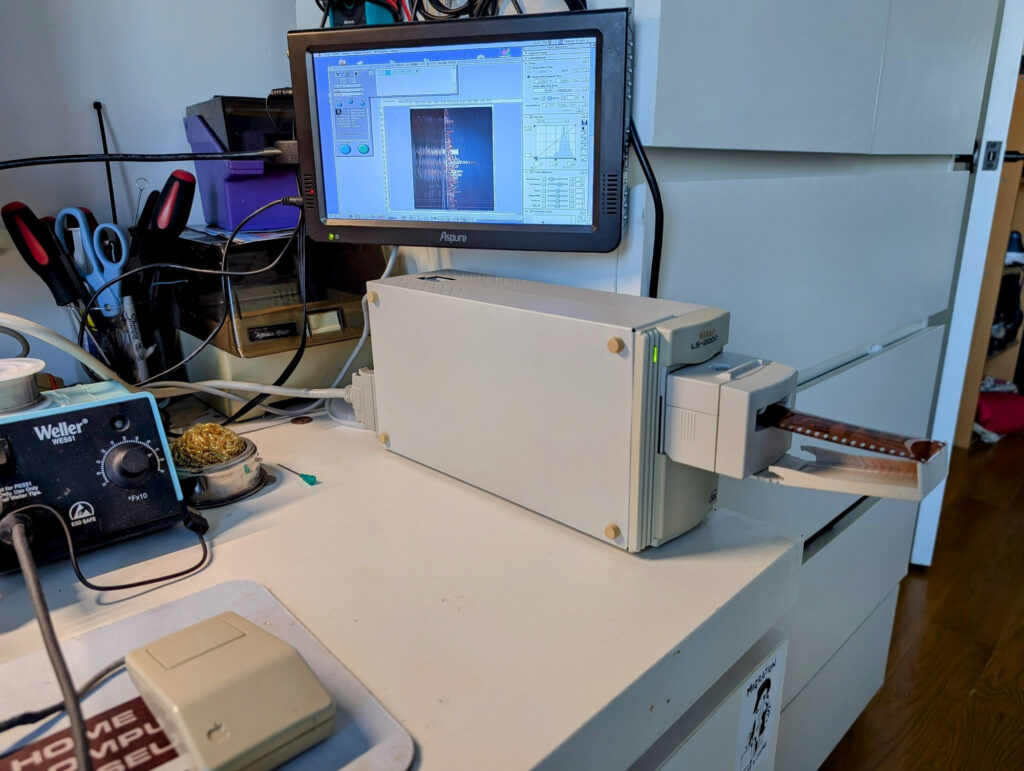
I tried using VueScan, but despite its advanced features I found it clunky and unintutive. After testing it, I went back to using Nikon Scan 3.1 for now. This program is simple, but it works well. It’s easy to set up for continuous scanning where it scans multiple images from film and saves them to an AppleShare mounted drive, following a naming convention. With highest resolution settings, LS-2000 will generate tiffs up to 57MB in size and the only bottleneck is the Powerbook G3’s 10BASE-T Ethernet. I might try to get a Fast Ethernet PCMCIA adapter to improve this. In any case, when using continuous scanning mode, the scanner averages about 2.5 minutes to scan and transfer an image to networked storage. After the first one is transferred, it roughly takes me that same amount of time to import the image into Lightroom and to do initial processing. It’s not incredibly fast, but it works and it is consistent.
Edit: reconsidering VueScan
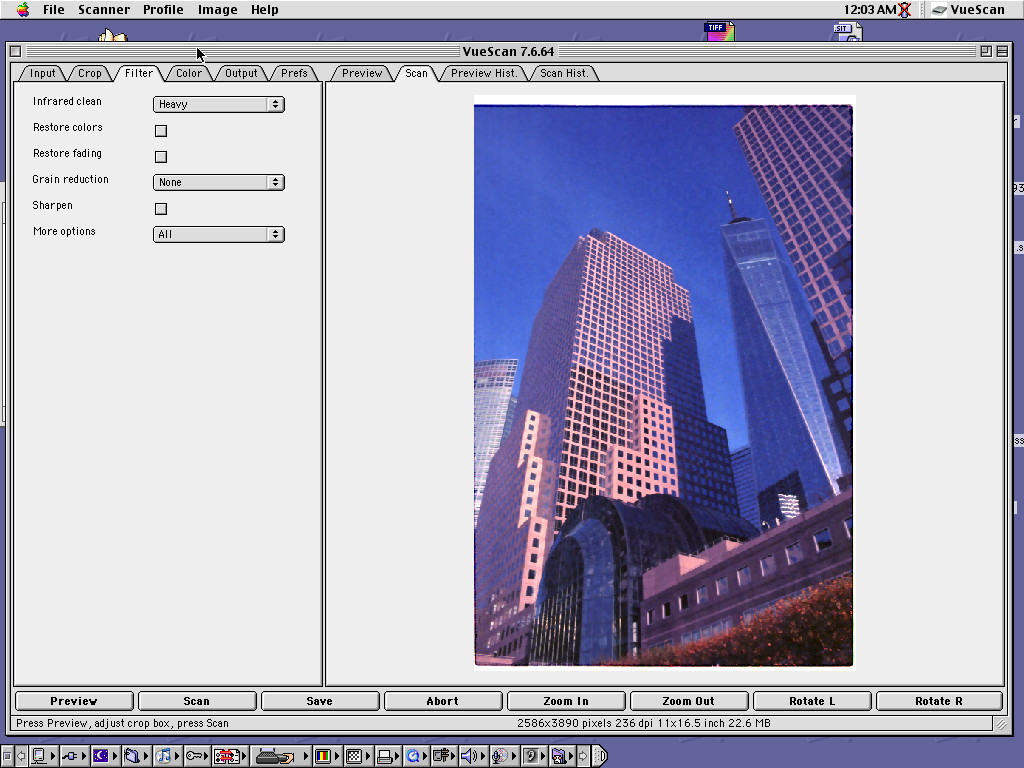
After publishing this article, I did some more experimentation with VueScan and found its infrared clean function very effective. While I have only had minimal dust issues with my black and white negatives, the color negatives of the Ektar 100 film I recently developed myself were full of white dust on film. Some of this is due to my carelessness when washing and drying this film. However, it mean that I had to significantly edit the photos in Lightroom to get them even somewhat presentable. Setting the “Infrared clean” option in Vuescan 7.6.64 to heavy made a huge difference, as you can see in this example. I am reconsidering whether to move to VueScan as my primary software. It does take longer to scan at the same resolution, and I haven’t been able to set it to scan directly to networked drives. But the quality of its infrared clean is impressive.
This new scanning workflow isn’t perfect, but it’s probably the best I’ve had in years! My goal with this scanner was to test whether using an older, but high quality film scanner was a viable alternative to the modern “DSLR macro scanning” technique, and for me it definitely is! It’s important to consider that this is only because I already had a ready to go vintage Apple infrastructure with a PowerBook running classic MacOS and SCSI support, as well as configured networking with Netatalk2 AppleShare ready to go and integrated with same networked shares my modern computers use. Ultimately, the reason why this works for me is that I already enjoy tinkering with old technology, which is why I had a ready to go system that paired perfectly with this 26 year old scanner. I don’t think this is an easy to replicate solution for everyone, but if you already like to play around with old Macs, it might be a budget friendly solution to get good quality film scans.

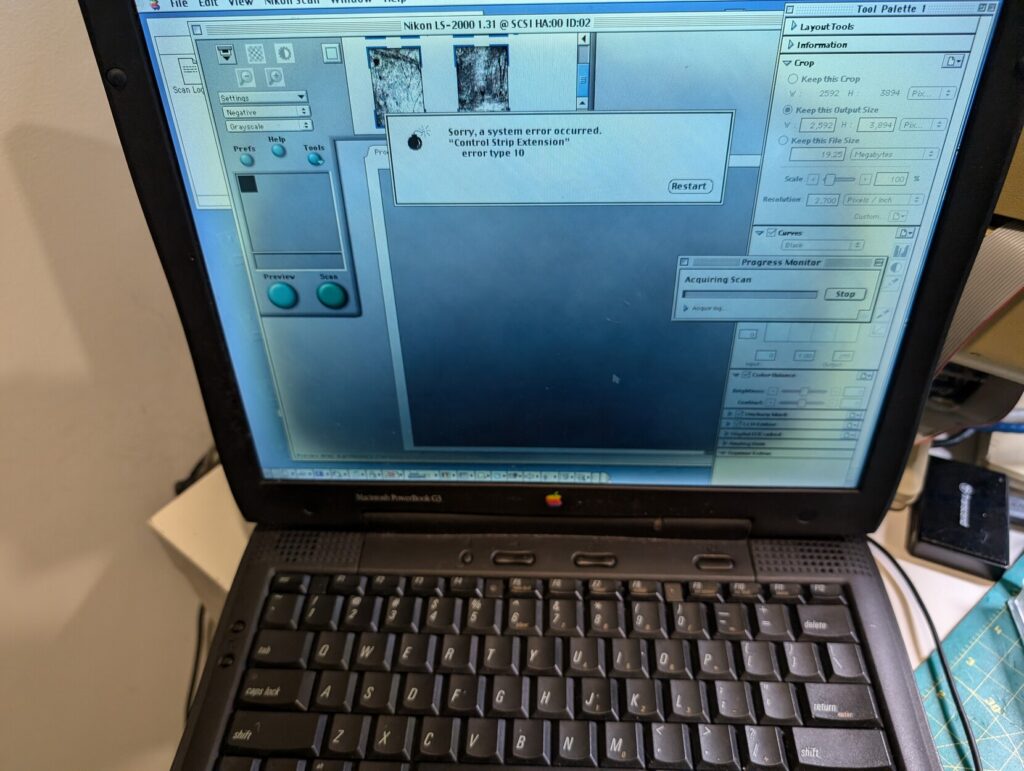
Lastly — some problems. Despite the increasing hostility of modern tech companies towards their customers, we don’t appreciate enough how stable and reliable our personal computers actually are these days. In the days of System 9 computers would lock up and crash all the time, and this does happen to me often enough to be annoying. Sometimes the Nikon application will lock up. Other times MacOS will crash. It’s par for the course when working with old computers.
Conclusion
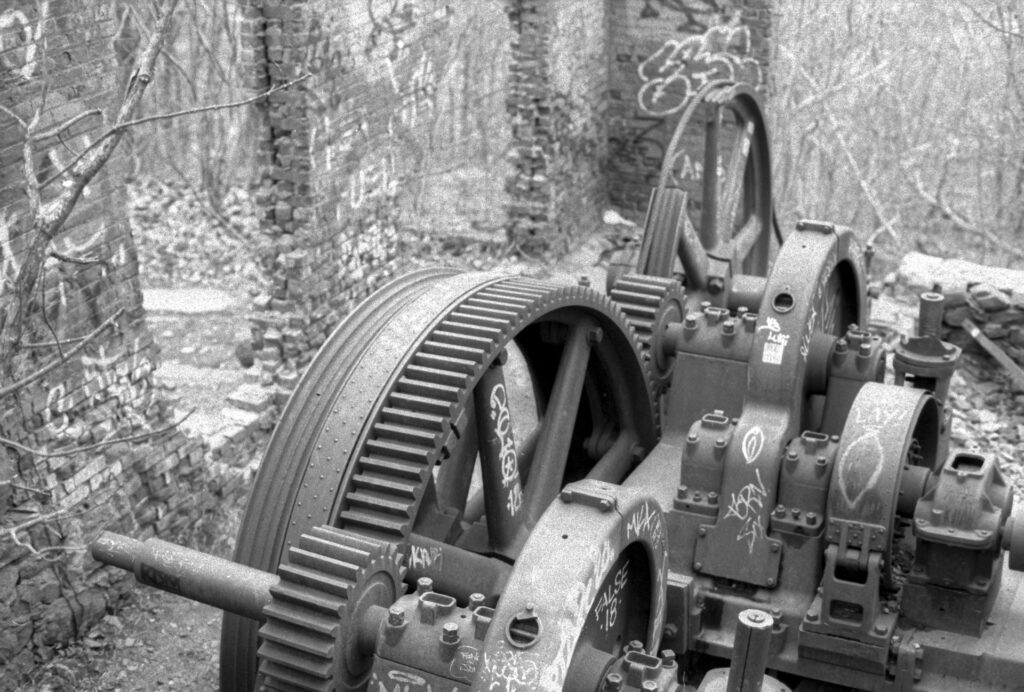
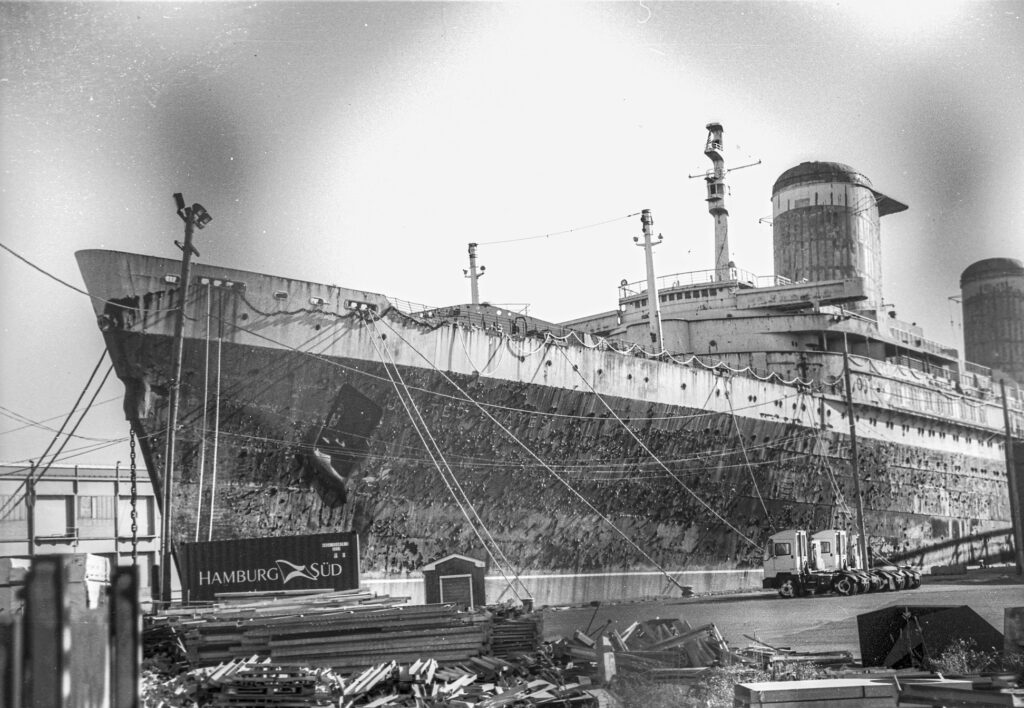
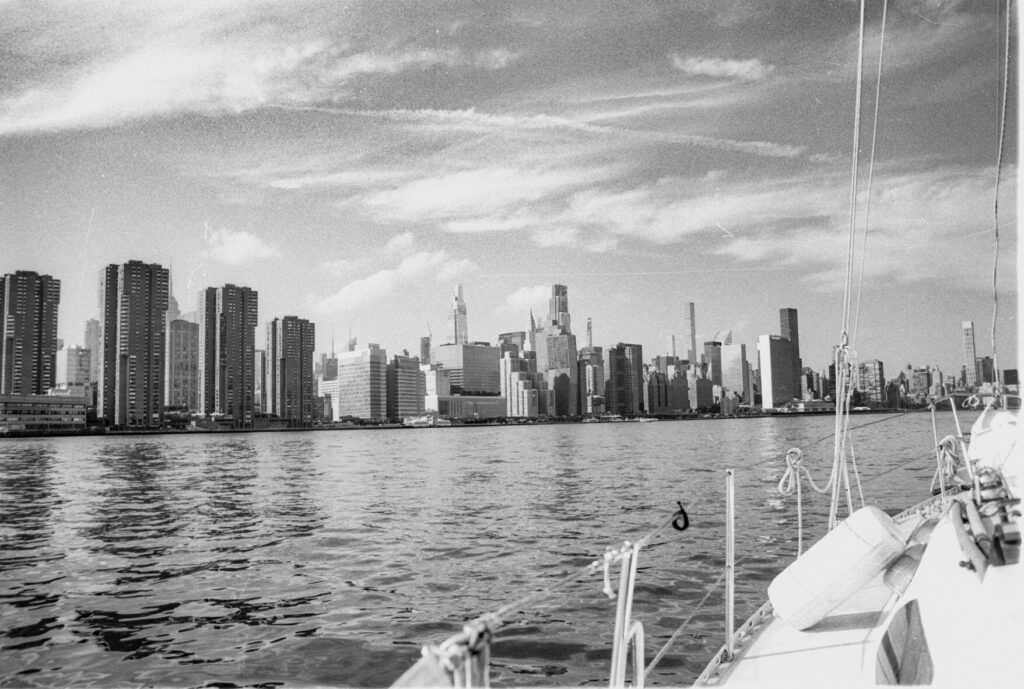
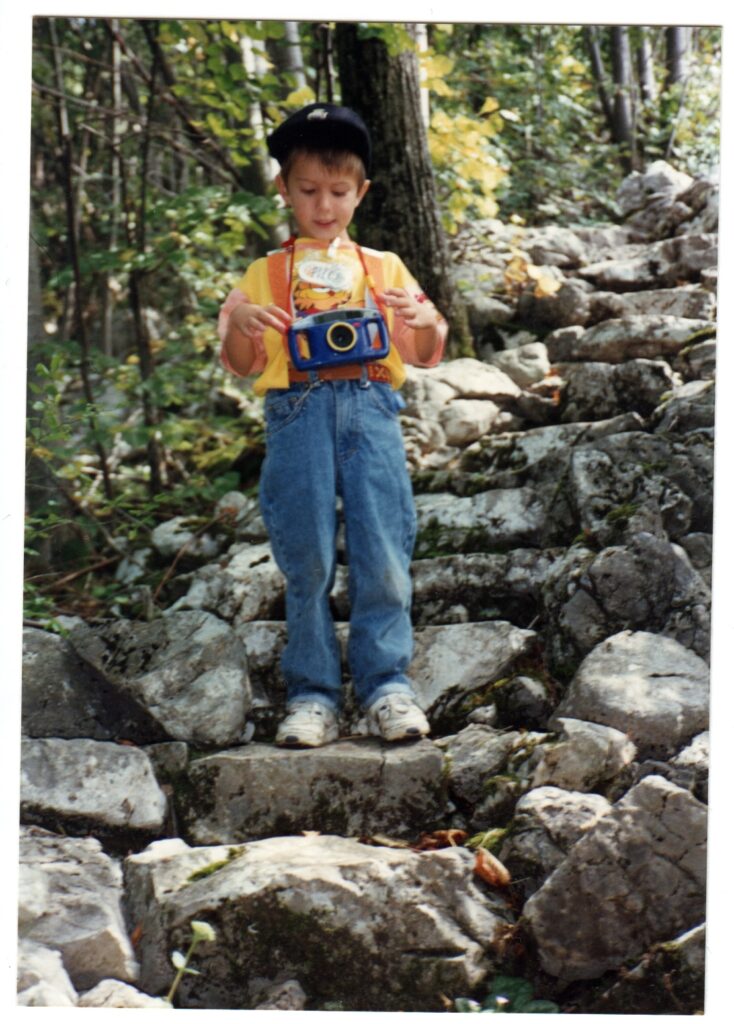
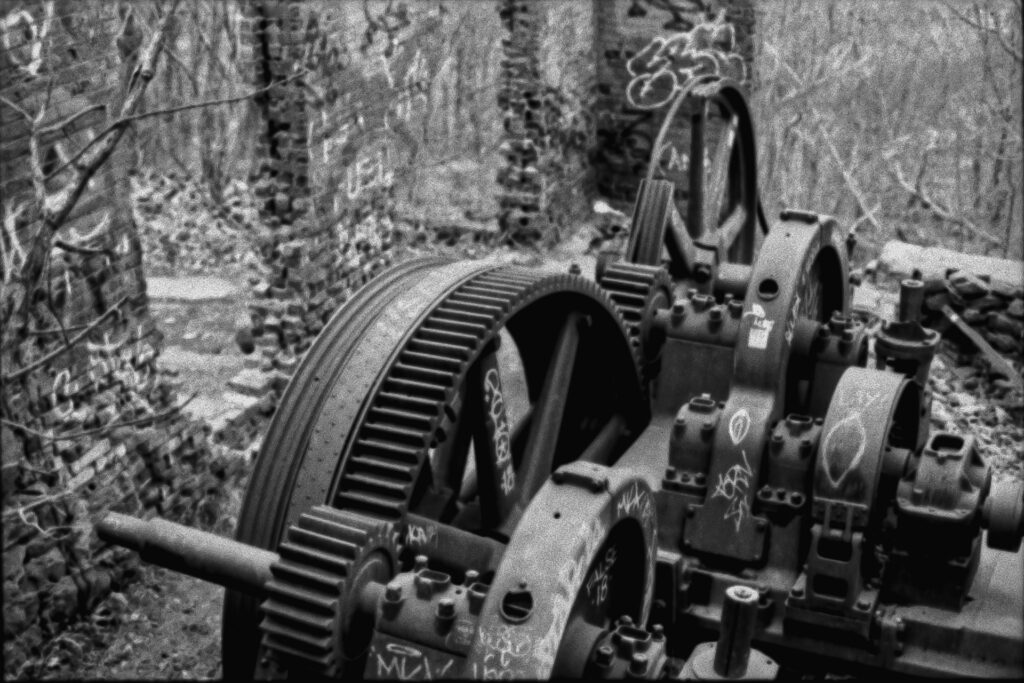
At the end of the day, despite the fun and frustrations I have tinkering and troubleshooting old technology, the reason why I embarked on this journey was to digitize film photos and share them with folks online. And since I’ve been using this new workflow, I’ve been having more fun with my photography than I’ve had in a long time! Below are a handful of photos I’ve taken and scanned with my Nikon LS-2000 recently. Enjoy!
