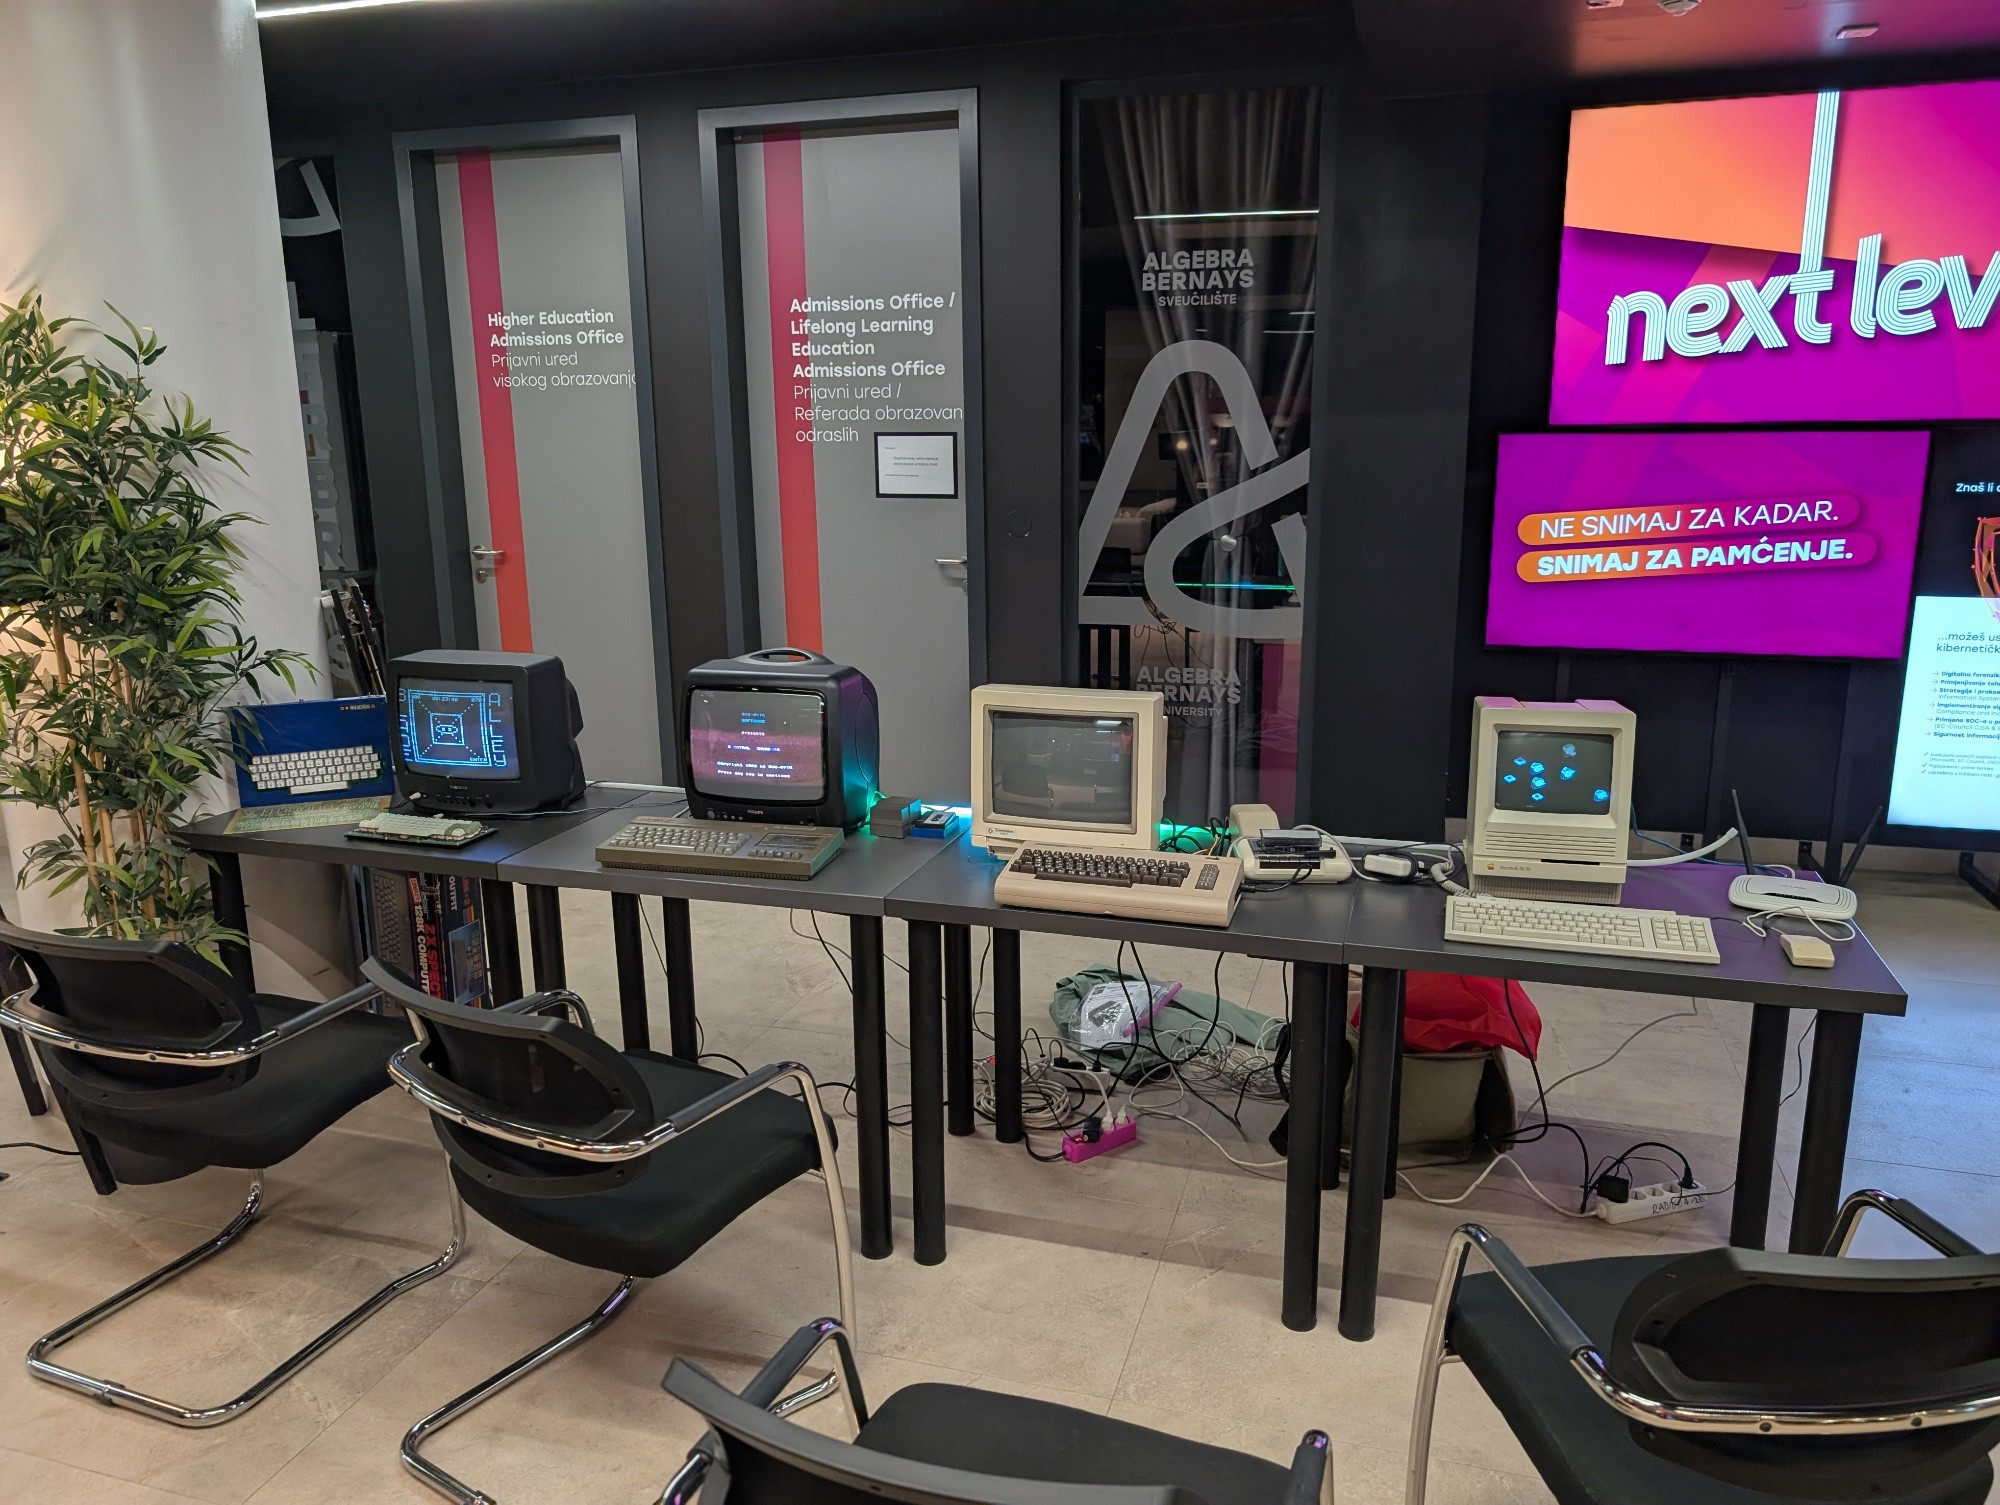
For the past year I’ve been based out of Zagreb, living in my hometown for the first time in over 15 years. It’s been fascinating getting reacquainted with the place, and I’ve been spending lots of time at Radiona, a local makerspace. Folks at Radiona do lots of diverse programming, sharing independent technology skills in the community at a time when tech has sadly become increasingly corrosive to our relationships and to our communities. It’s been wonderful to find such a welcoming group of likeminded folks. I’ve been able to pitch into some fun projects, like the vintage PCBs exhibition P(e)C(e)B(e) at the Nikola Tesla Technical Museum, and the vintage computing displays at BSides Maribor and BSides Zagreb.
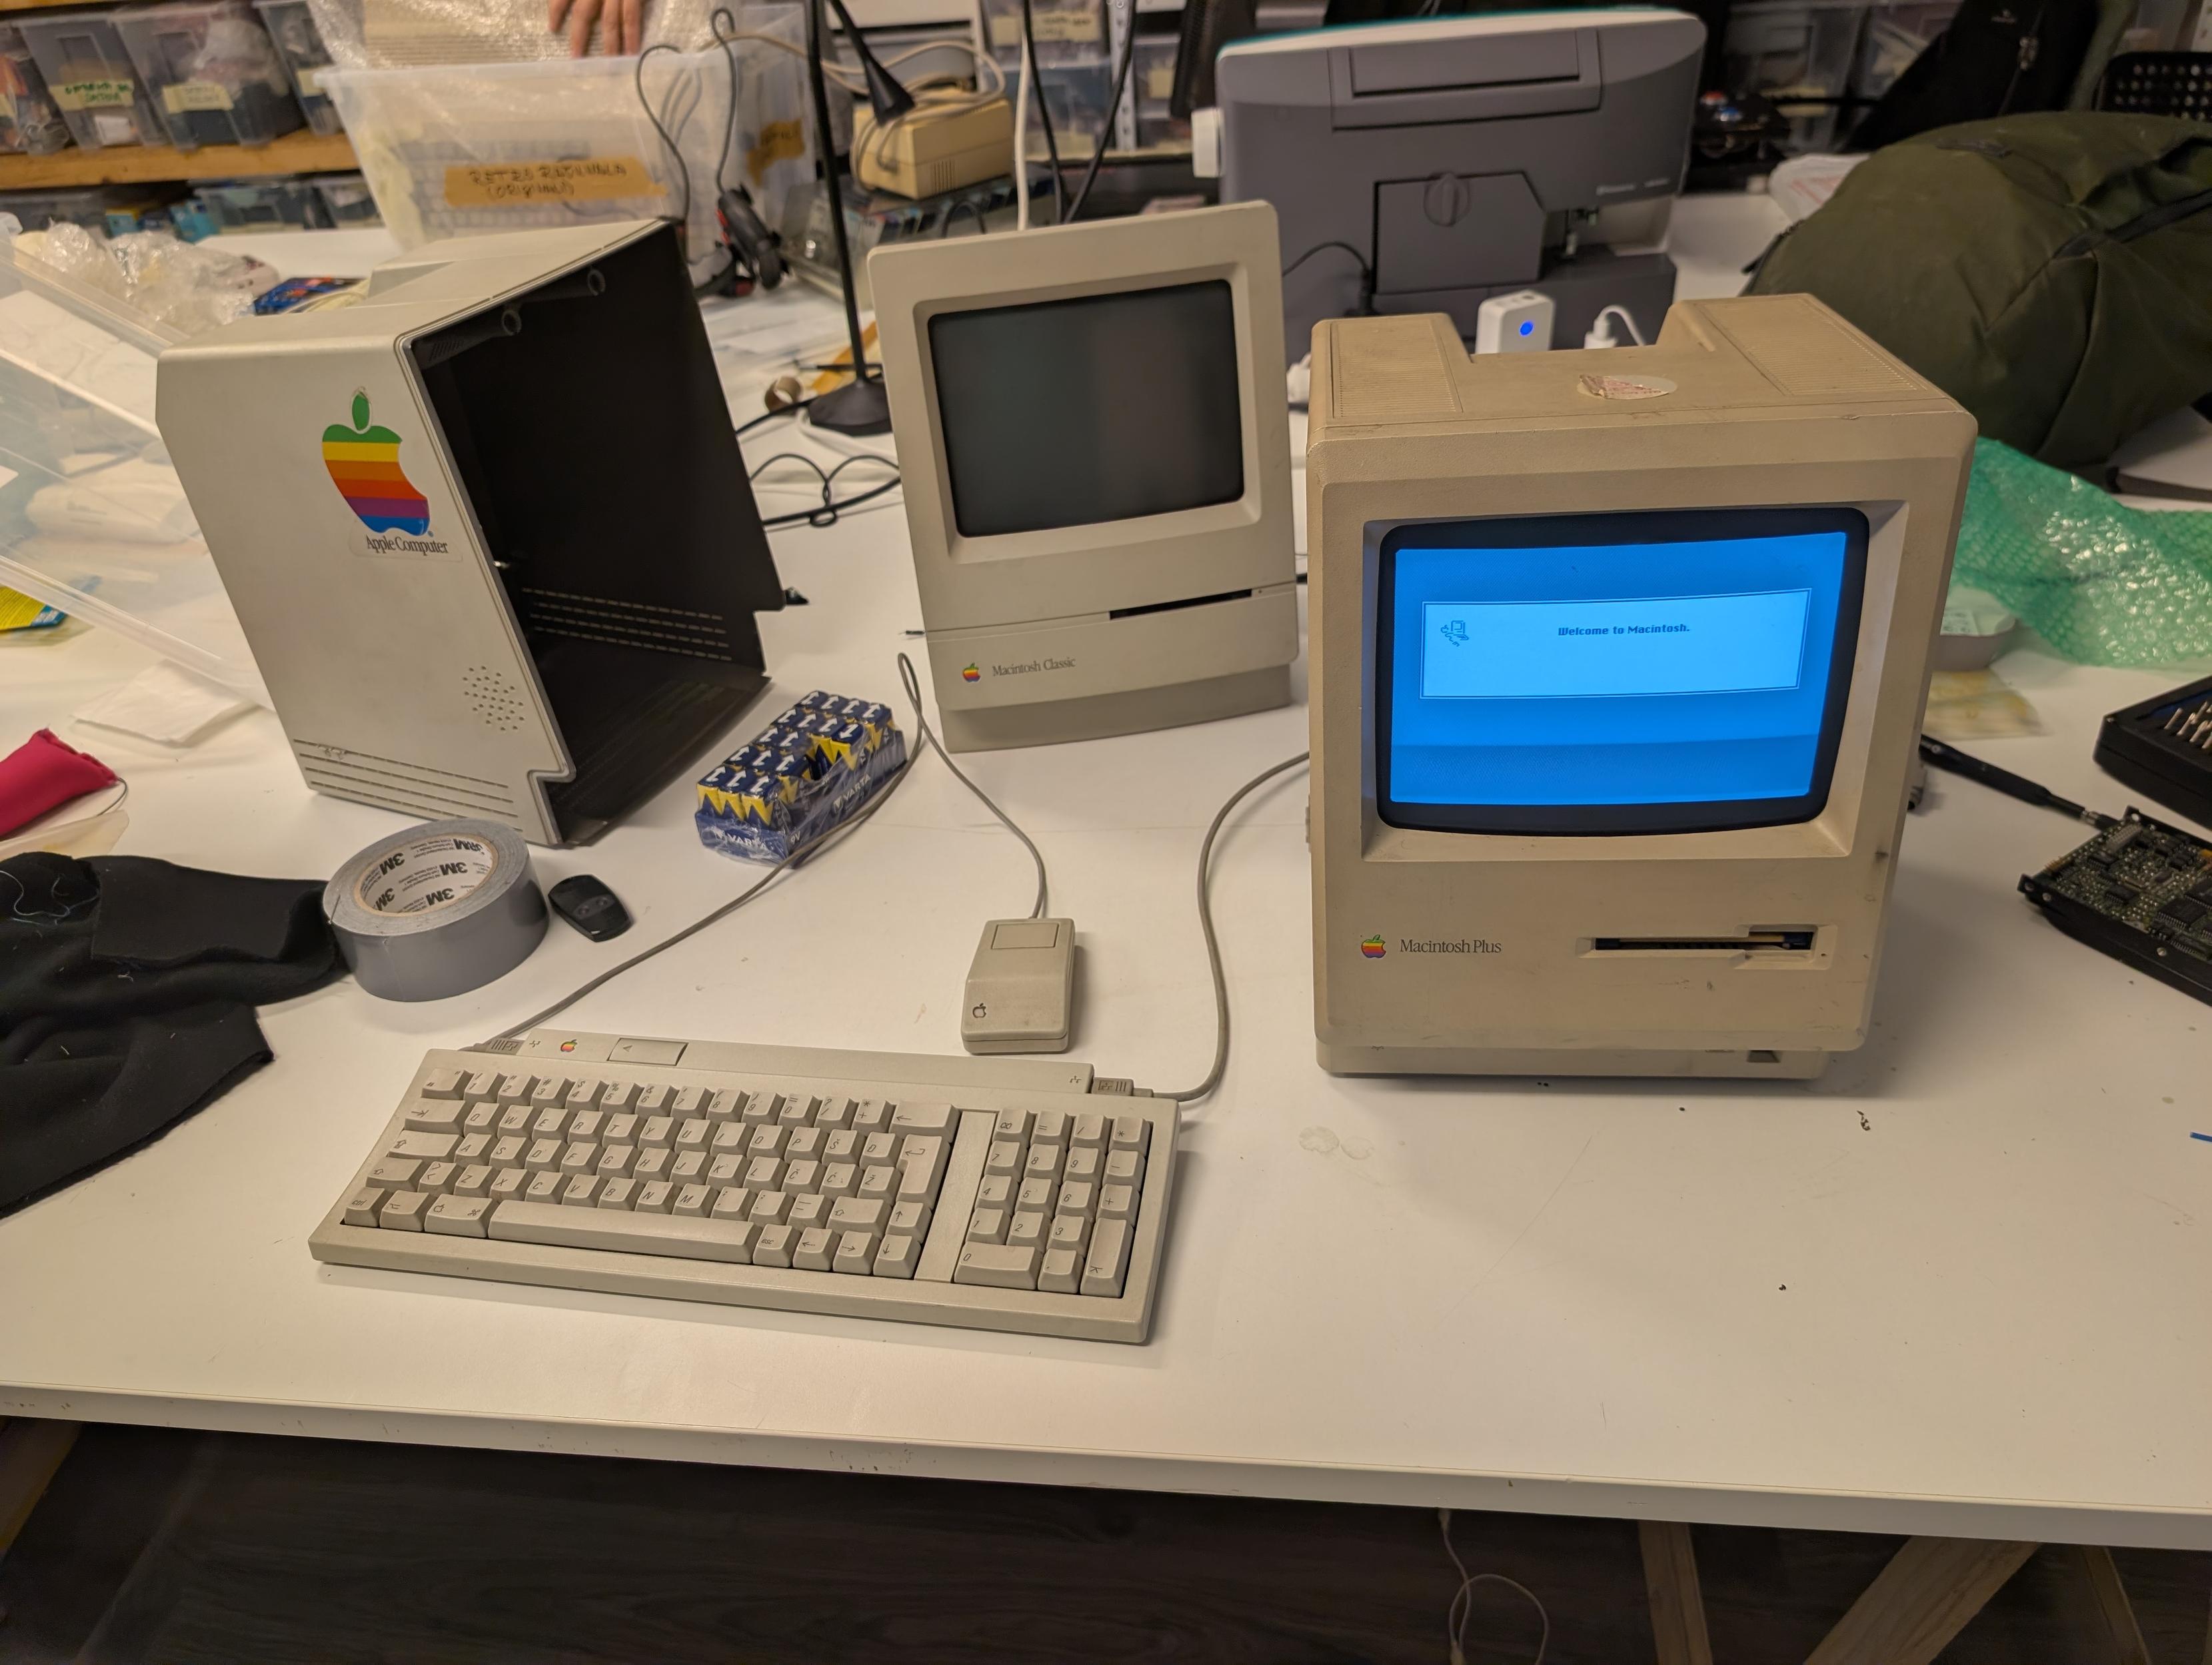
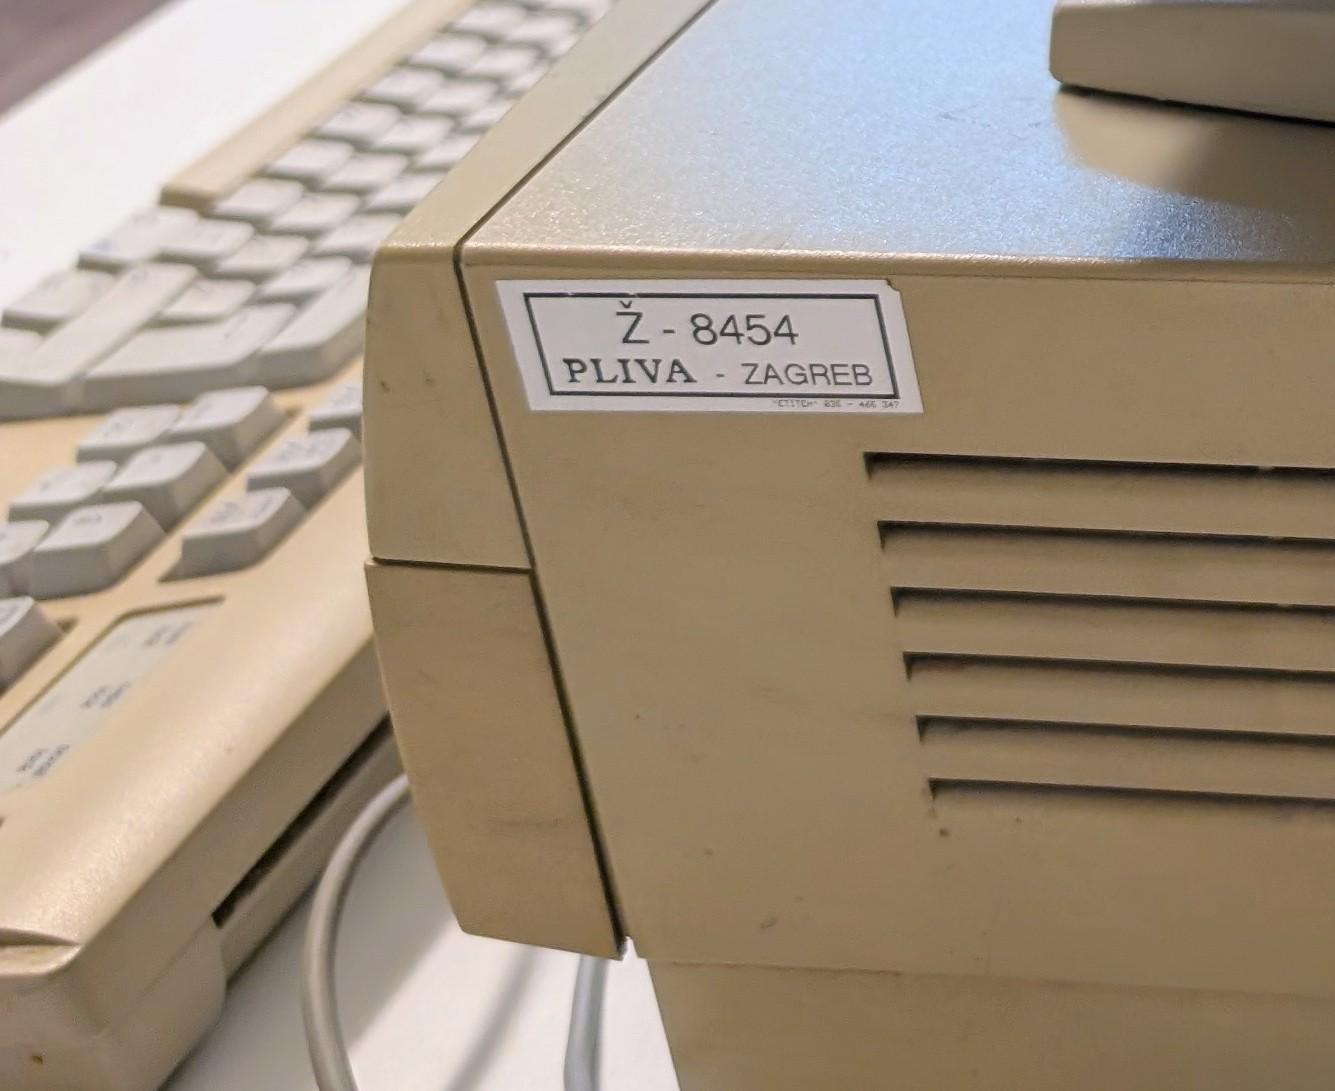
In the short time that I’ve been around Radiona, I’ve turned into bit of a vintage Macintosh physician for the Radiona community. Recent patients include a Macintosh Plus, a Classic, a Power Macintosh G3 and an LC. Working on these Macs in Zagreb has been especially rewarding because of the local history of these machines. At least two have come from local companies, with cool vintage asset tags. Some of them feature localized keyboards and even localized System software. I’ll have to write a dedicated article about this local Macintosh history, a follow up to my earlier post about the Macintosh in Yugoslavia.
However, in this article I’ll cover something more general — a niche procedure for testing vintage Mac boards when you don’t have access to a chassis or a display. This isn’t supposed to be a detailed testing procedure, it’s basically a quick and dirty trick for verifying basic functions. Its application is likely limited, but it might come in handy.
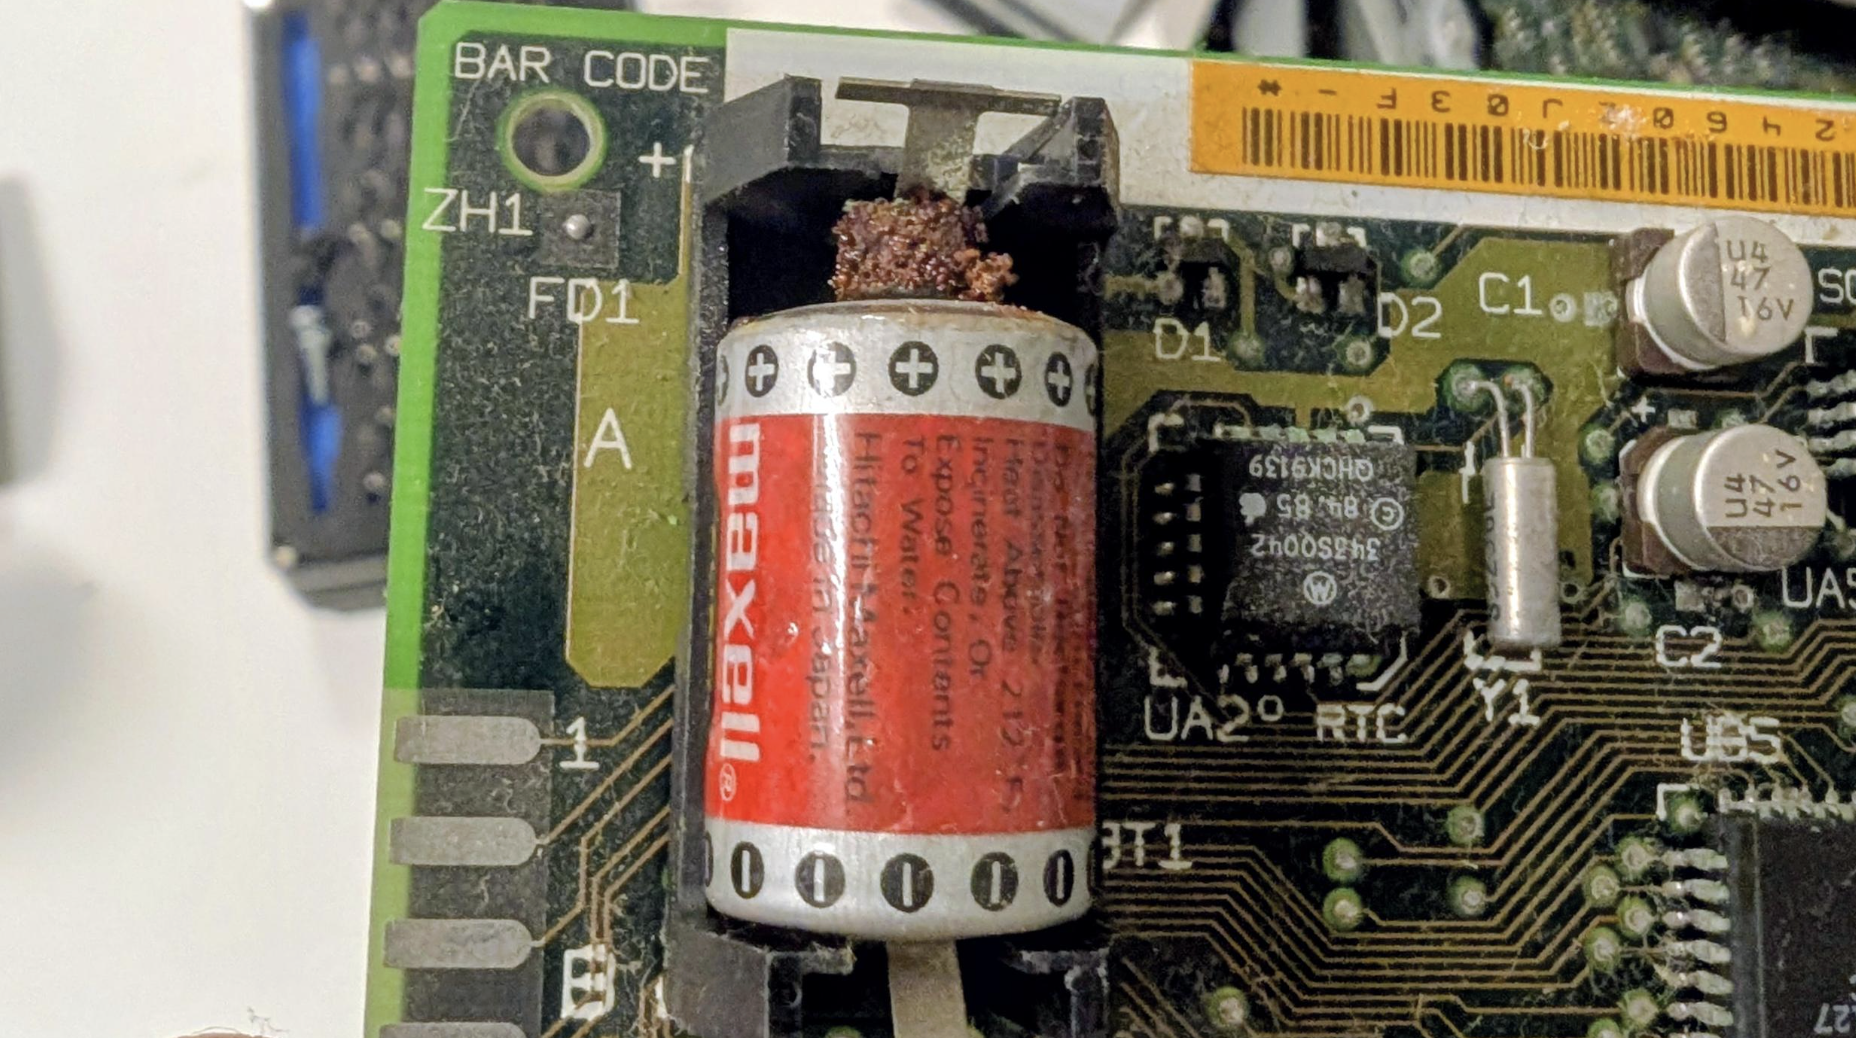
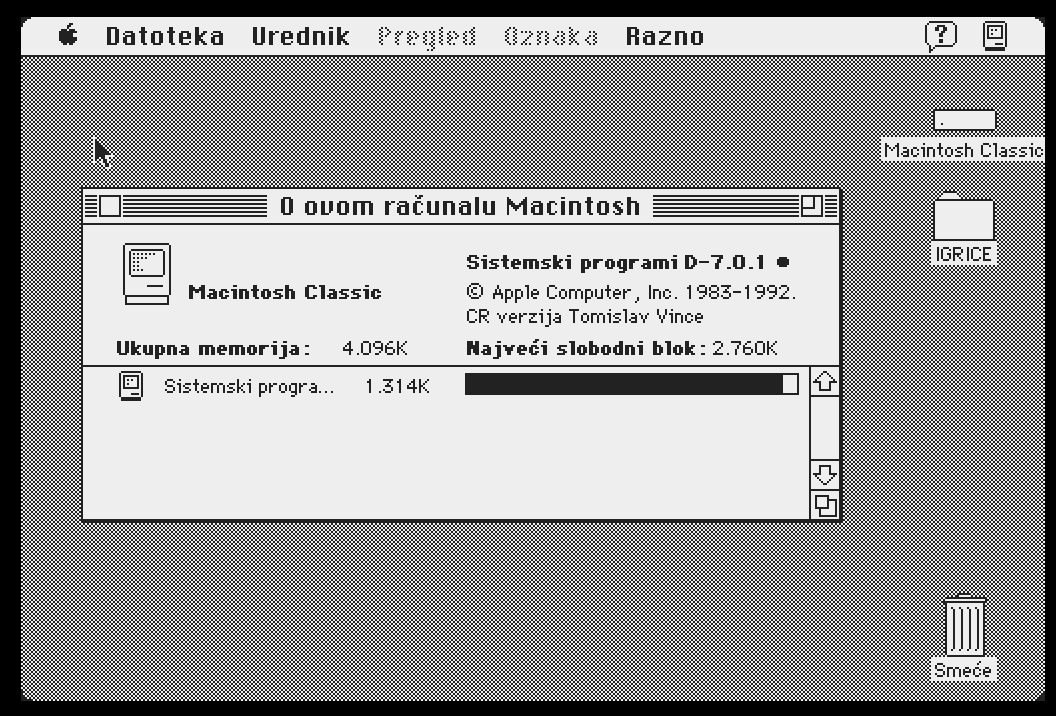
In May, Radiona got a Macintosh Classic that was used at Pliva pharmaceuticals in the early 90s. The Classic was in decent shape — initial check showed limited capacitor and battery leakage, but no significant damage. After an IPA clean, we attempted to turn the Classic on, and surprisingly it booted from the hard drive without issues! The monitor and floppy drive worked fine too. The sound was very low — an indicator of bad capacitors on the logic board. After the initial attempt, I imaged the hard drive. We were lucky to get that one boot out of the machine — a month later, the Classic failed with shaky black and white lines, indicating failure of analog board capacitors.
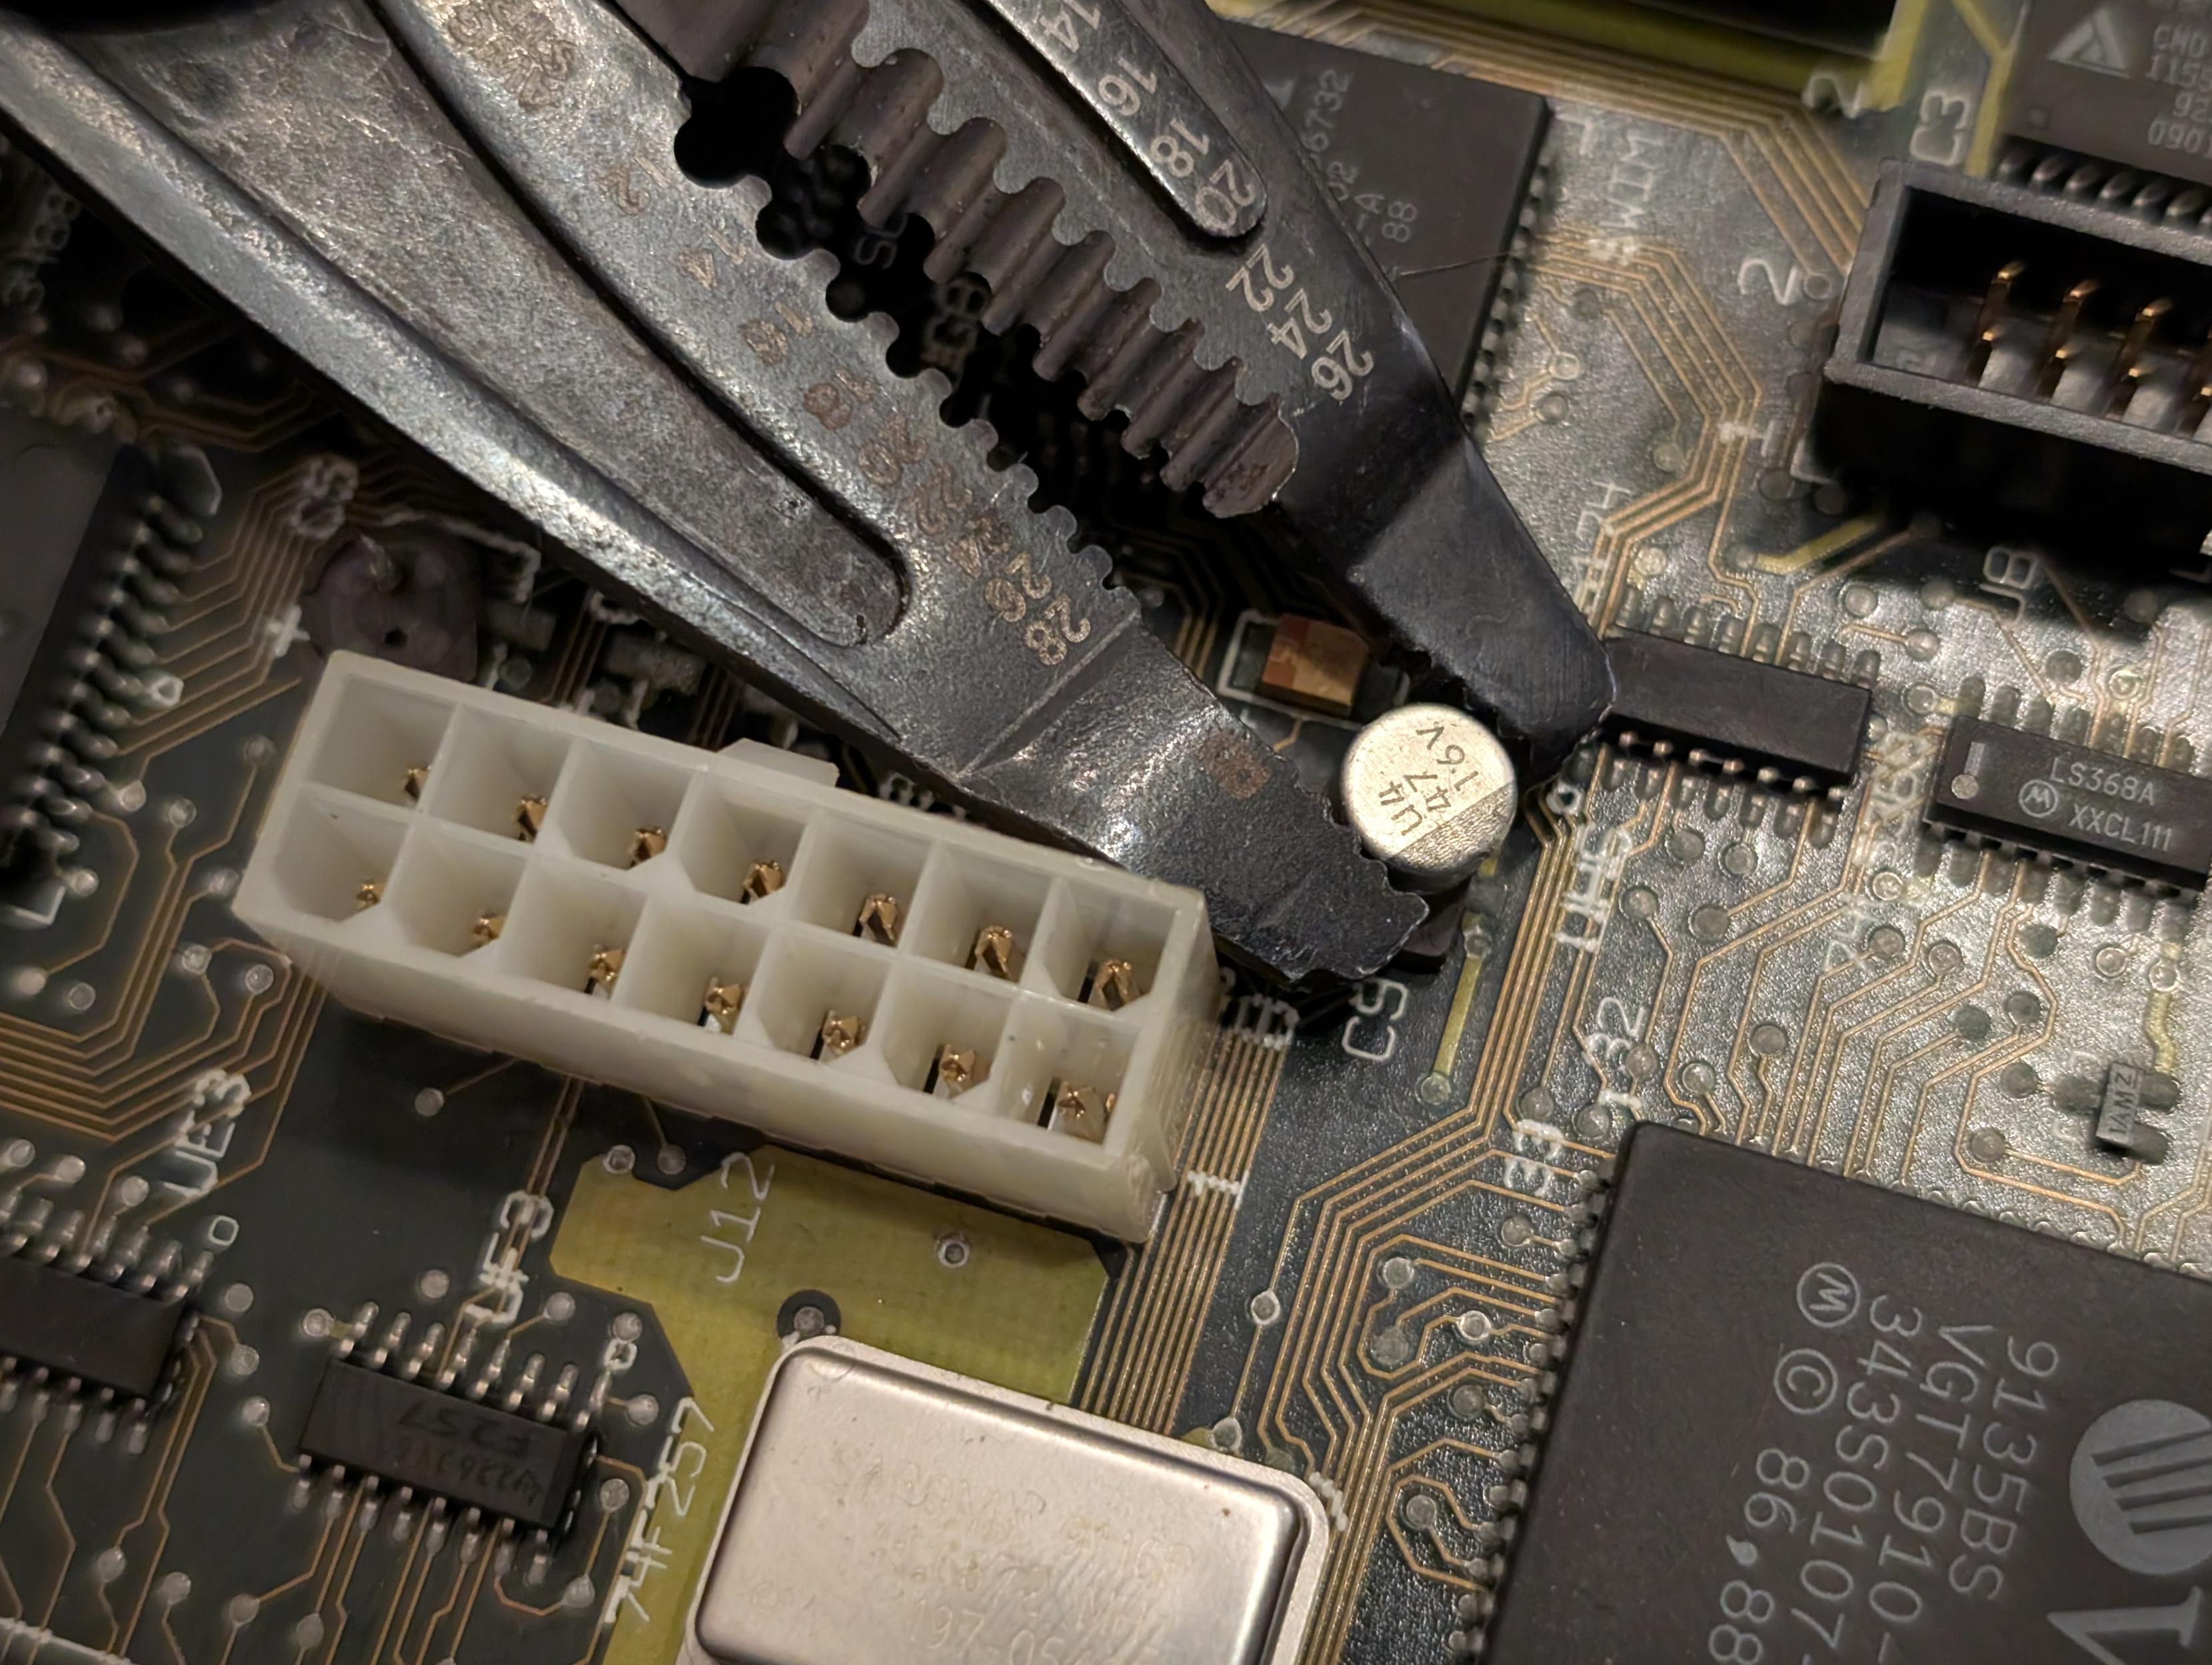
This wasn’t surprising — I had already planned to do the recap anyway. I took the analog and logic board home, leaving the rest of the chassis at Radiona. The recap procedure is pretty easy on the Classic. The analog board is simple and it’s easy to work with through hole capacitors. The logic board features 7 47uf and 1 1uf capacitor. I used the pliers technique with old SMD caps. While it feels dangerous and wrong, I’ve never lifted a pad this way, while I’ve certainly messed some up when desoldering SMD capacitors. After the old capacitor removal, it took some time to clean the capacitor leakage from the pads.
The procedure was simple and routine enough. But then I ran into a problem. I planned to test the board in my SE/30 chassis. Normally, (black and white) compact Macintosh monitor yokes are compatible with different models — if you’ve got an SE/30 analog board, you can connect it to a 512K monitor and yoke with no problem. However, starting with the Classic, Apple changed the yoke connector. Per this old and super helpful 68kMLA thread, only a few Classic boards were made using the old yoke connector. Most Classic and all Classic II boards use the new connector. This meant that I couldn’t test this board at home. TechKnight has a great video on switching out yokes between the Classic and older compact Macs, but in my case I just needed to test if the boards were working after the recap, and I didn’t have access to the Classic yoke.
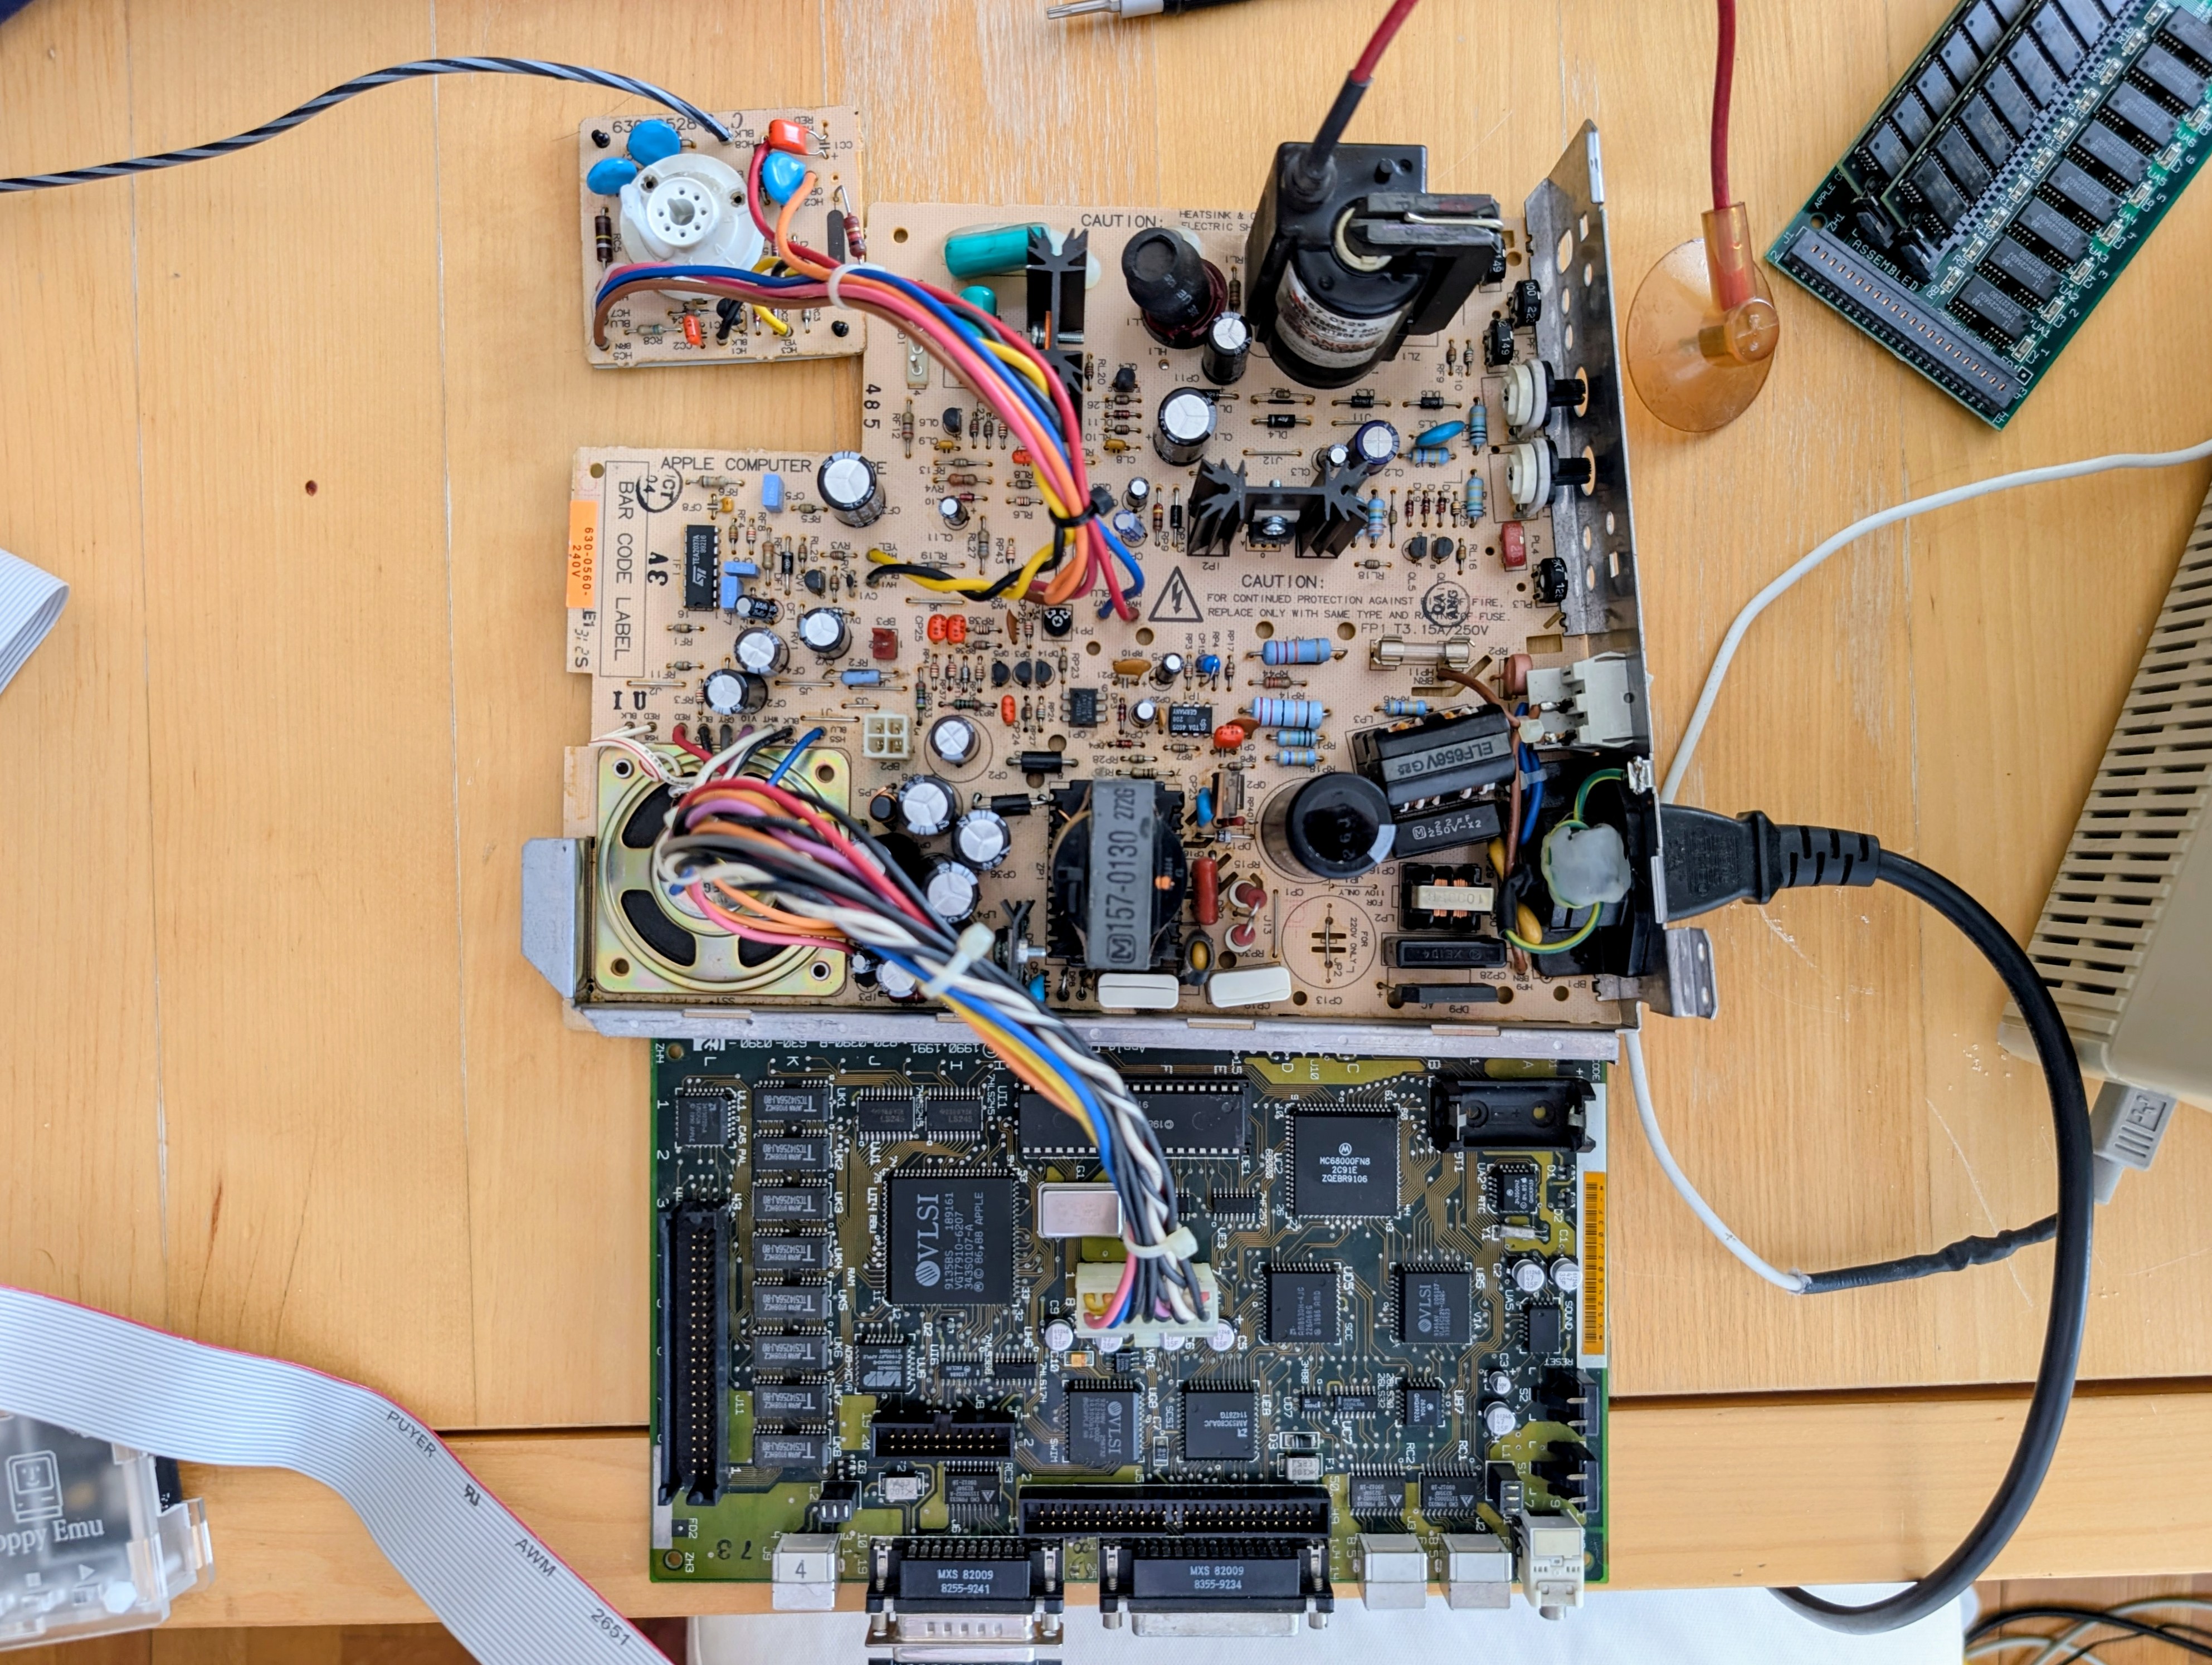
While it might be theoretically possible to make a yoke cable adapter, that was way beyond scope and unnecessary for my purpose — I just wanted to quickly test my work before bringing the boards back to Radiona. So I came up with a quick and dirty solution — what if I used my FloppyEMU to boot the board and automatically start a program that plays sound? Presumably, if the program runs and I get clear and loud sound, the procedure is successful. The Macintosh Classic analog board already has the speaker installed — on earlier Macs, it’s easy enough to hook up a speaker to the logic board, or you can use the headphone jack.
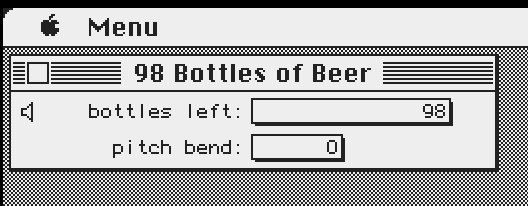
The last step was figuring out how to boot into a sound playing program without any interventions — I decided to use the 99 Bottles program, a silly app that sings “99 bottles of beer on the wall…” song where you can change the speed and pitch of the voice. I made a 6.0.8 boot disk image with the 99 Bottles program, booted it once on my SE/30, and used the Special > Set Startup option to boot the machine directly into the 99 Bottles program. You can get the 1.44MB custom image that boots straight into playing 99 Bottles here.
And just like that, I turned the Classic board on, booted the 99 Bottles image with the FloppyEMU and the 99 Bottles song started loud and clear… After it reached 70 bottles I had to turn it off. I don’t know if I’ll ever use this trick again, but it was sort of funny to figure out. Of course, I’ll actually verify my work in a couple of days when I bring the boards back to Radiona and put them back into the Classic chassis. But with the 99 Bottles song now stuck in my head, I’m fairly confident that my work with this Mac is done.