Note: this post is based on a Mastodon thread.
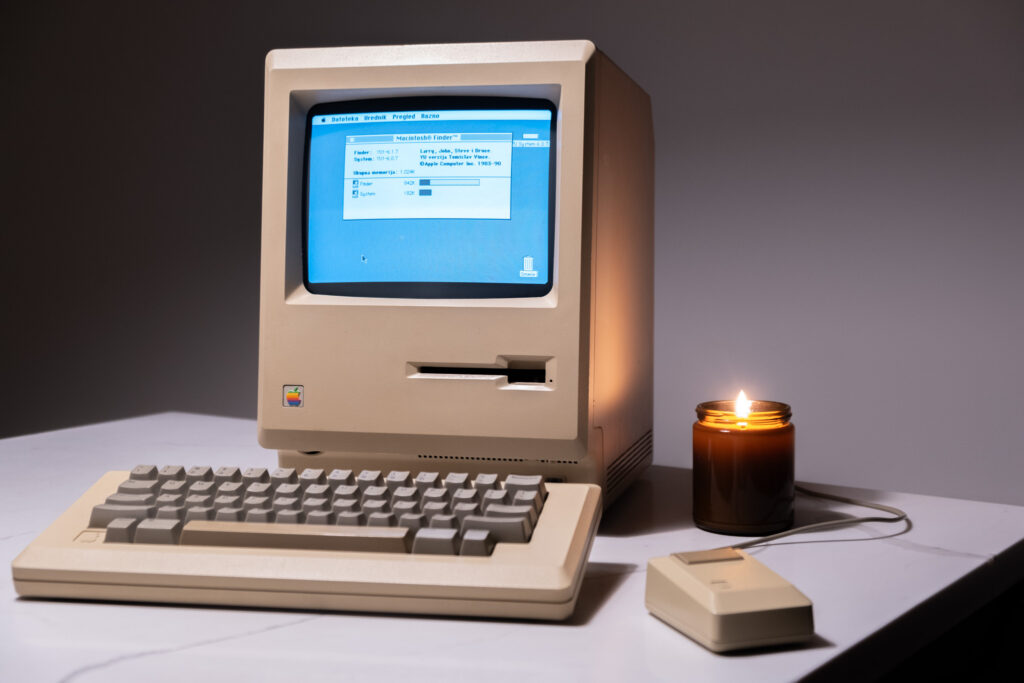
Last summer I got a Macintosh 512K at the VCF Swap Meet in Wall, NJ. I’ve been wanting to get a Fat Mac for a while, ever since I read Andy Hertzfeld’s book Revolution in the Valley: The Insanely Great Story of How the Mac Was Made. Well, technically I wanted a Mac 128K, but I had no interest in paying the exorbitant prices these original Macs go for. The 512K on the other hand features virtually the same hardware as its slightly older cousin. It was released in September 1984, only 9 months after the original Macintosh. Other than larger RAM chips, updated ROM and a bit of logic to handle the larger memory, it is virtually undistinguishable from the 128K.

But why get the almost-the-least-powerful Mac in the first place? While I do enjoy pushing old hardware beyond its limits, the primary reason why I tinker with vintage computers is to understand how they work and, most importantly, understand how they influenced what came later. The original Macintosh was incredibly underpowered, but it had such an incredible cultural influence and long lasting legacy, so much so that I’m writing this post on a laptop carrying the same Macintosh name 39 years later. I wanted to learn more about how it all began. Andy Hertzfeld’s book was an exciting read, with many interesting anecdotes and details about the Mac’s development (these and many others are documented on Hertzfeld’s website folklore.org), some of which included examples of how its hardware and software work. Some of these examples featured limitations that I knew did not affect the later Macs like the Macintosh SE, which is another classic Mac that I own. I wanted to experience those limitations. The $80 Macintosh 512K thus became a test platform and a companion to the book written by one of the creators of the original Macintosh team. But it took a while until the Fat Mac was ready to use…
The smoke test
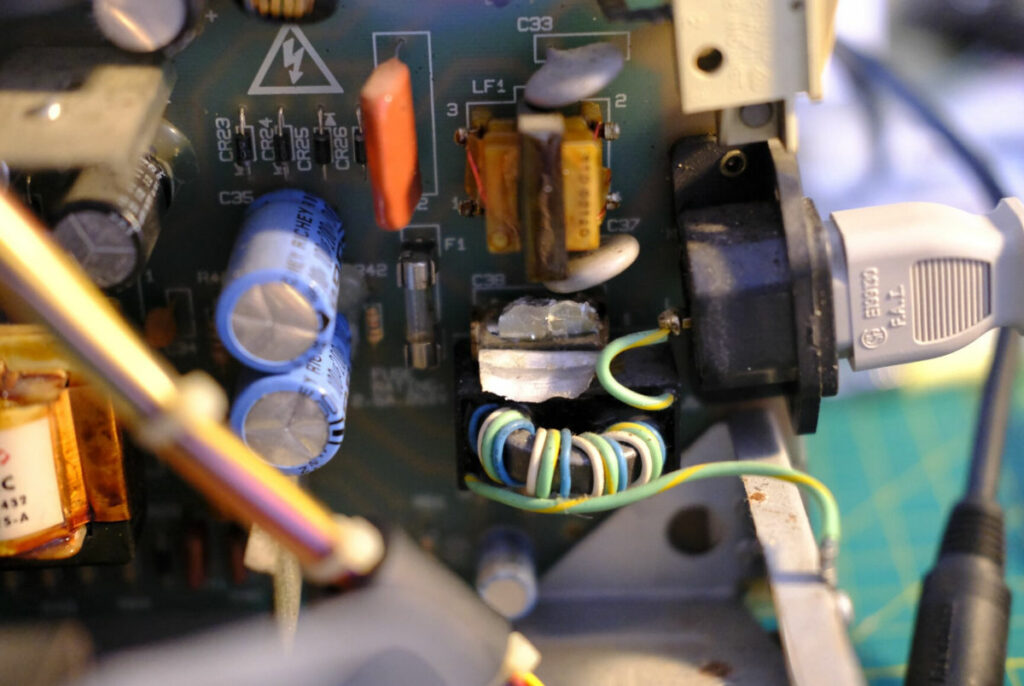
The important thing to note – the Mac turned on. When I first plugged it in, it booted up! But it was a bit finicky, with the screen going in and out. I actually had a friend hold it for me for a couple of weeks, and I went by his place to test it out and pick it up. After we established that it sort of works, we went to tinker with something else. Within 30 minutes we smelled smoke and feared that the house was on fire. Luckily there was no fire, but the smoke did come from the Mac – the Rifa safety capacitor burned up. The capacitor is placed in line with the mains electricity, even before it hits the power switch, so it was energized and burned up while the Macintosh was off (since we left the Mac plugged in). A quick peek inside confirmed that the Rifa was the culprit
While waiting for the Rifa replacement, I tried to figure out the reason for my intermittent image. With some experience, I now know that the cause was the solder joints on the connector between the analog and the logic board. But instead of looking up the top 3 issues with the Macintosh 128K/512K/Plus (they share the same analog board), I decided to track issues my own way… I concluded that the voltage adjustment on the analog board was partially broken internally — if I poked it (with a non conductive stick), I would get the CRT to work.
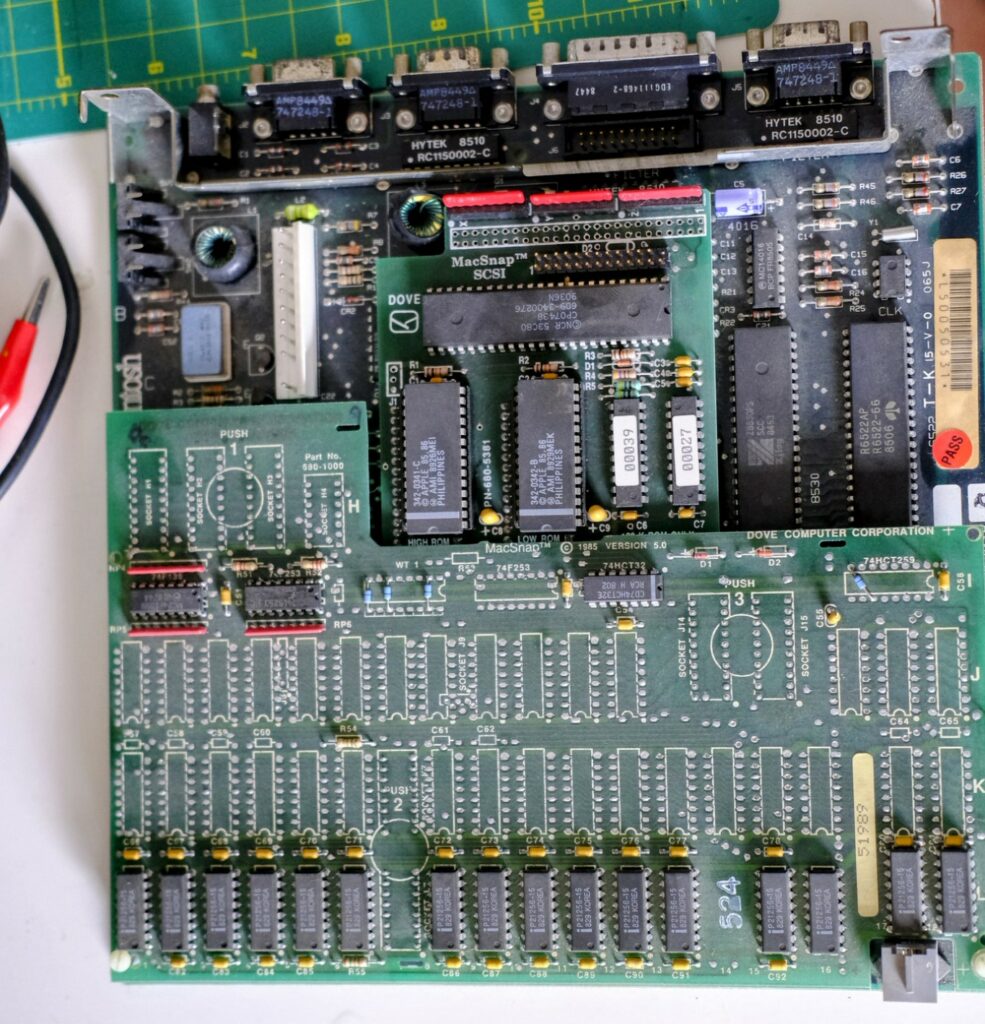
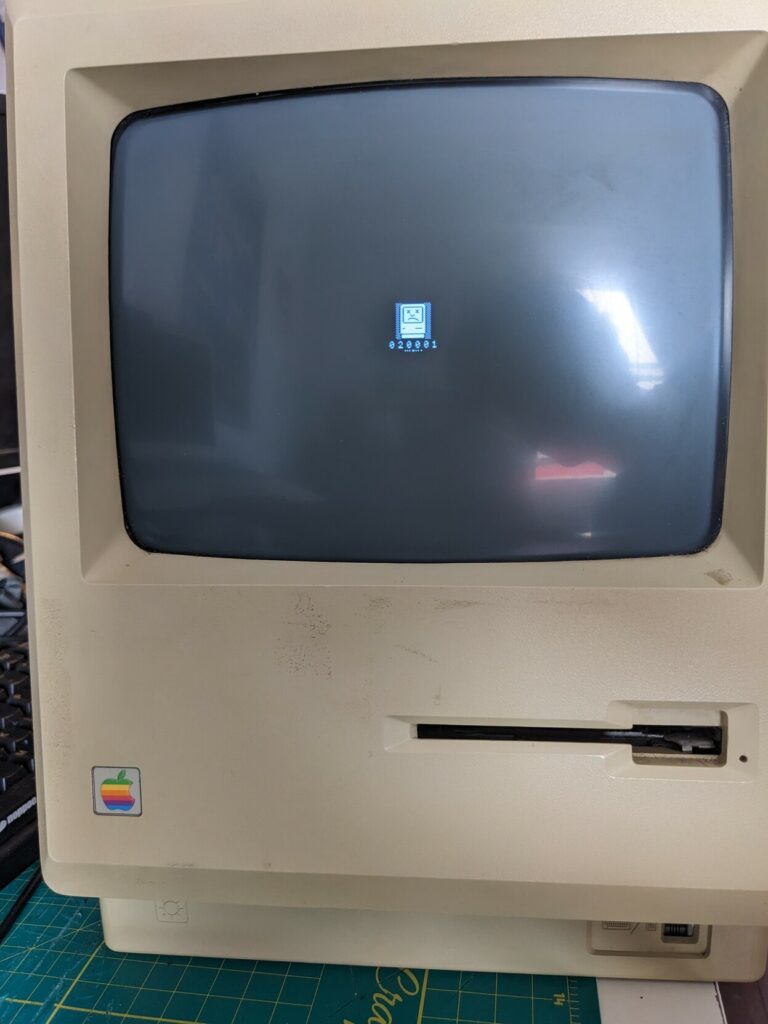
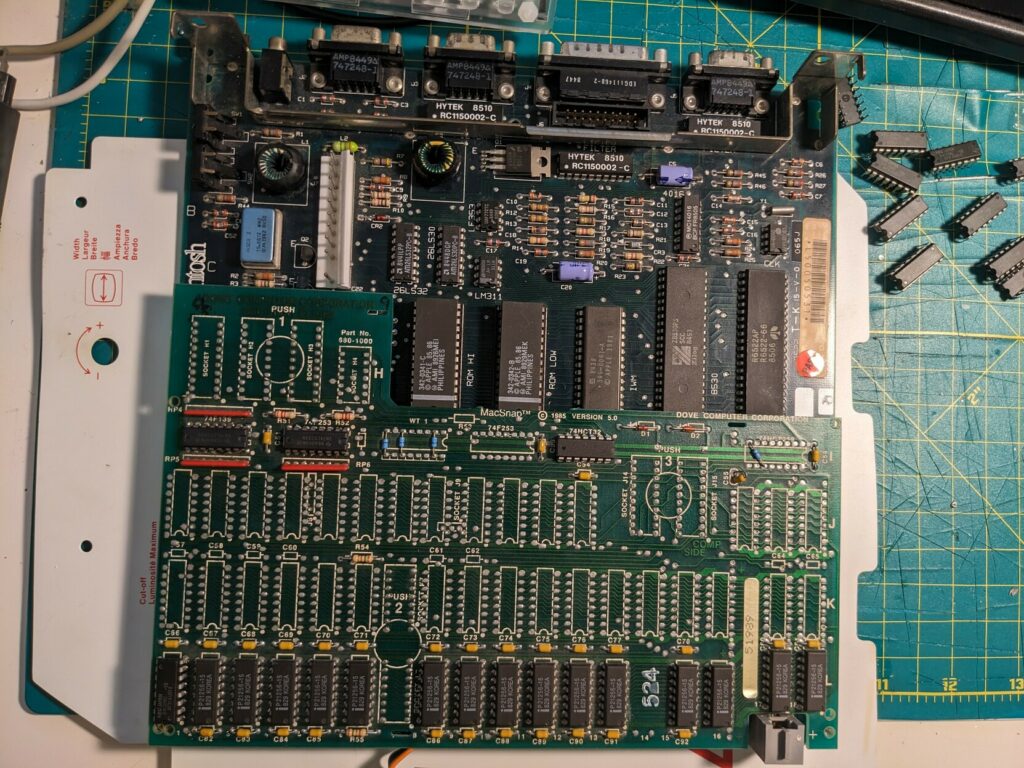
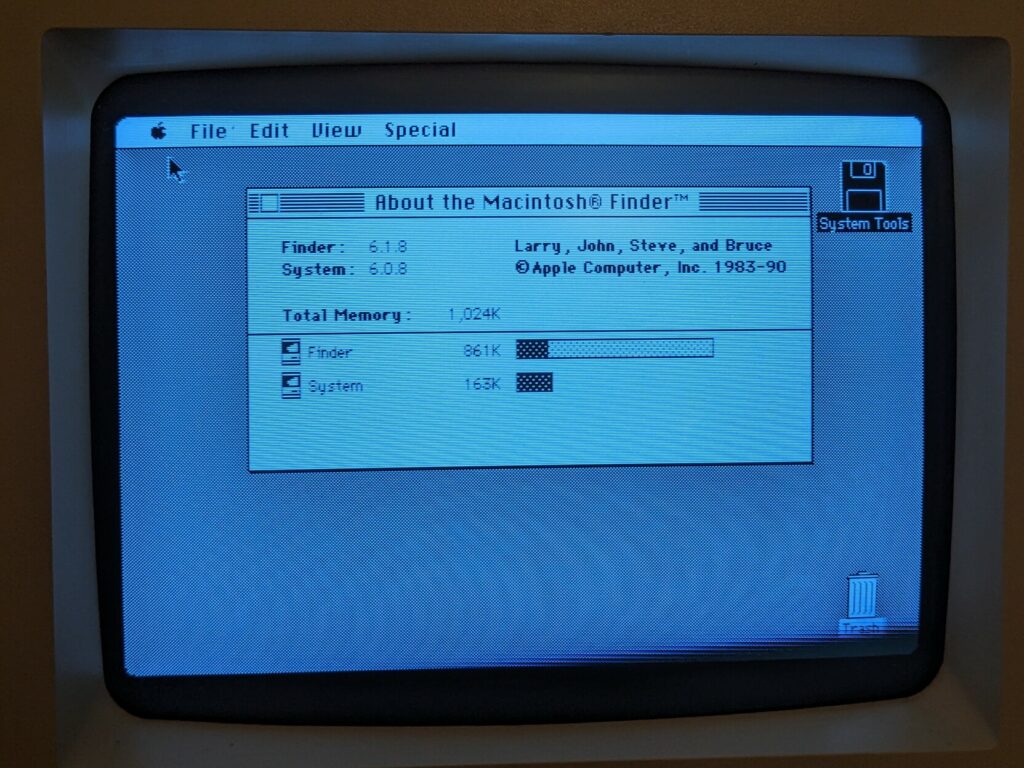
I also discovered two expansions: Dove MacSnap RAM and SCSI upgrades. The SCSI expansion worked, but the memory upgrade resulted in a sad Mac:
Analog board series of unfortunate events
I left the expansion aside for later. I also discovered that the ejection motor on the floppy drive was broken. This wasn’t too disruptive, since I have a Floppy EMU, and I could just use a stick to manually eject disks if necessary. I opened up the analog board to replace the Rifa capacitor.
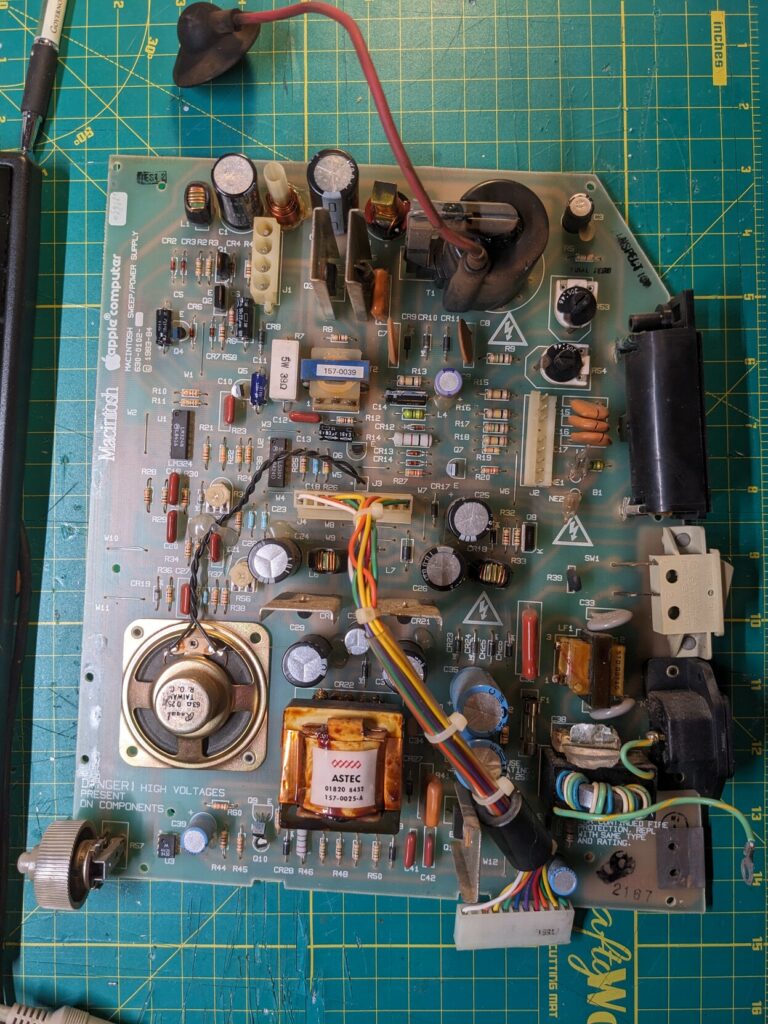
The Rifa replacement went fine. But I couldn’t rest and I wanted to figure out why I had to press the R56 variable resistor to get the image to show up. So I replaced it. It didn’t help. Then I went to reflow the solder joints on the connector between analog and digital board (this was actually a good idea!). And there must have been charge left in the board… Or maybe it was static… In either case there was a spark, and I must have shorted something. From this point on I couldn’t turn on the machine. I’m going to summarize the troubleshooting steps, but if you want to read through the agonizing two weeks of troubleshooting I performed, check out my full Mastodon thread.
First I heard a clicking noise, just like in this video:
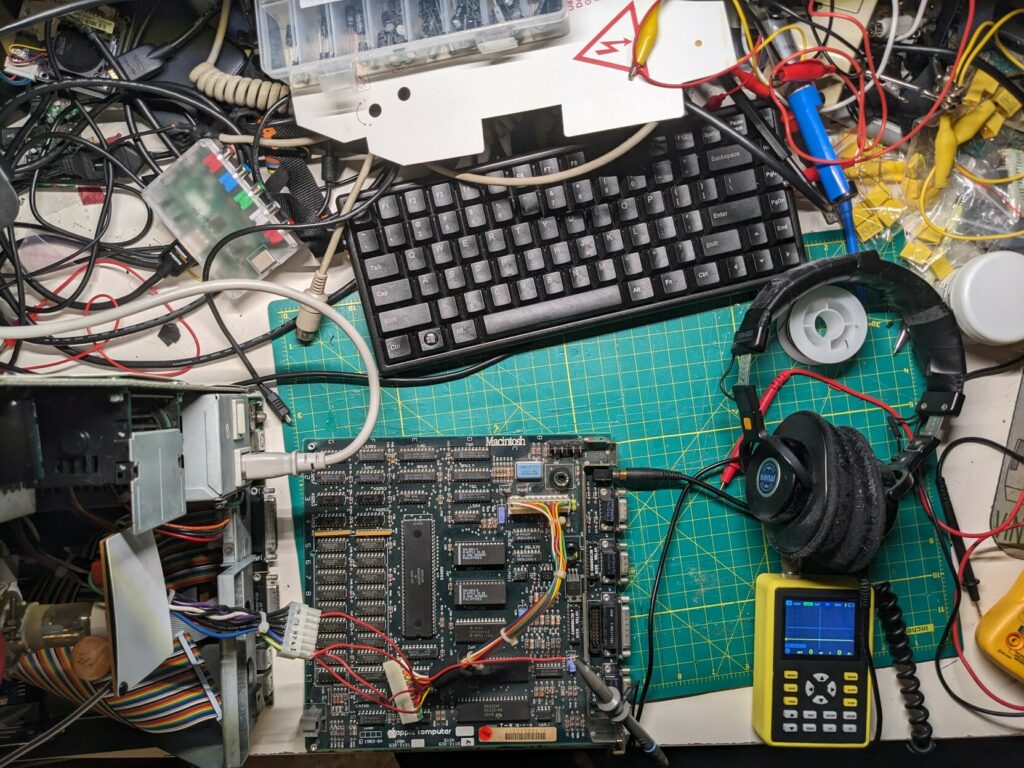
The first thing I did was test the logic board. I did this by performing a convoluted and precarious setup involving a Macintosh SE analog board, hooked to 5V, 12V, -12V and ground on the 512K logic board. I used a pair of headphones so that I could hear the chime, since the speaker for the 512k is located on the analog board, unlike the SE that just has it connected to the logic board. It beeped!
I then started replacing components, in a very chaotic and non-systematized way. Replacements in order I performed them:
- CR20, CR21, Q3, CR1, U3 and the Q8 crowbar
- Q9, a bunch of caps: C1, C2, C24, C25, C26, C29, C30, C31, C35, C36.
- CR5, C3, C43, C39, C9
- U1 (LM324N)
- U2 (74LS38)
I eventually found an actually broken component – U2 which is a 74LS38. I took it out and it failed a logic test in my EPROM programmer. It was only at this point that I realized that my tests were incorrect all along — @DosFox on Mastodon alerted me that I cannot turn on the Mac analog board without the logic board. Prompted by @DosFox‘s note about testing with the logic board, I tried to remove the monitor from the test (just leaving the tube disconnected), and actually got a good chime! Then I hooked everything up, still had good chime but no monitor output, though high voltage did go into the tube. Discharging the monitor caused a spark, which wasn’t the case for the last few days. But then I got what sounded like a bad, elongated chime:
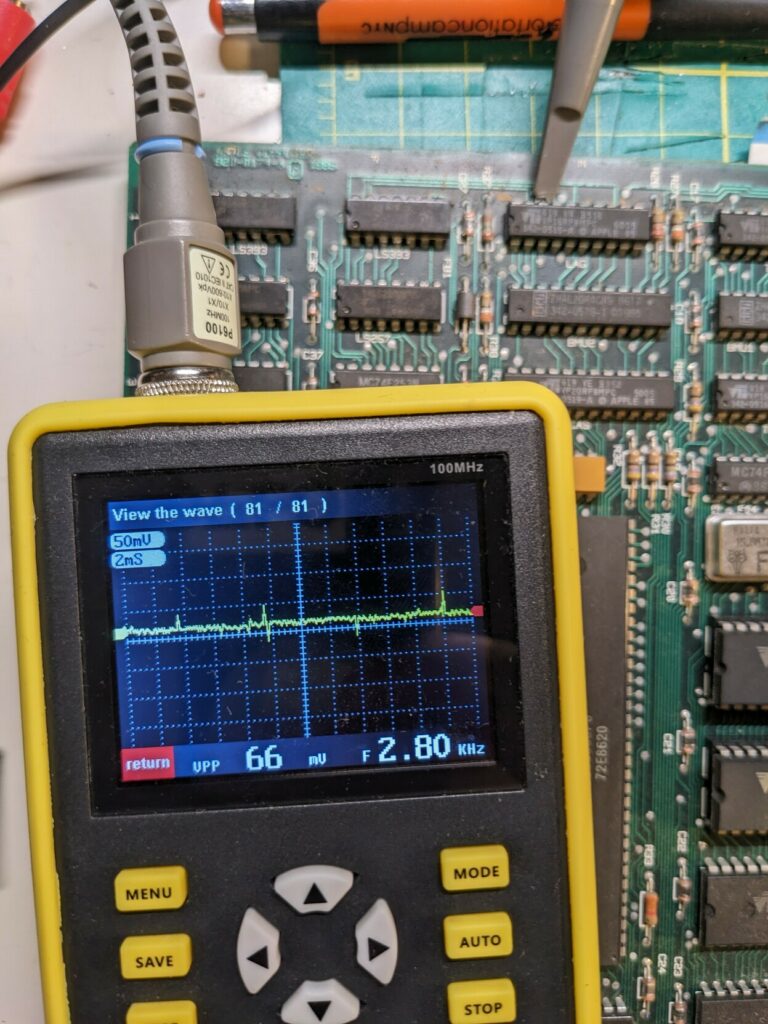
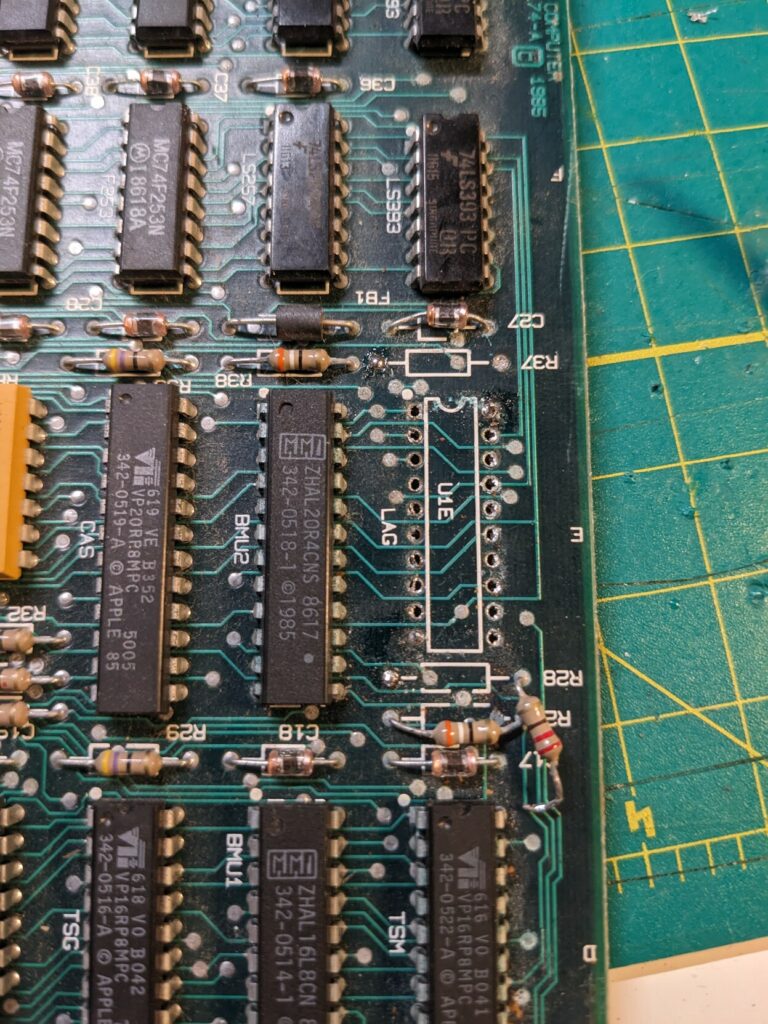
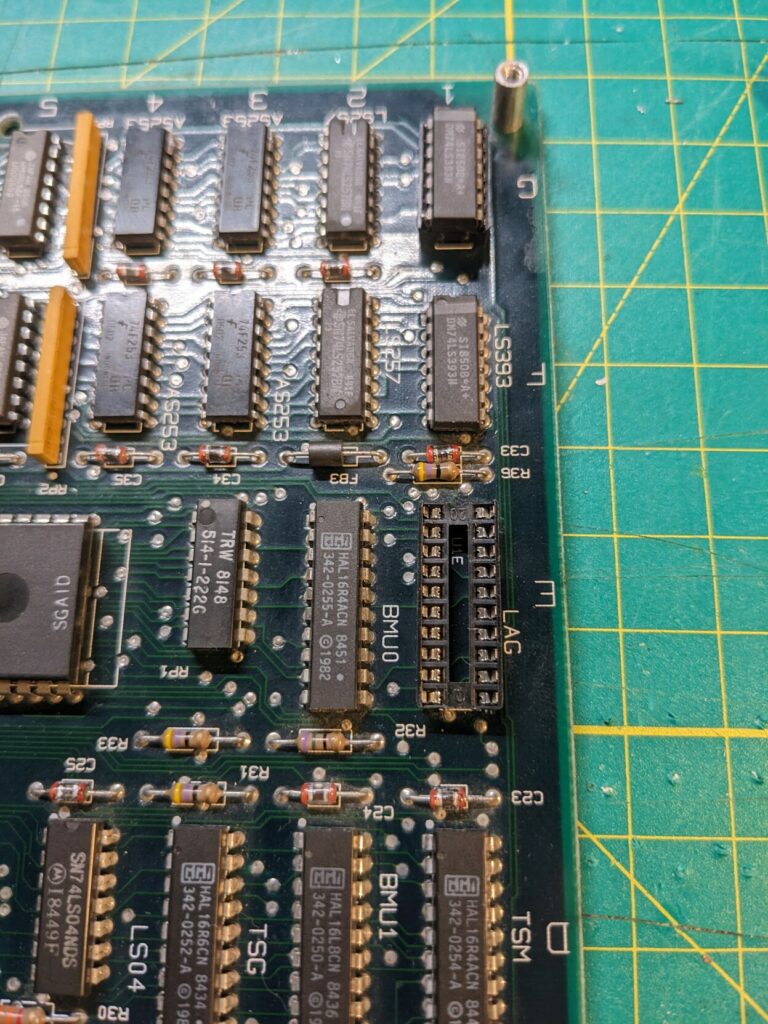
It took me days to figure out what was happening here. I eventually realized that it was a good chime, just very long. I found this post, which suggested that the issue was caused by a bad LAG PAL 16R8. A quick scope showed that most pins seemed to be doing things, but pin 18 (labelled RESLIN on the schematic) was stuck high. Unfortunately, even though people in listservs and forums have been talking about reverse engineering this chip for twenty years, there is still no copy of it that I could program onto a GAL. It’s unfortunate, because good folks at pldarchive.co.uk have reverse engineered almost all Macintosh Plus PALs (another shoutout to @DosFox!), and Plus PALs are compatible with the 128K and 512K. Without any alternative options, I got a “for parts” Macintosh Plus board to scavenge the bad PAL. Before replacing it, I scoped pin 18 RESLIN and confirmed that it should be rather active, unlike on the LAG on my 512K board. Then I took out the bad LAG, put in a DIP 20 socket and put in the good LAG on the 512K board.
I finally got a good chime again!
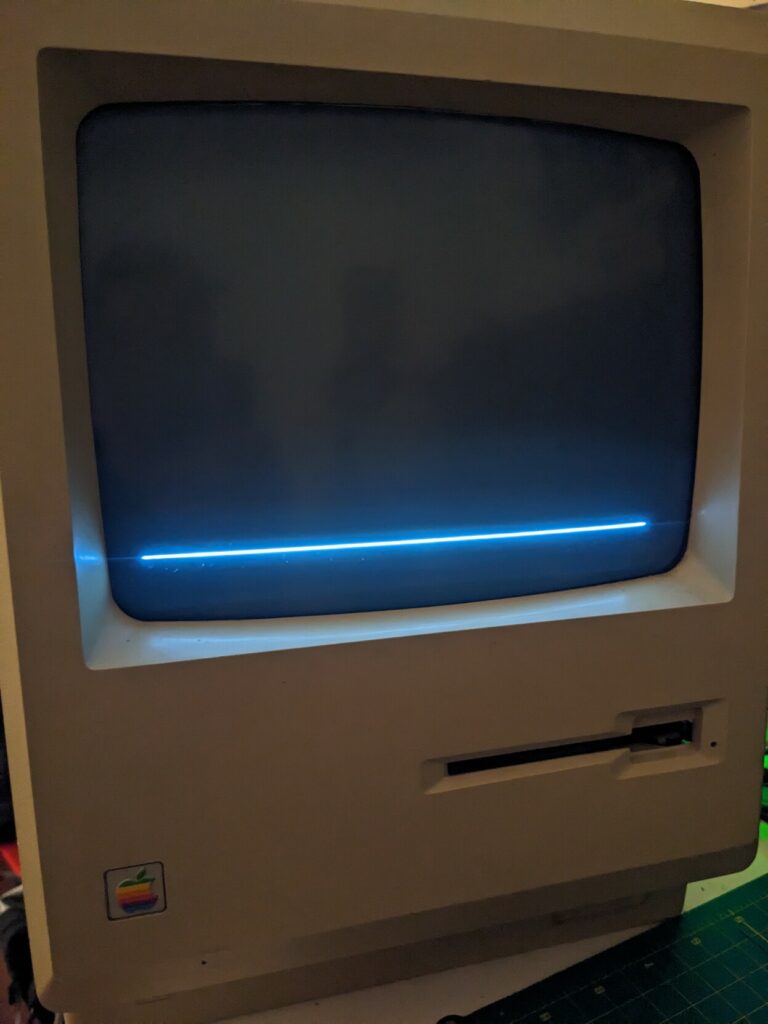
Despite this success, I still didn’t get video output on the screen. I basically took a 2 week detour resolving issues I caused for myself, but I still haven’t resolved the original problem. The Mac chimed, the CRT would turn on, but I would get a horizontal line at the bottom of the screen. Playing with adjustments, I could make it go away, or make it brighter, but I couldn’t get an image. There was no vertical sync.
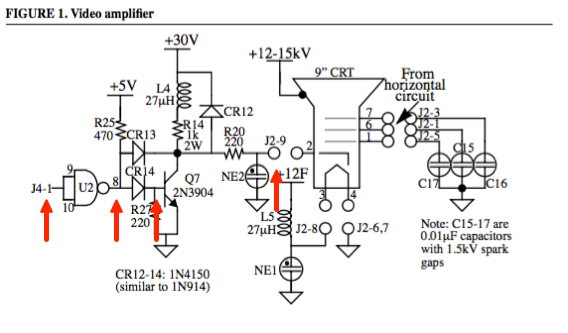
While troubleshooting this, I came across an issue with resistor Q7, which is placed just before the mixed video output goes into the CRT. The lead came from this thread. I was sure that was going to be it. But no, I still don’t have a raster.
Finally, I figured it out.
It was so silly. The final issue ended up being U1 LM324N, which I replaced preemptively with a replacement part earlier in the troubleshooting process. When I put the original back in, I finally got screen output. This thread helped. With the analog board fixed, I was able to test my donor Plus board (by putting its good LAG chip back in) and confirmed that even though it was sold “for parts” it was actually fully functional. I stored it for later and hopefully one day I get to source a replacement PAL, or the good reverse engineering folks will get a GAL file for it.
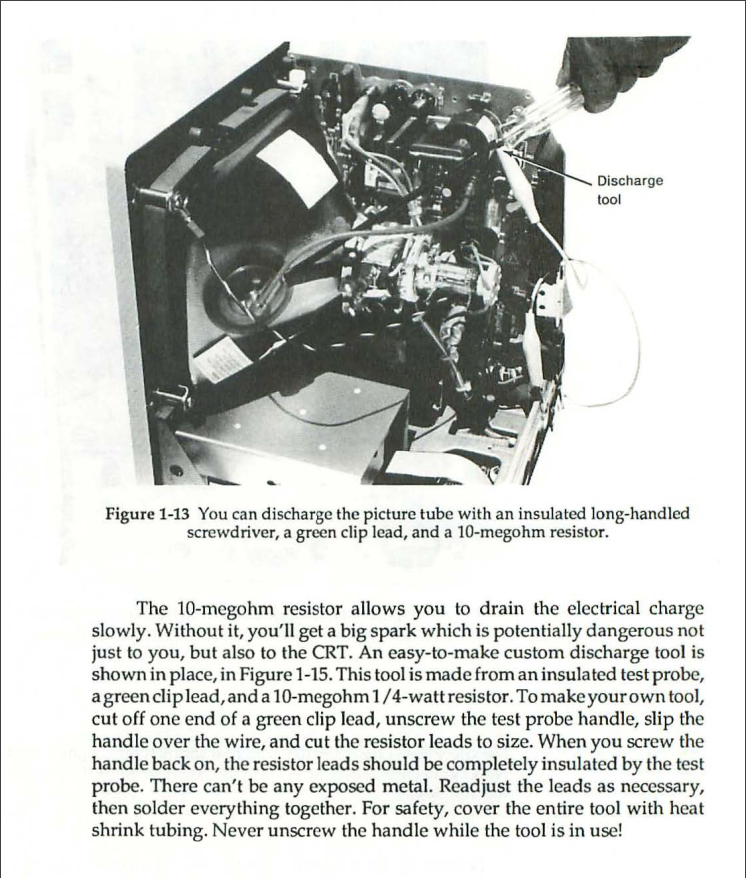
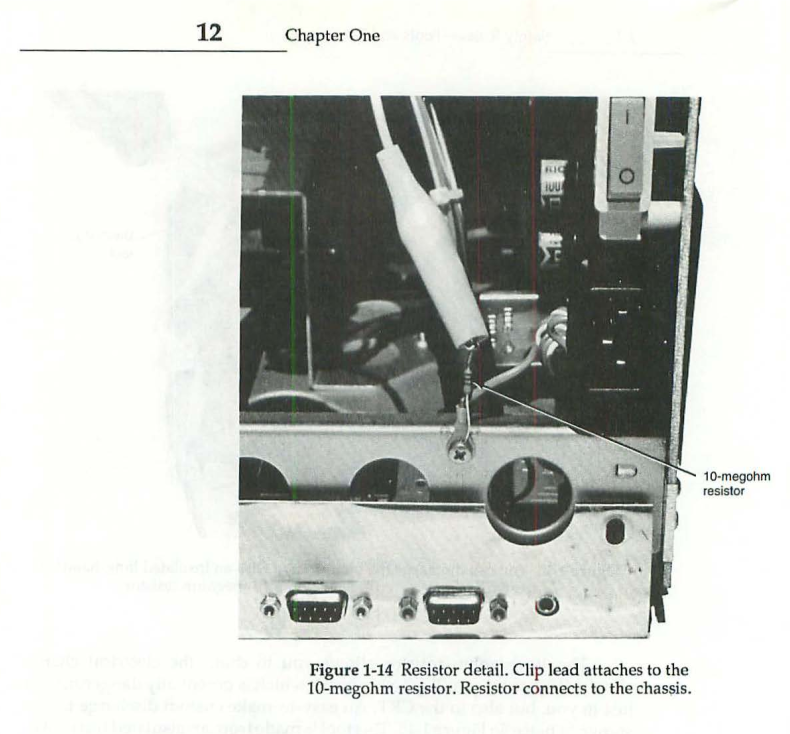
A lesson learned is to start using a 10 megaohm transistor when draining the CRT. The amount of fried components in this Macintosh restoration was insane. I’m pretty sure that discharging was how I fried the LAG.
Floppy eject motor
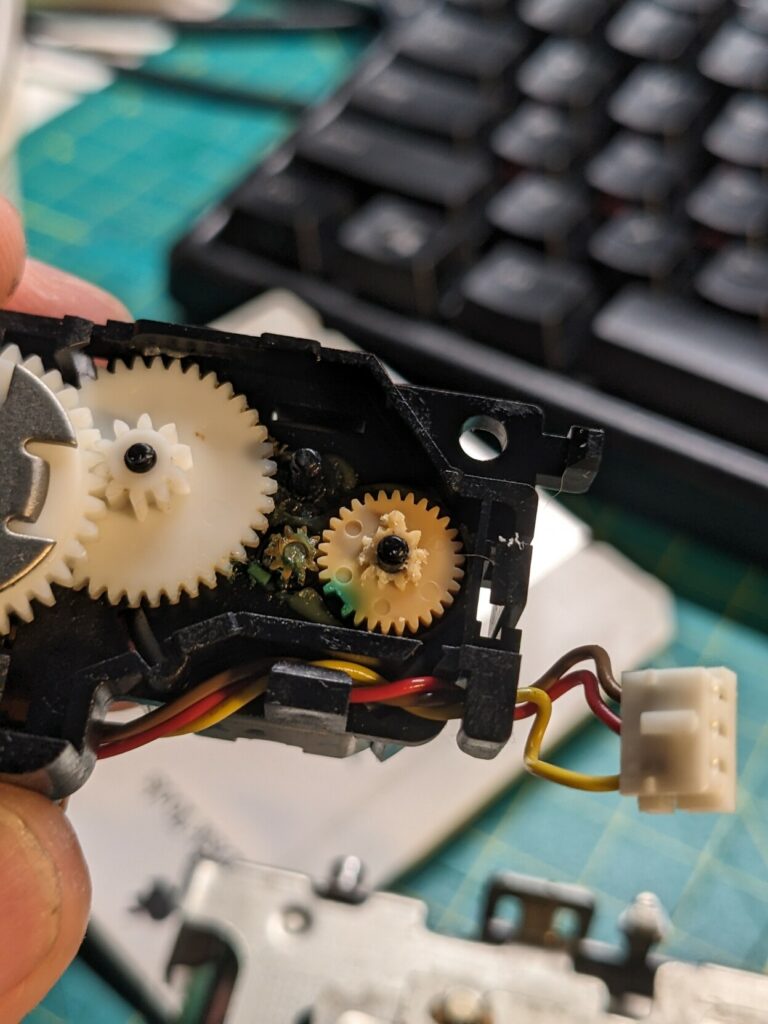
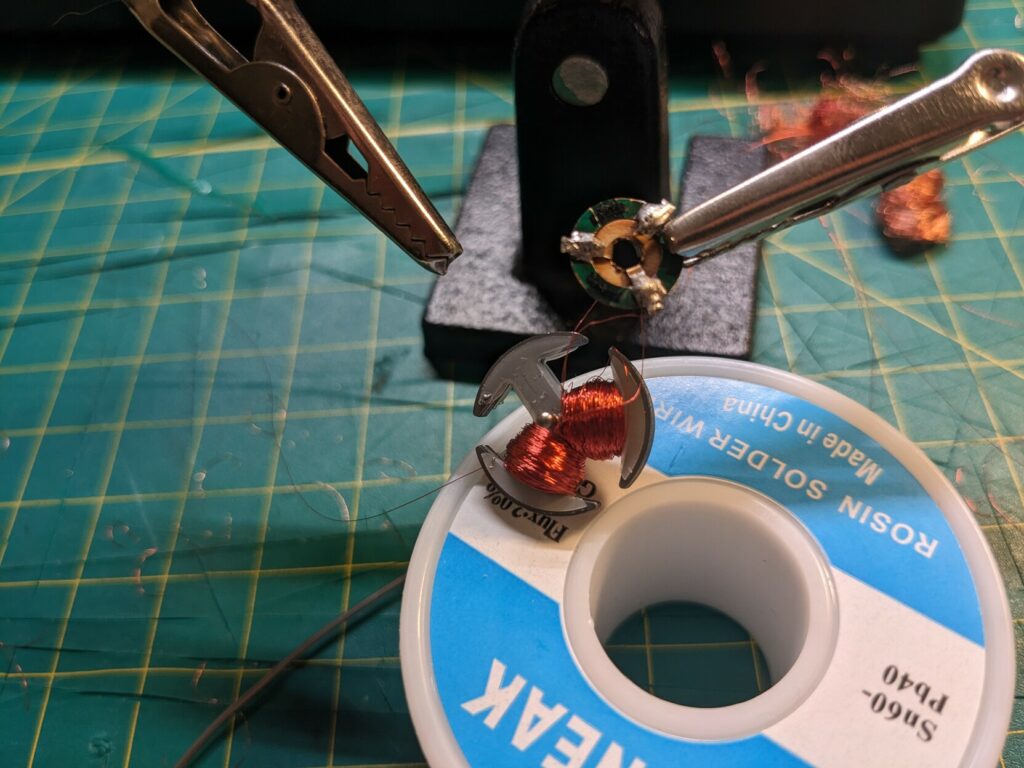
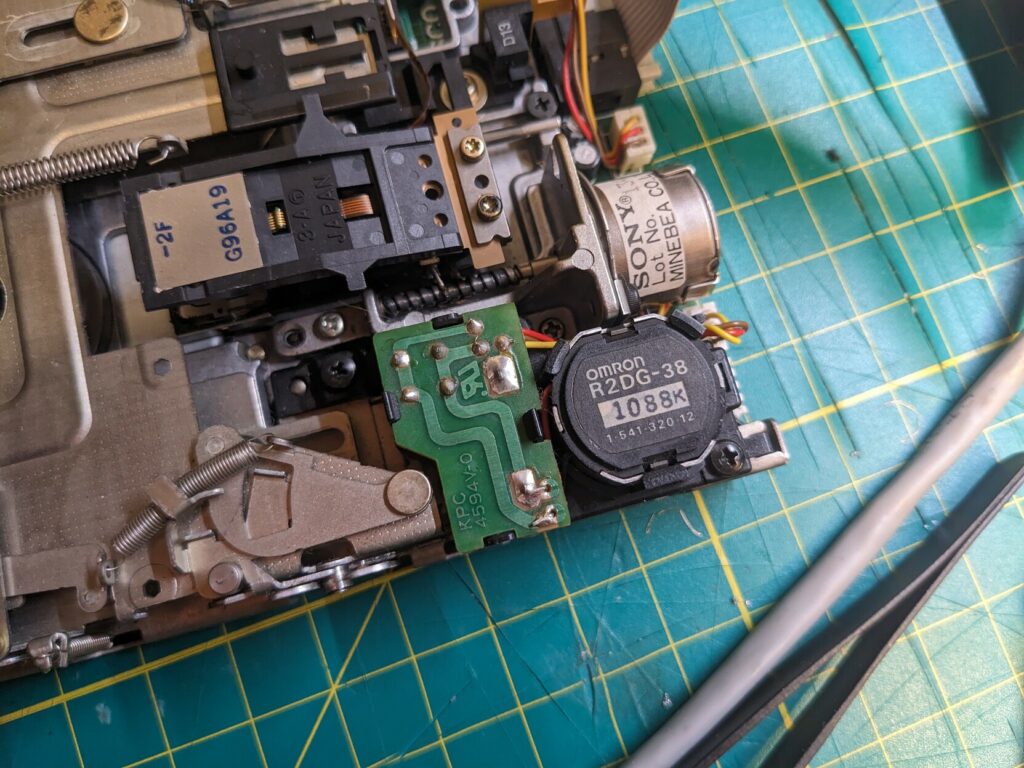
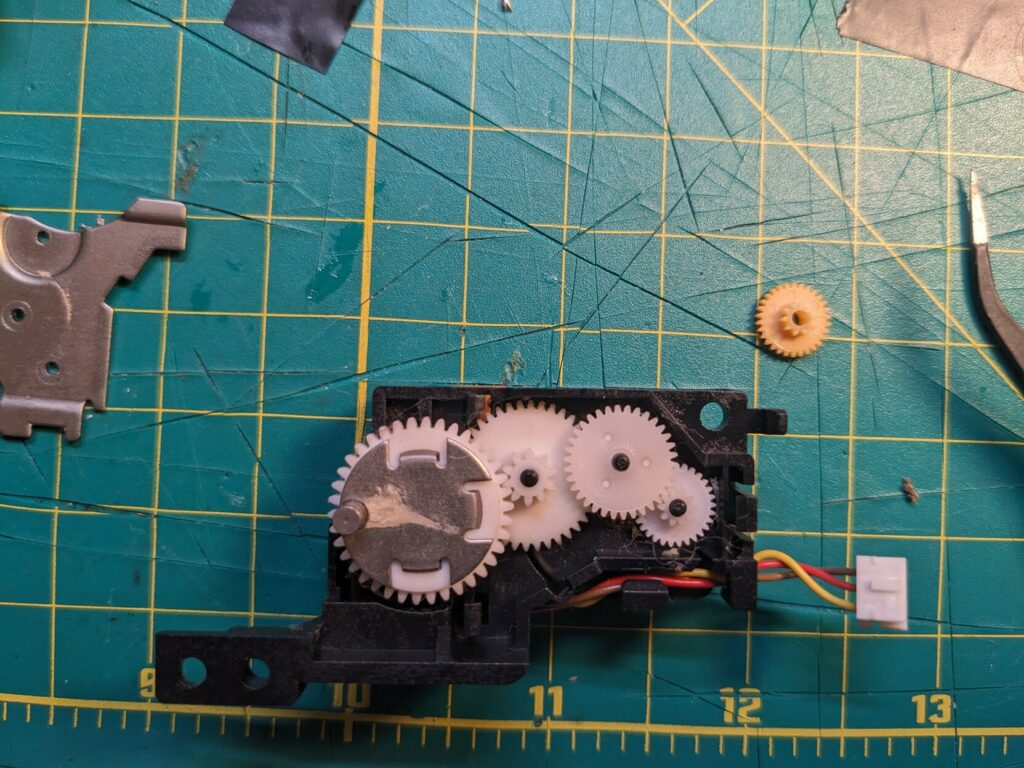
With the Mac finally working, I got started on cleaning and repairing the 800K floppy drive. It was dirty, but not the worst I’ve seen. It was actually stuck in the loaded position, even without a disk. After manually “ejecting”, I was able to read a floppy, but then the Mac couldn’t actually eject. One of the gears had actually disintegrated, making the eject motor unusable. I ordered a piece to be 3D printed, using this model. This repair also went sideways very quickly. My 3D print was too narrow (I must have selected an incompatible resin), and I ended up damaging the plastic inside the ejection motor. This spiralled to the point where I found myself trying to rebuild the motor itself, a good indicator that I took things too far, again.
I found someone on Discord and got a replacement Omron R2DG-38 ejection motor. The Mac would finally eject floppies!
Keyboard
When I got the Macintosh 512K, I didn’t have a keyboard. A friend lent me his mouse, but for a keyboard I first ended up putting together an Arduino based PS/2 adapter, by following instructions by Steve from Mac84.
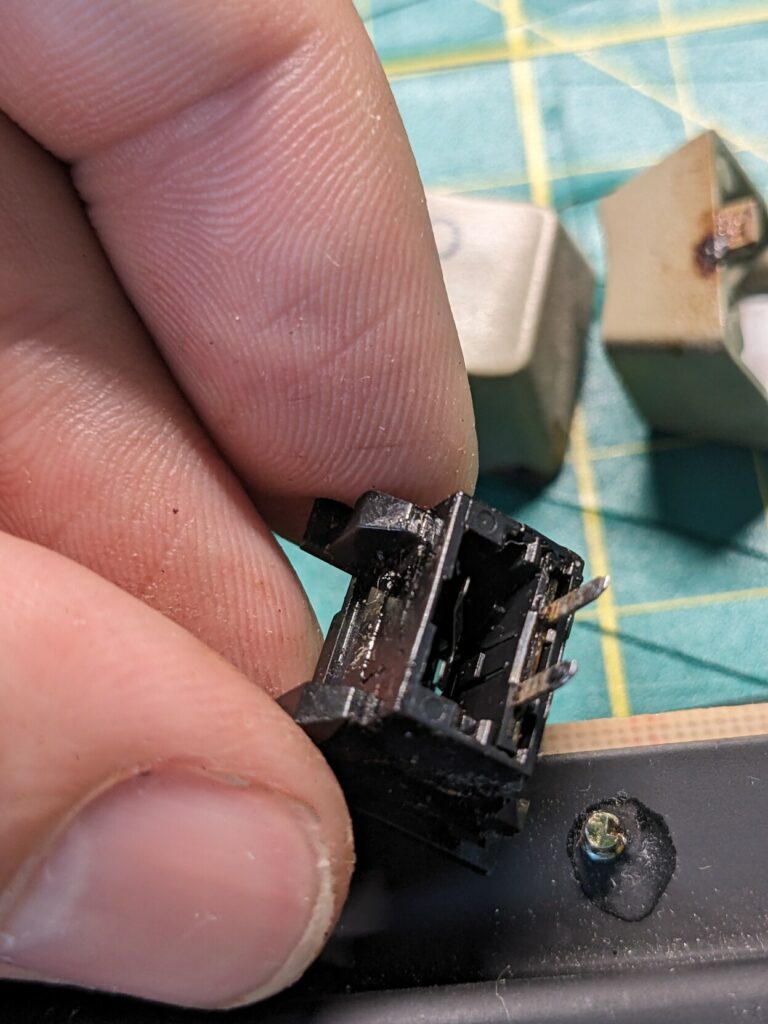
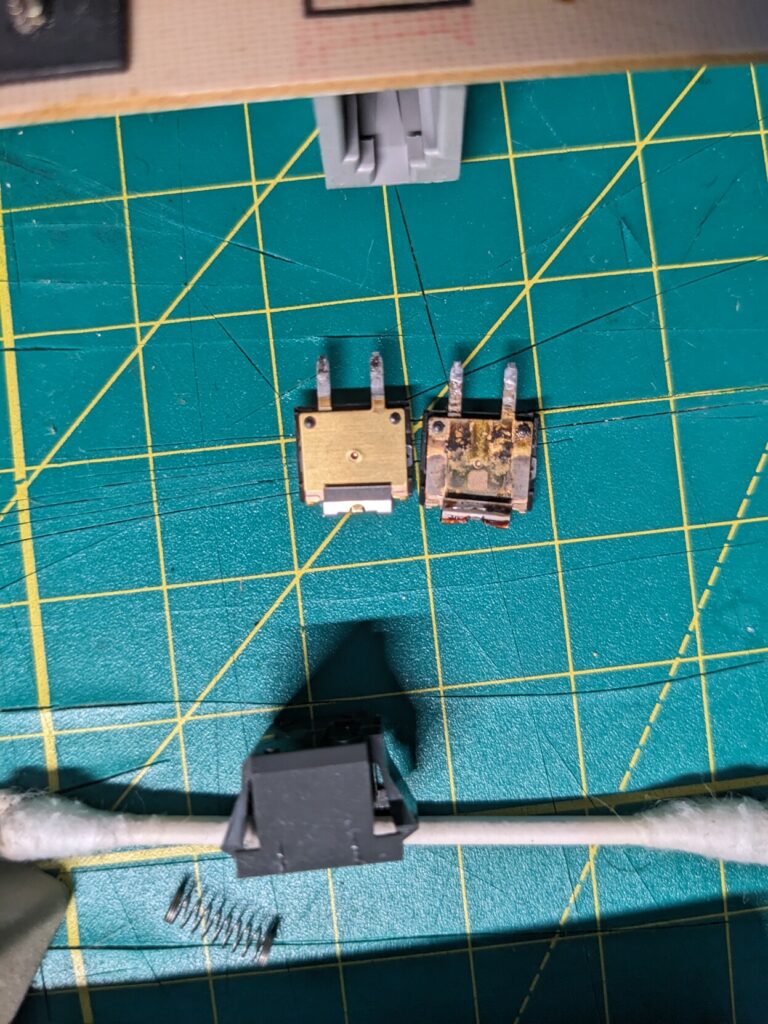
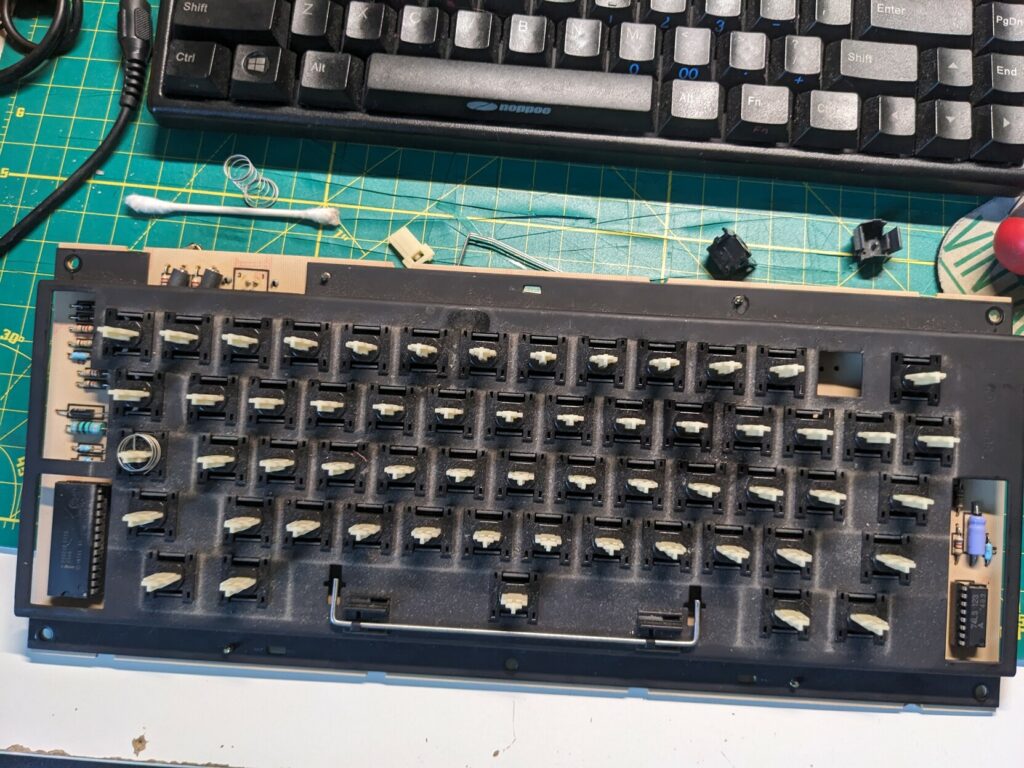
This was neat and pretty easy, but it didn’t quite match the style, so I soon found a relatively affordable keyboard on eBay. I got an M0110 keyboard in pretty good shape. The =/+ keycap was missing, but the switches were in good shape. In addition to the broken +/= switch (+ missing cap), I found issues with three more keys (9, I, backspace). I combined the parts from different switches with the broken +/= switch to repair all of them. I then ordered the replacement cap and switch.
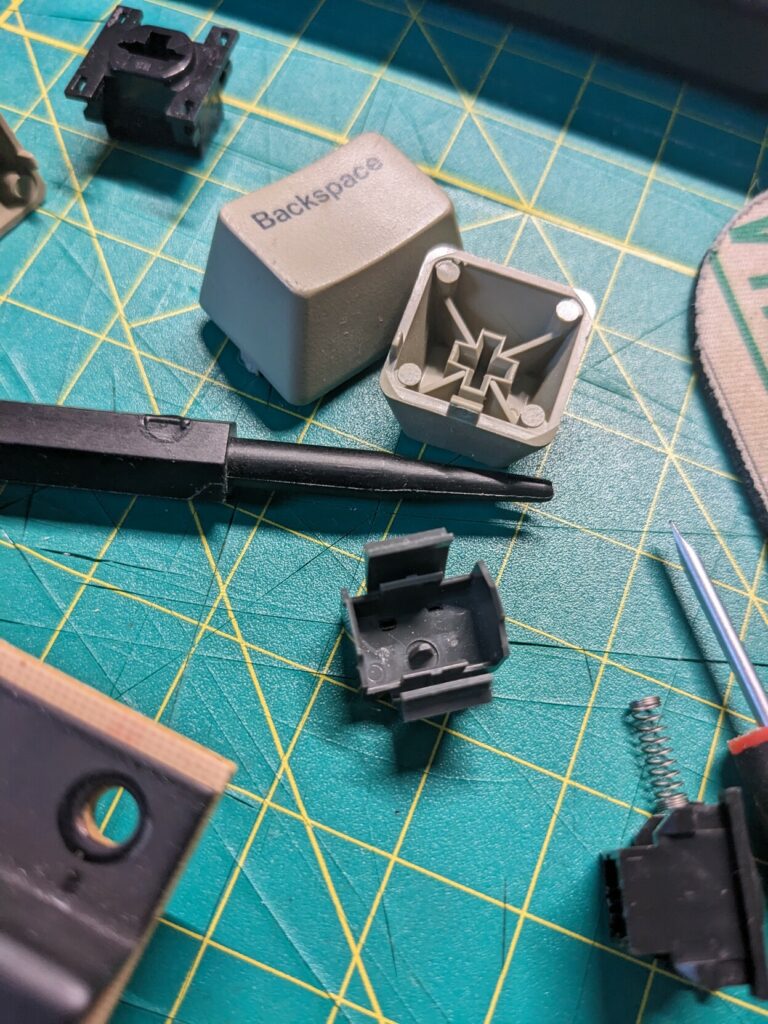
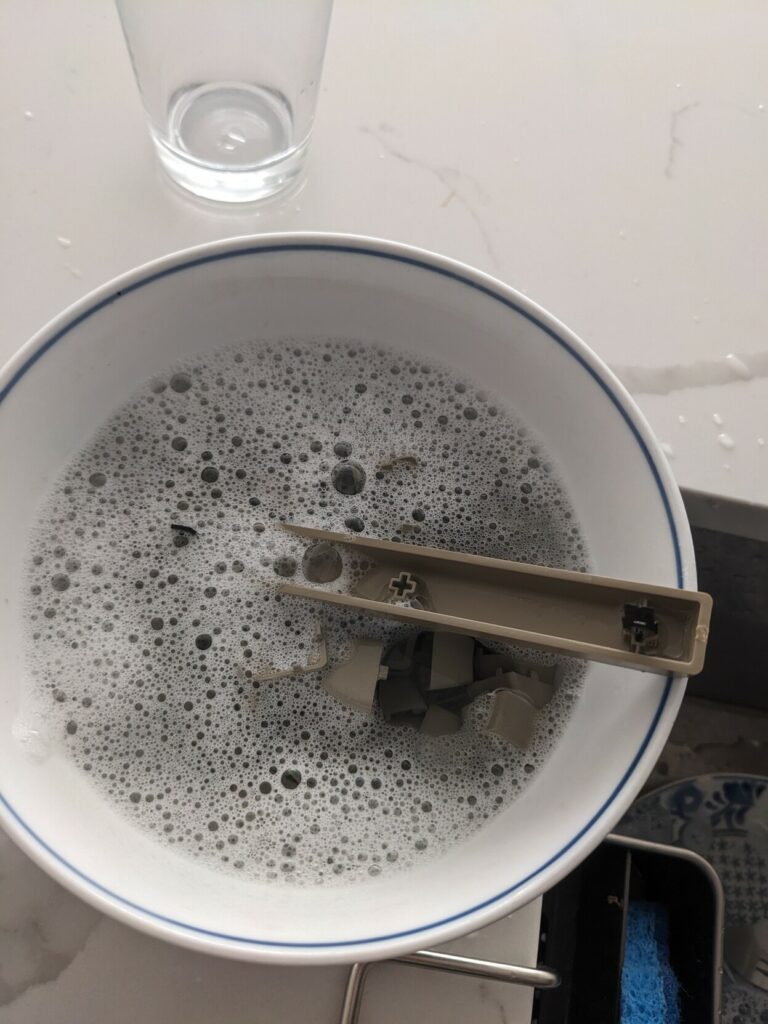
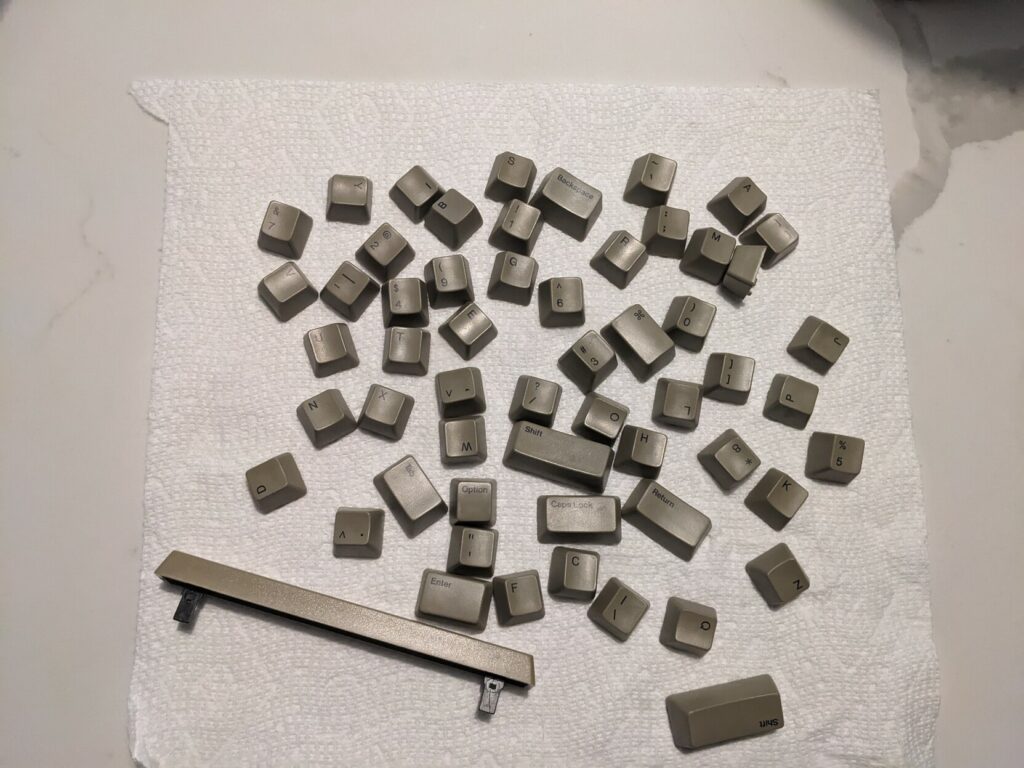
Of course, I had to clean it up as well.
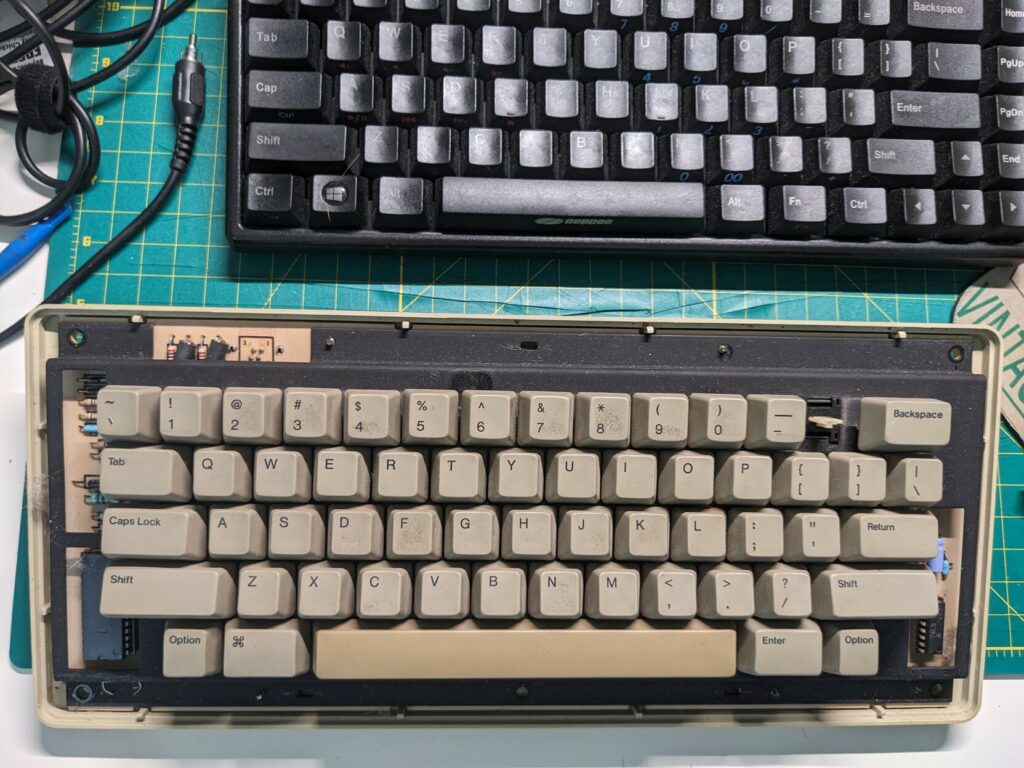
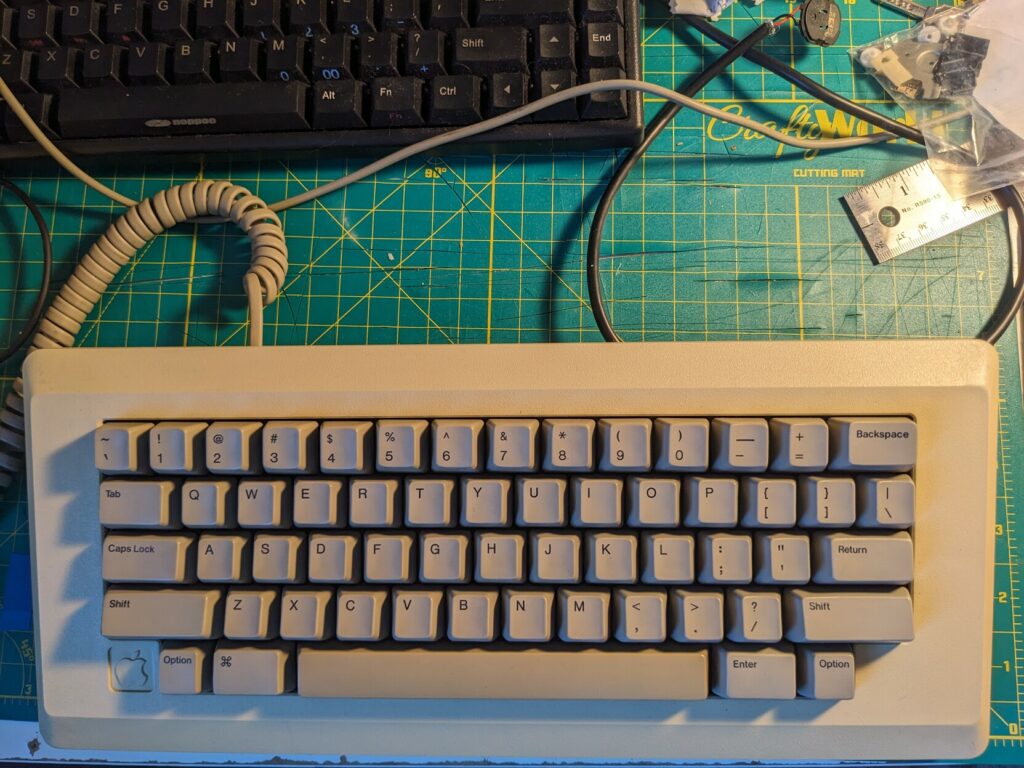
When I got the missing cap I put it all together and it now looks great!
Serial adapter
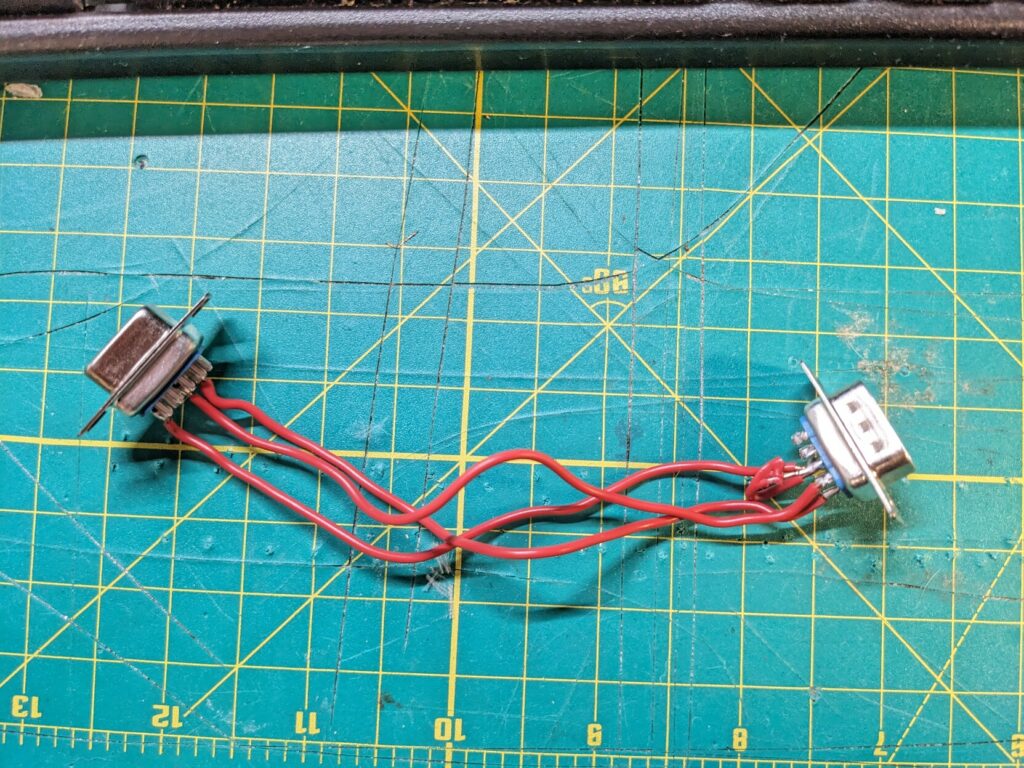
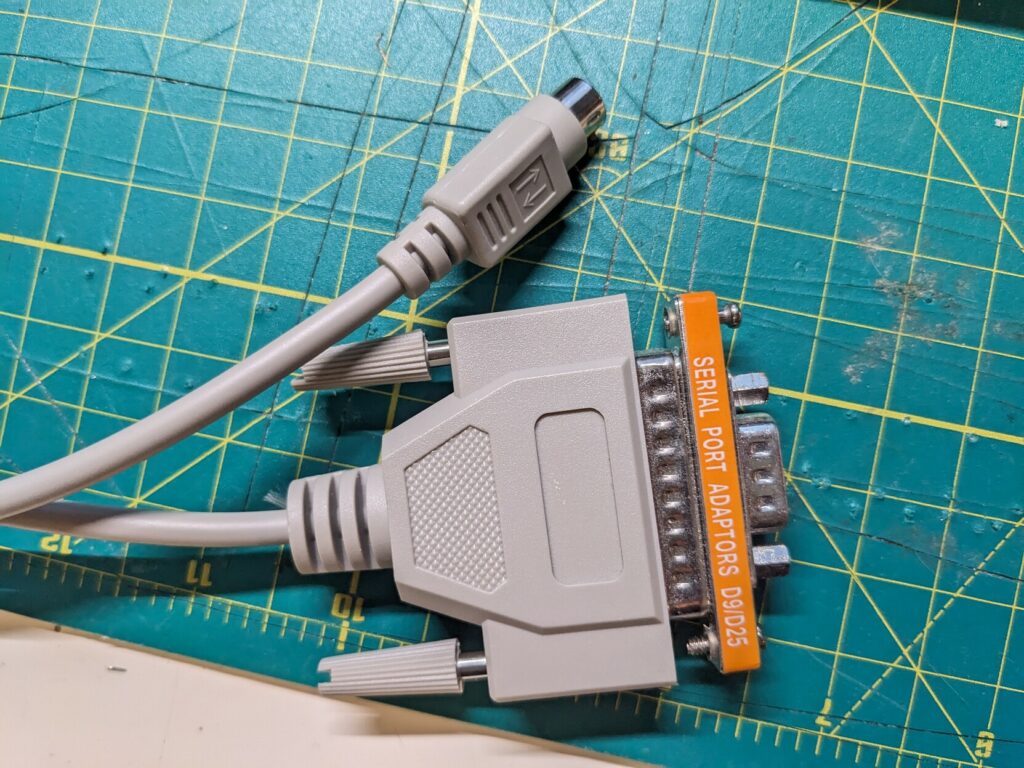
I really wanted to print from my Fat Mac. A while ago I got an ImageWriter II, but it uses a 8 pin mini DIN serial cable that was standard serial on later Macs. I ended up building an adapter and using the following signal path:
Mini-DIN8 to DB25 cable > DB-25 to DB-9 converter > homemade DB-9 RS232 to Macintosh DB-9 RS422 adapter > Macintosh DB-9 printer port.

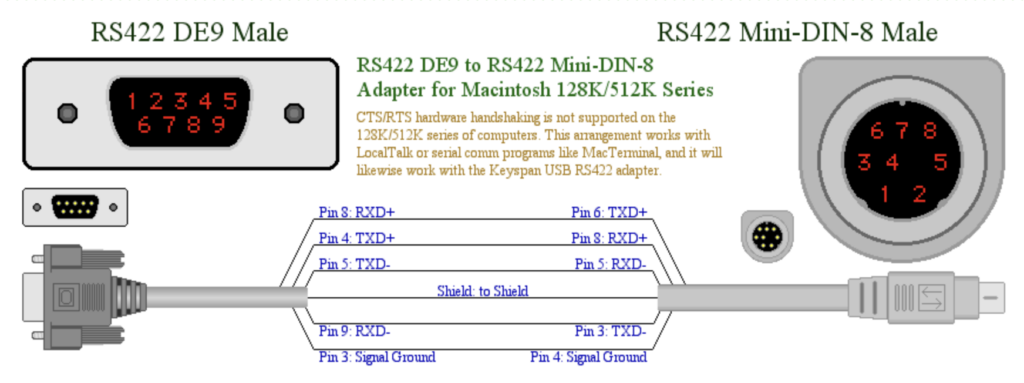
I figured out the pinout from this excellent article and the diagram below.
Original ROM
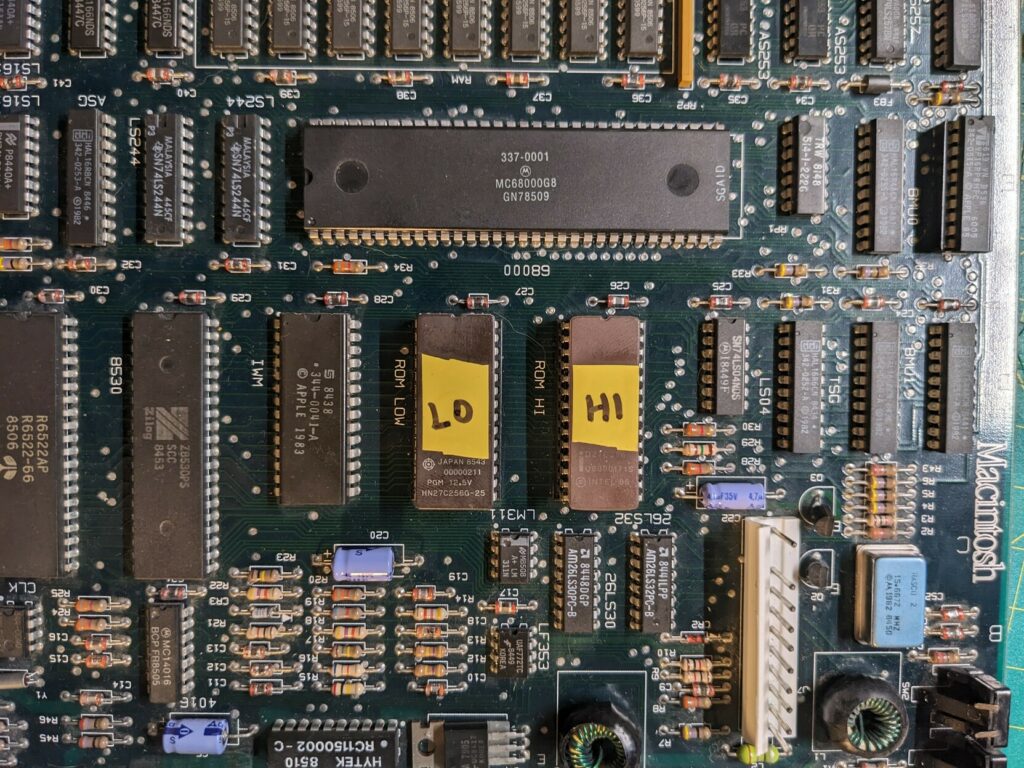
In my effort to experience the original Macintosh through the 512K, it was important to use the same ROM that shipped in January 1984. I discovered these ROMs in my Mac:
- 342-0341-C
- 342-0342-B
These were Macintosh Plus ROMs, which shipped with the Macintosh 512K enhanced (512Ke). The 512Ke had the 800K disk drive and 128K of ROM used in the Macintosh Plus. However, I suspect that my Mac received the 800K floppy and ROM upgrade later, since my model number is M0001W, which is the original 512K, while the 512Ke is model M0001E. In any case, it was time to downgrade.
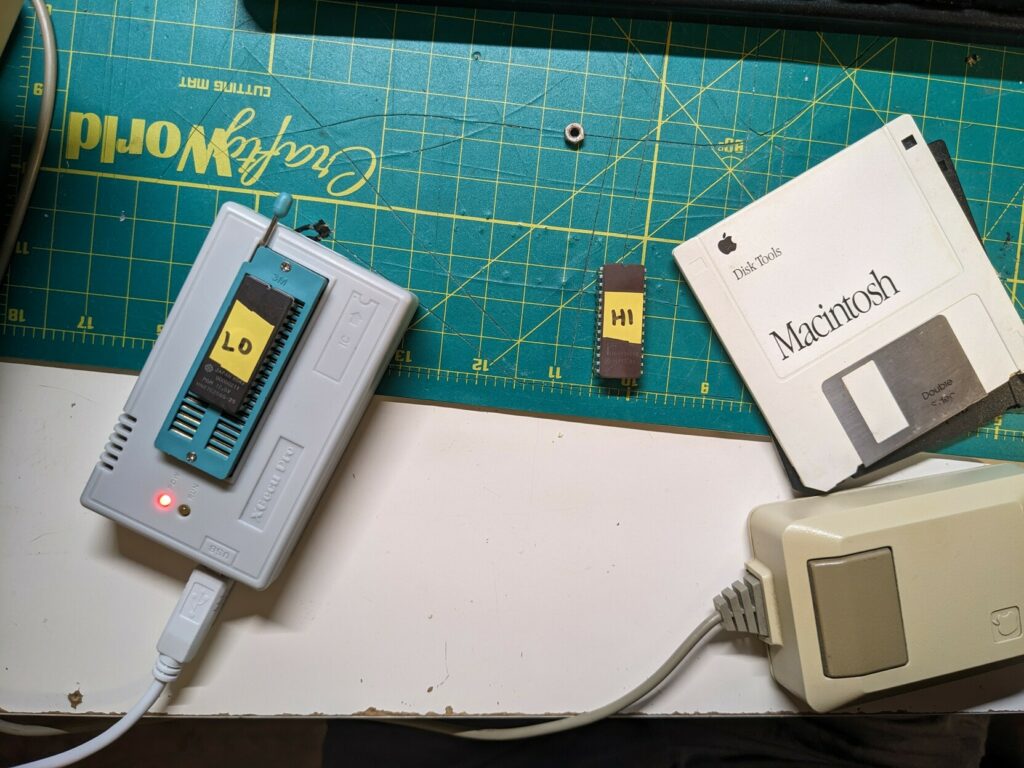
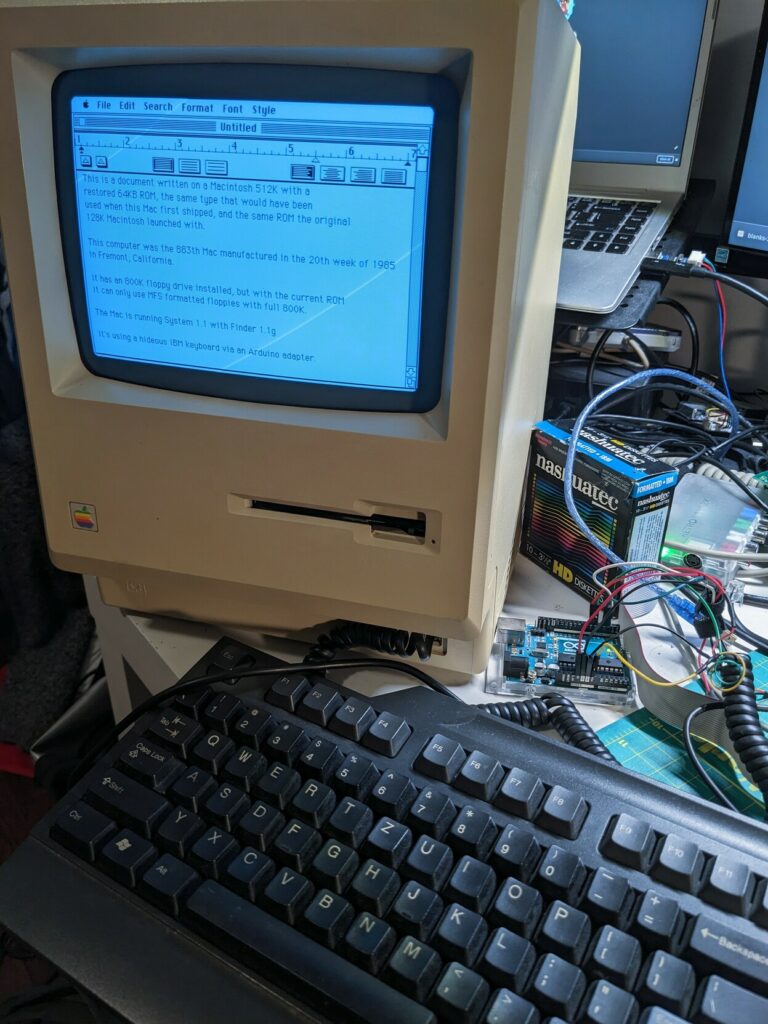
It was easy to downgrade since the ROMs are available on Archive.org. I also had a pair of 27C256 EPROMs perfect for this use. I burned the 64K ROM 28BA61CE. The nomenclature here gets a bit confusing, since the ROM on the 128K and the original 512K was only 64K, while the Plus and the 512Ke had a size of 128K. So you could refer to the Plus ROM as the 128K ROM, and the 128K ROM as the 64K ROM. In any case, how do you know you’ve got the original ROM used on the 128K Mac? One way is to successfully boot the System 0.85 (pre-release) image, which can be found online.
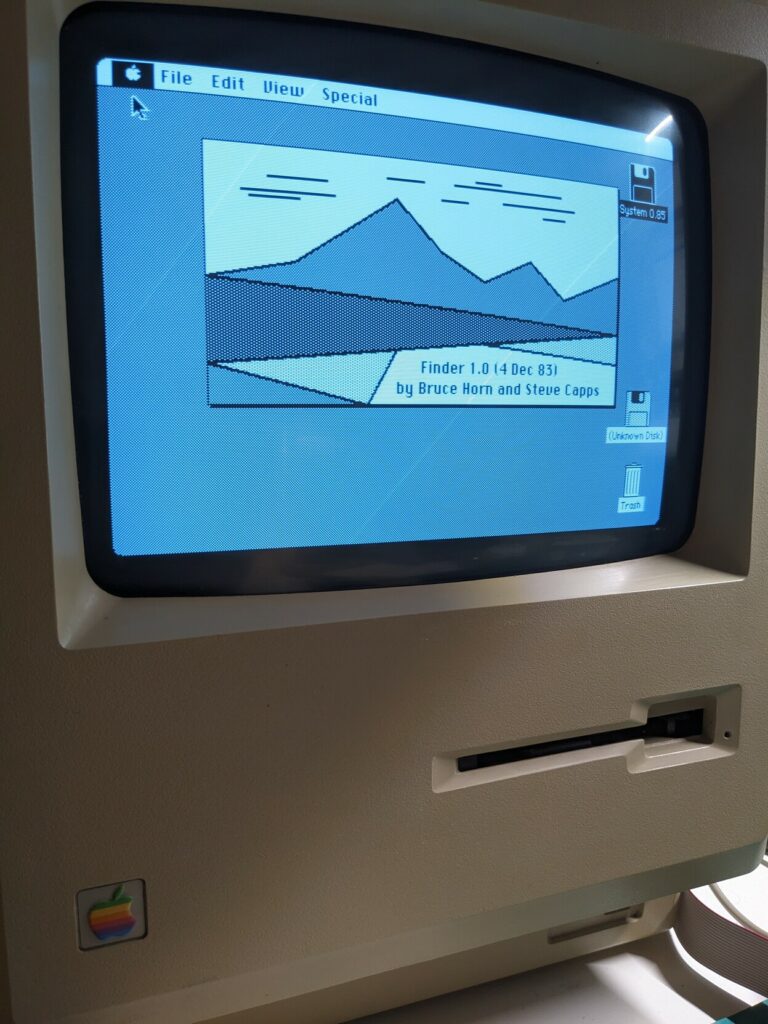
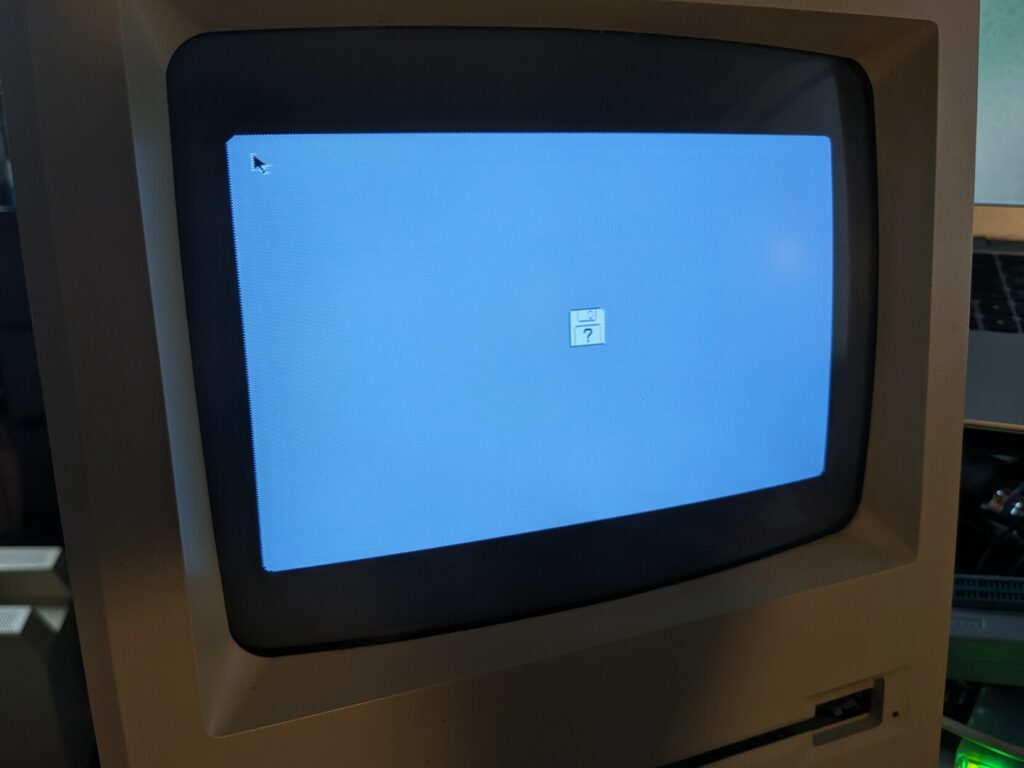
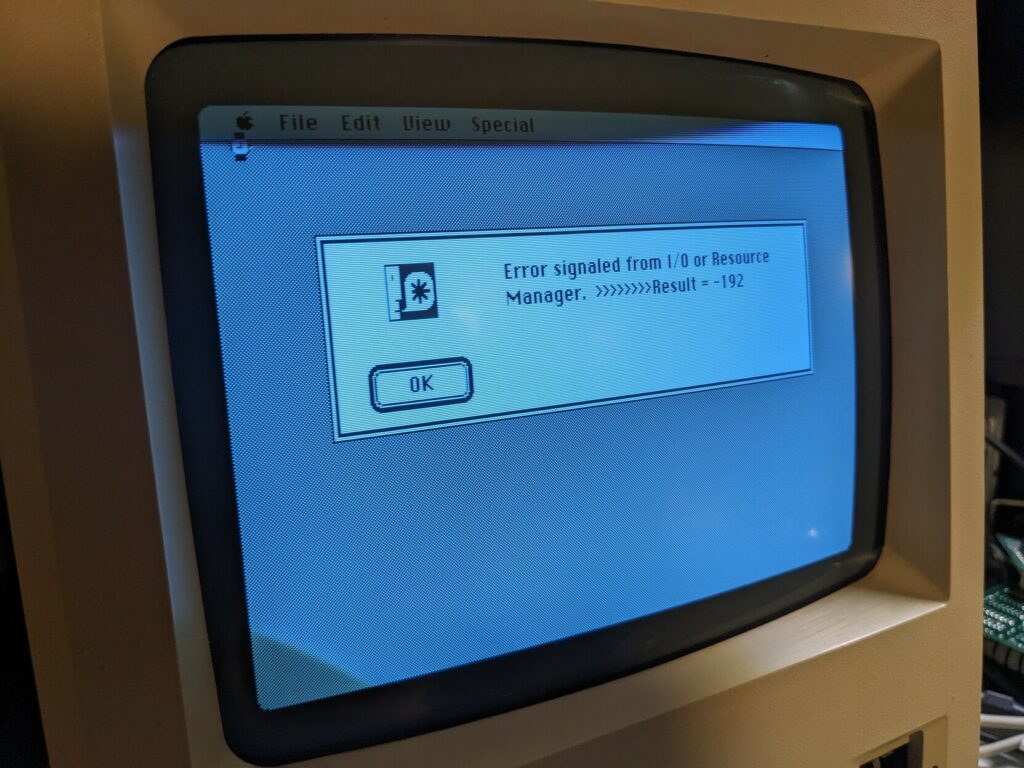
It will boot fine on a 128K/512K ROM. The 512Ke/Plus ROM will fail like this:
Downgrading to 128K (SMC Fat Mac Switcher)
The 128K ROM helped me get closer to that original experience, but I still had 4 times as much RAM. I needed to go deeper. Luckily, just about the time I got my 512K, I came across this video by JDW:
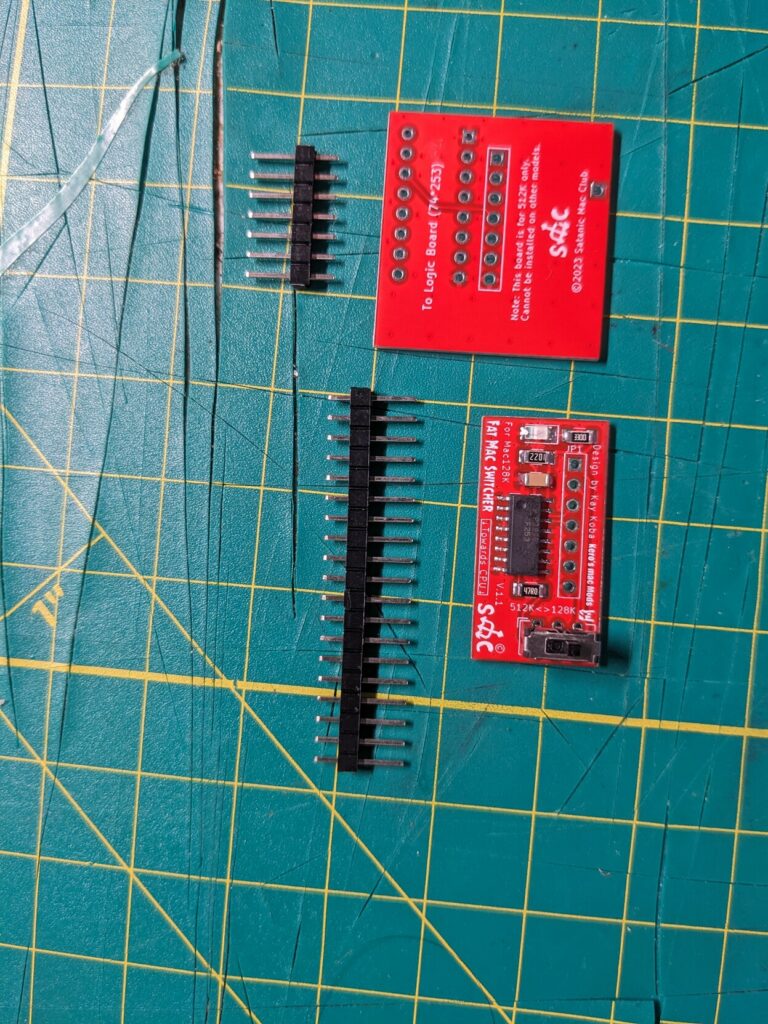
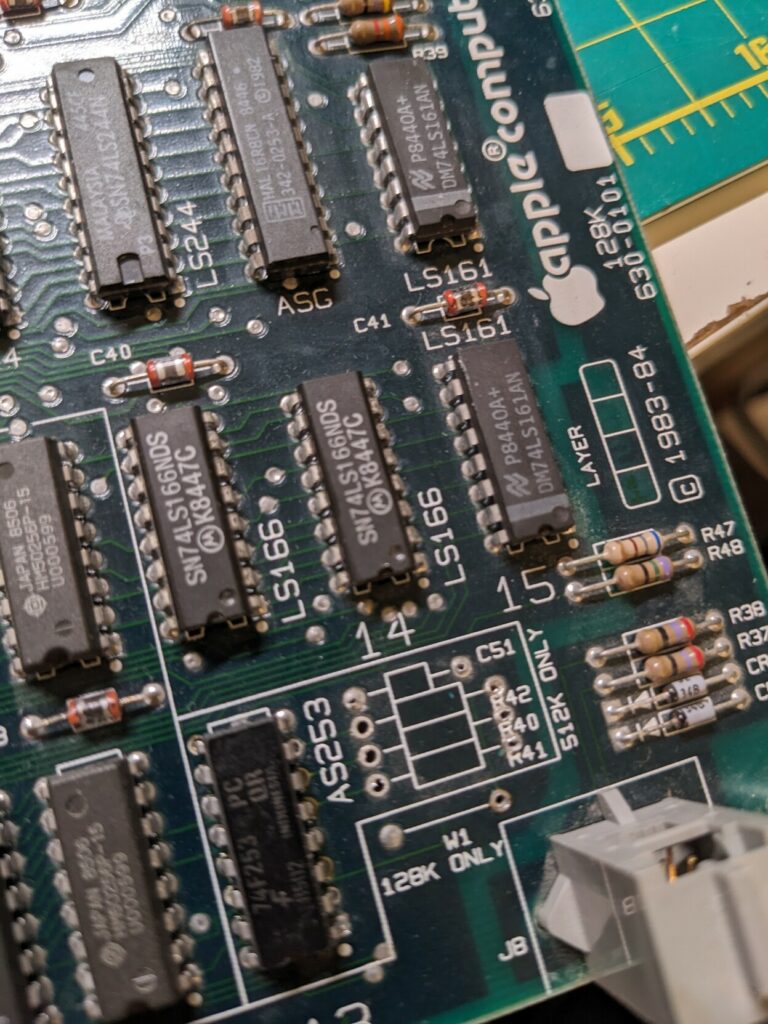
I just love this project. It’s the SMC Fat Mac Switcher by Kay Koba. It lets you switch between 128K and 512K. It was basically made for folks doing silly experiments like me. The board is very simple. It attaches in place of a 74F253 dual 4-input multiplexer and a few resistors. It actually has those on itself in SMD form.

The board is simple, installing is not, since you need to remove the 74F253, and it has a bunch of pins tied to the ground. Desoldering ground pins on a Mac board is painful. You can guess where this story is going. I started by removing the 3 resistors and a single capacitor. That was easy. Then I moved onto the chip. Instead of snapping its legs off immediately, I tried to remove it without damaging it.
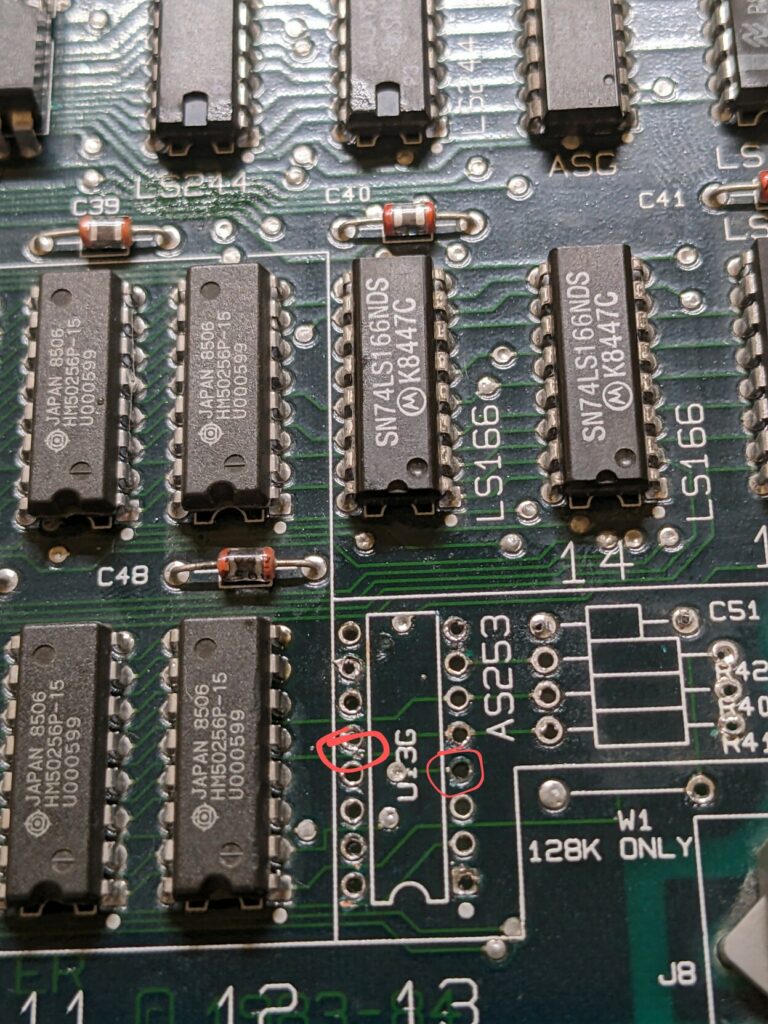
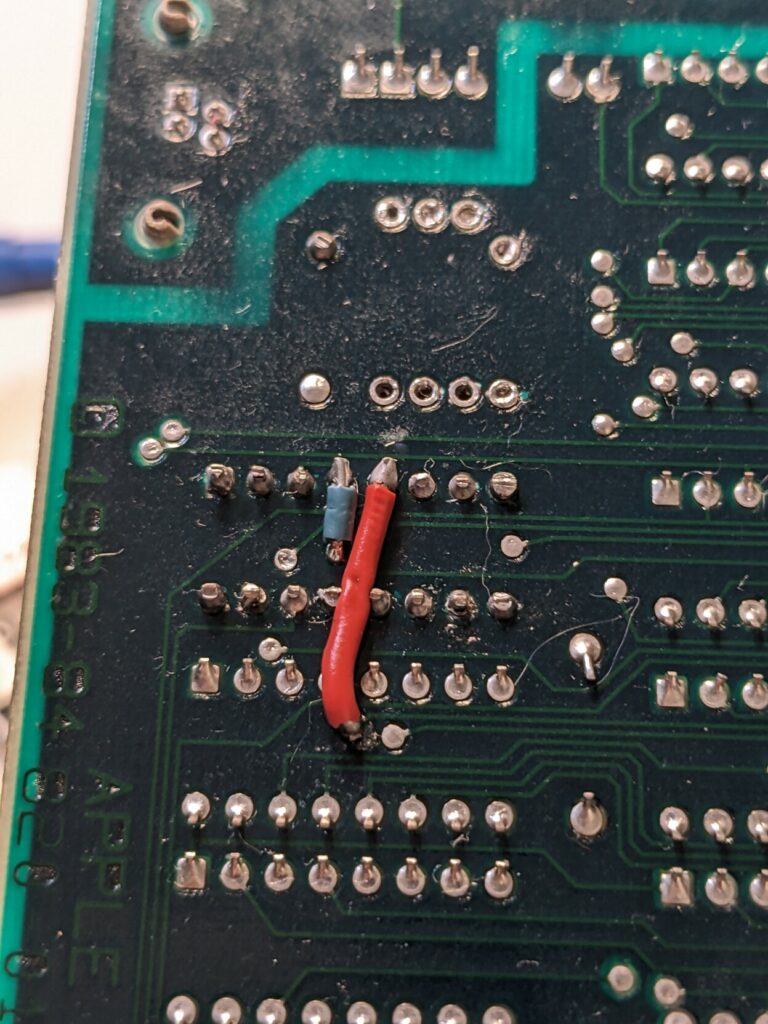
That was a mistake. About 30 minutes into trying to desolder it and failing, I snapped its pins off. But it was still incredibly difficult to get solder out of the ground pins holes. By the time I did, one pad was damaged (5) as well as one trace of pin 4 going to 26LS32. This required some bodge wires unfortunately.


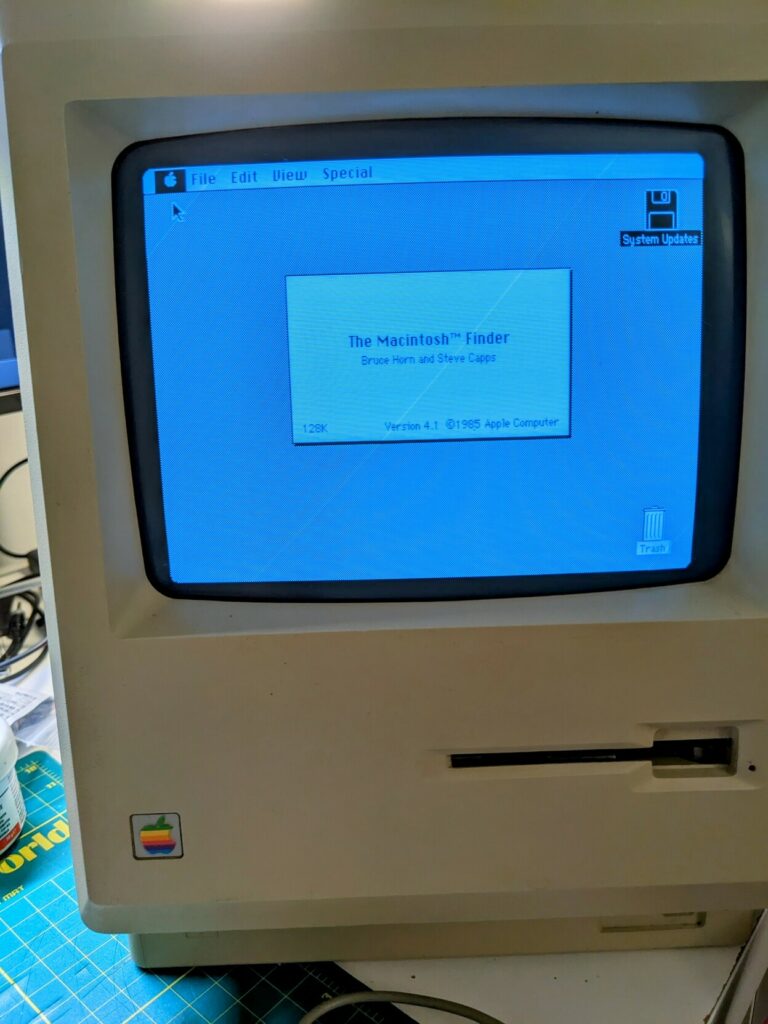
The Fat Mac Switcher goes directly onto the board, but it consists of two parts that can be connected by a cable, for better placement of the switcher. You just toggle the switch to give your Mac 128K or 512K of RAM.
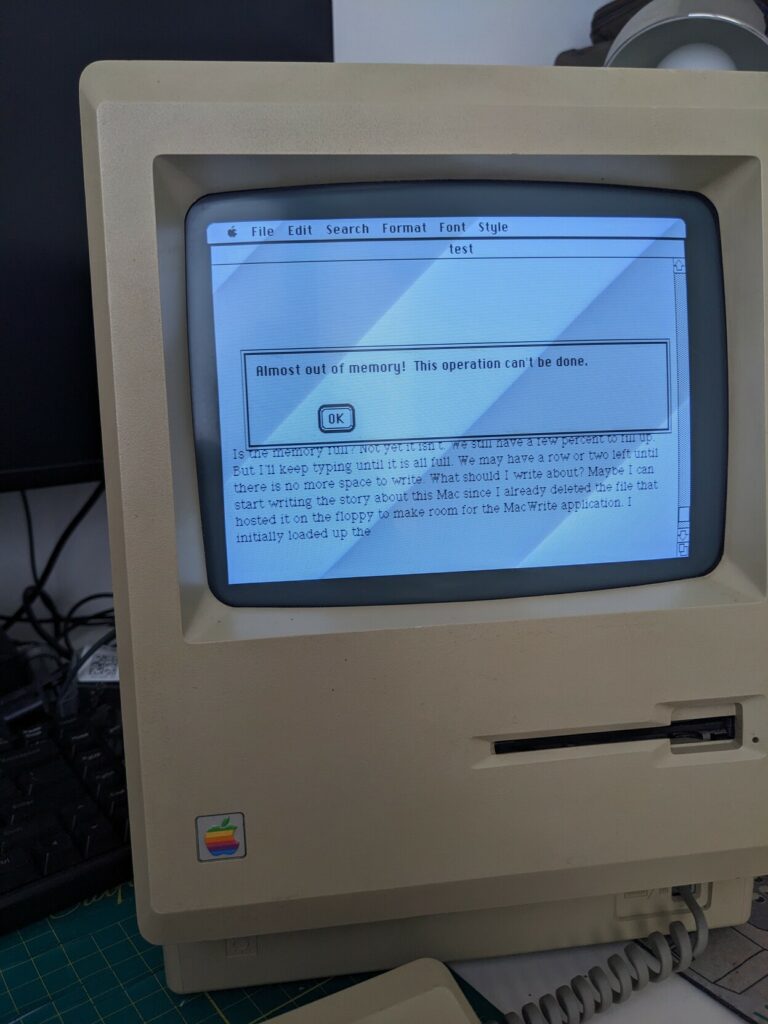
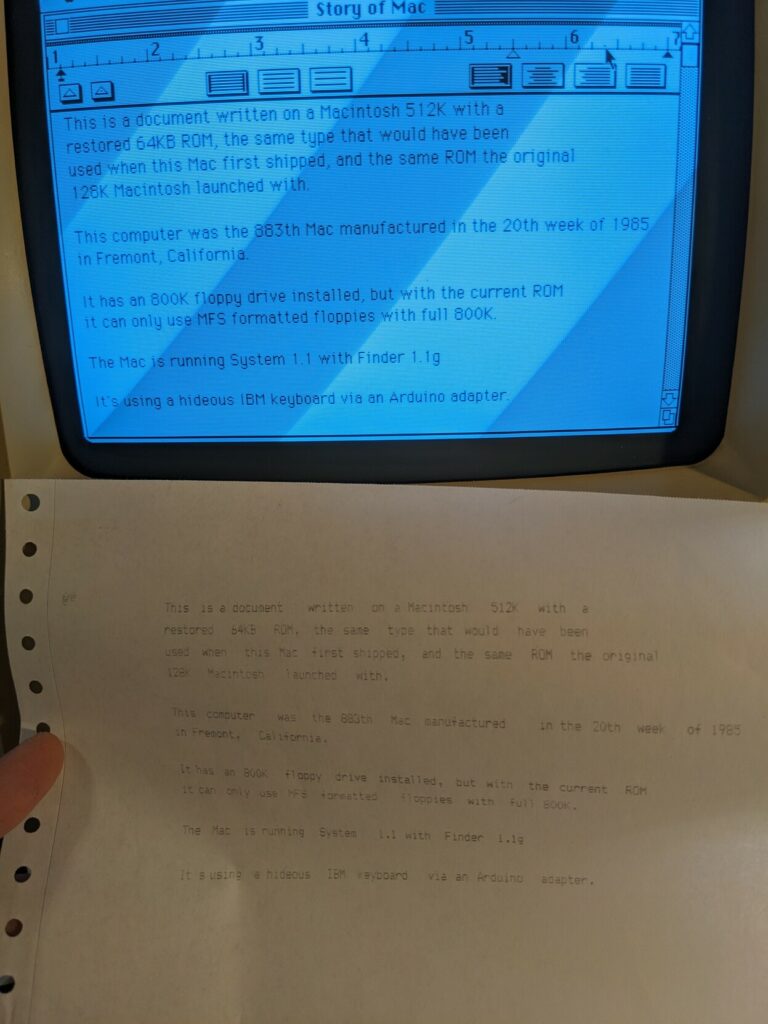
The 128K can really handle only a few pages of text at a time. When saved, it equals to 23KB, all the other memory is used to run the system and MacWrite. Another interesting observation on the Mac 128K memory and ROMs is that if you’re using only 128K of memory with the 512Ke/Plus ROMs, you can’t run any version of Mac paint. However, when you combine 128K with original 64KB 128/512K ROMs, it works fine. I guess it’s a matter of a few less KB of ROM getting loaded into memory.
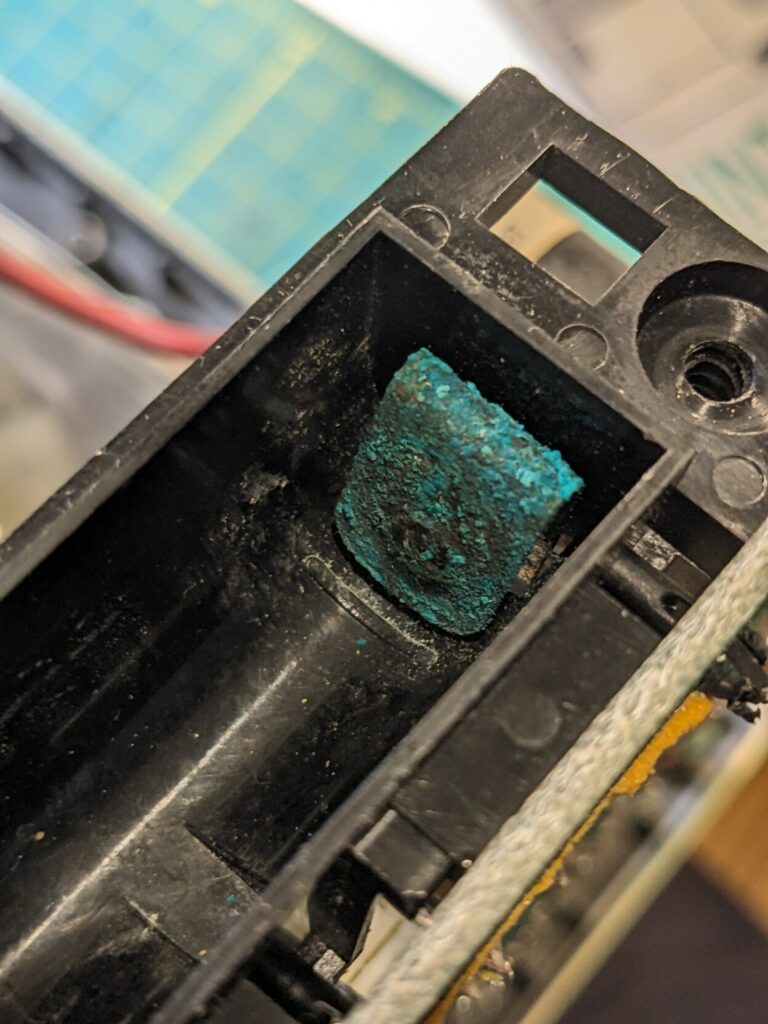
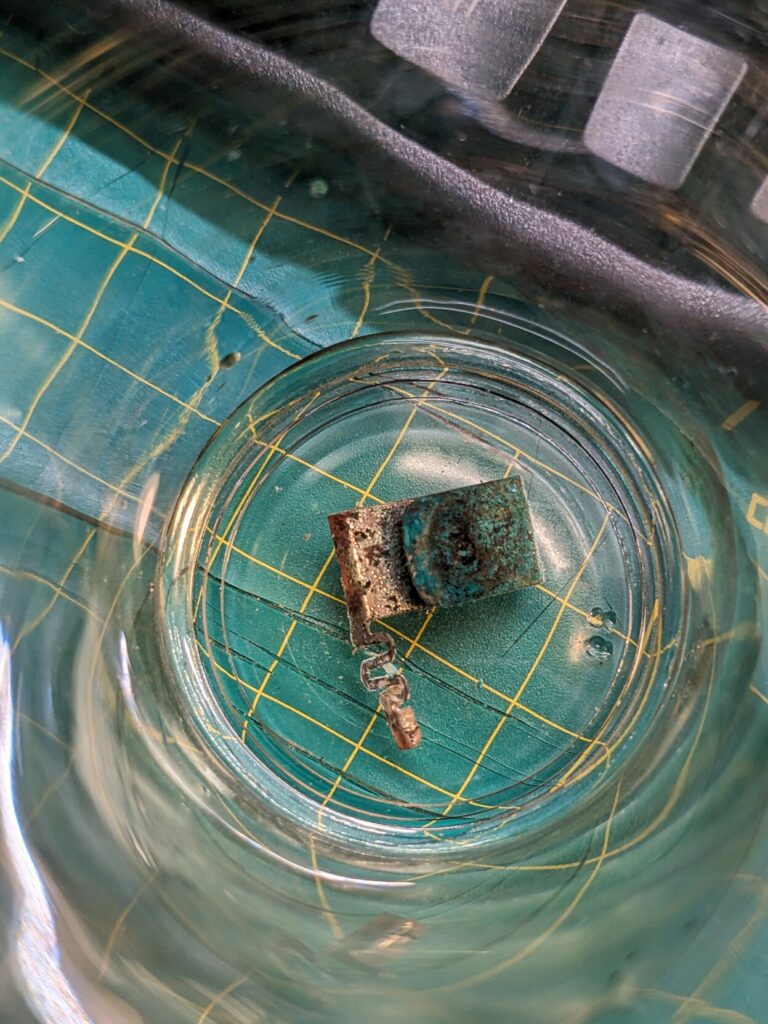
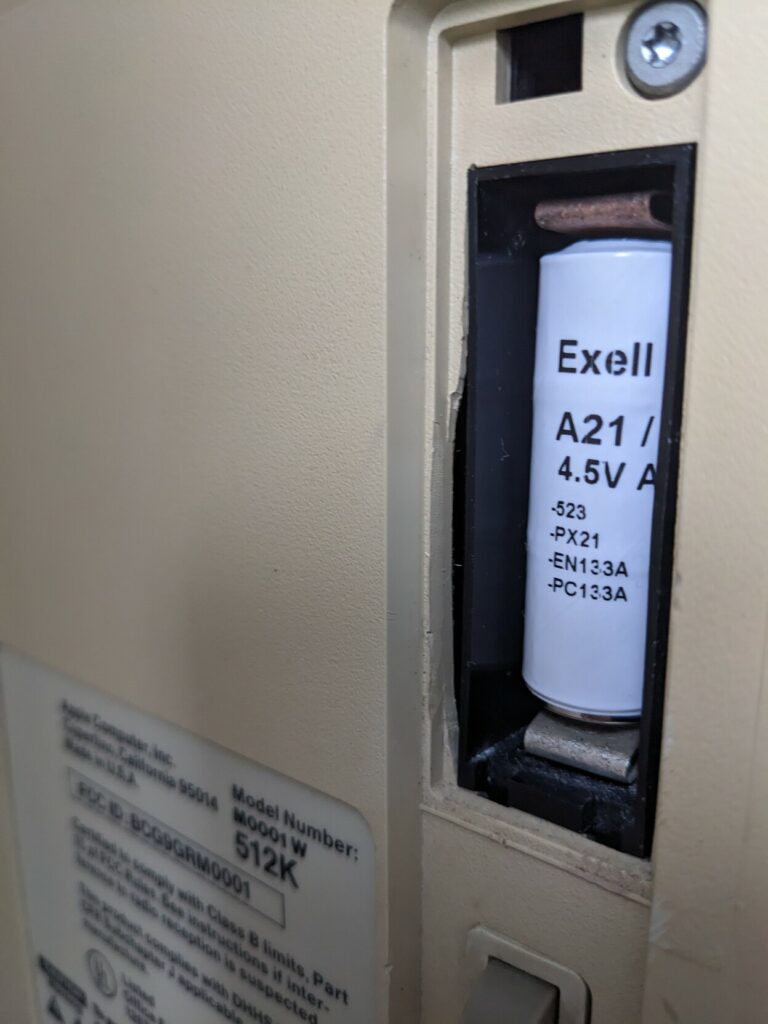
Battery holder cleanup
The 4.5V battery in the analog board leaked at some point. It didn’t really damage anything, but it was nasty and I wanted the computer to keep the time. I cleaned up the holders in vinegar overnight, and then I got a replacement battery.
Upgrading the downgraded computer
After a while playing with my fake 128K, I decided to test out the Dove MacSnap SCSI and memory upgrades. They are not exceedingly rare, I don’t think, but they are interesting. Since the 512K wasn’t built with any upgrades in mind, these extensions literally snap onto existing chips. The memory upgrade snaps onto memory chips (and some logic), while the SCSI upgrade goes into the ROM sockets (and then the ROMs are inserted into the extension. The resulting setup is incredibly tight fitting, but with some care it does fit inside.
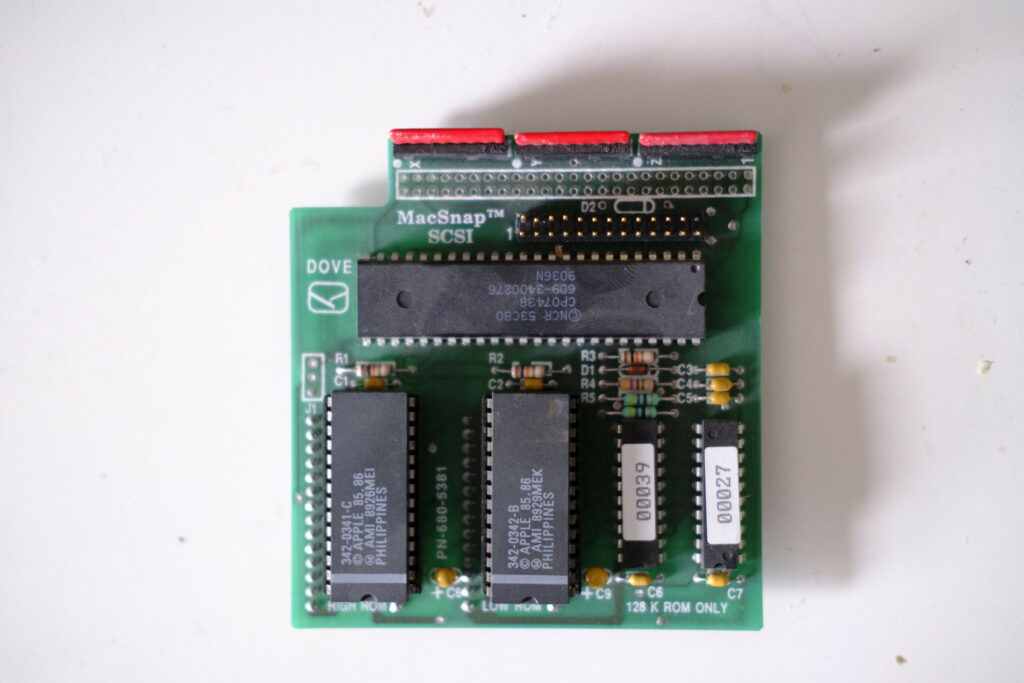
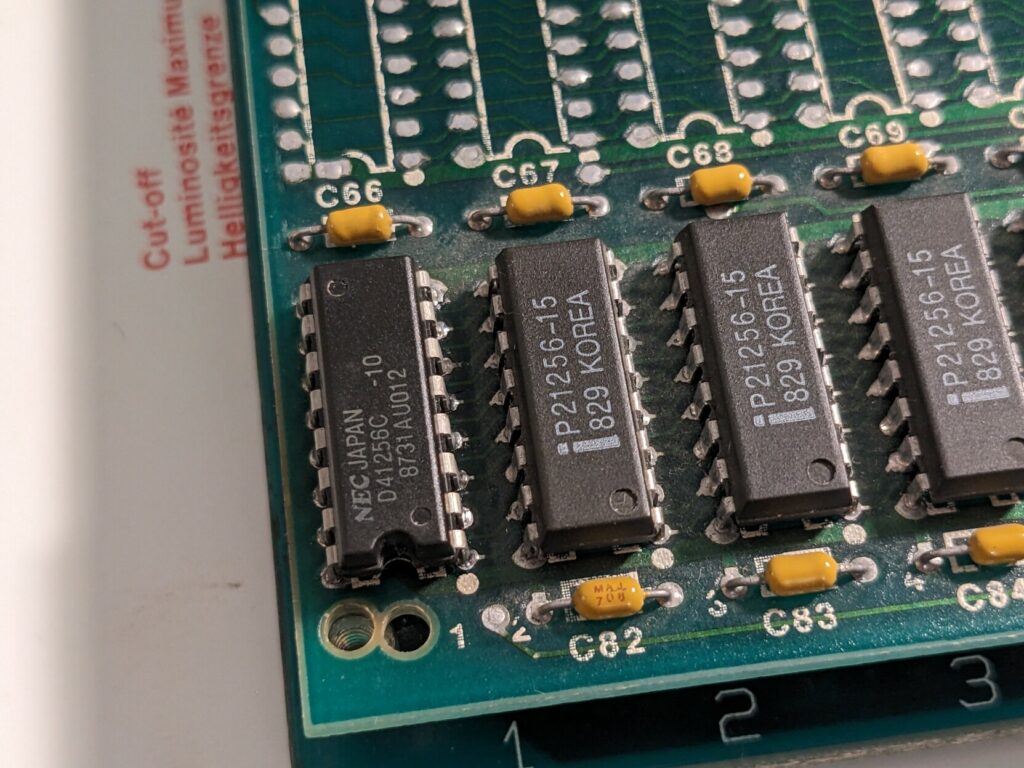
The SCSI extension worked fine with my DB-25 BlueSCSI, though I needed to provide external power to start it up. The memory expansion however was erroring out with a Sad Mac. While you can use error codes to identify bad chips on the 512K board, these errors cannot indicate bad chips on the expansion since the computer is not aware of the expansion board at all. I wasn’t too optimistic about fixing this, since there are 16 chips total (for an upgrade to 1MB). I got some spare memory chips and started by removing the first one. But then I got lucky! I thought I would have to get at least halfway through the 16 memory chips, but the first one did it! I replaced a 21256 with a 41256C. With the upgraded ROM, 800K drive, 1MB of memory and SCSI, this Macintosh 512K is essentially a Plus. For now I’m mostly using it in this form, since it really is more usable than a fake 128K.
Conclusion
And this wraps up my Macintosh 512K project. What started as an attempt to experience the least powerful Mac ever snowballed into one of the most challenging vintage computing projects I’ve tackled (at least until I faced the SE/30, which is an ongoing saga in itself). I made a lot of mistakes along the way, but I did learn quite a bit, not only about how little a Macintosh 128K or even a 512K could do, but also how it did certain things. I really like this machine, and I’ve grown to love its beige aesthetics. While standardization of expansion, ADB and serial ports, RAM SIMMs and other improvements that were made on the Plus and especially the SE make perfect sense, the anachronisms of the 512K are quite charming.