
It’s MARCHintosh! The month when the vintage computing community celebrates the classic Macintosh experience. This MARCHintosh started with a bang – seemingly overnight, the #GlobalTalk network took over Mastodon and soon many of us were networking each other’s disparate home AppleTalk networks into a #GlobalTalk network across continents. We’re still in the middle of the #GlobalTalk craze and I expect to write more about my experience further down the line, but I can already say that this is by far the most fun I’ve had going “On Line” since I was a kid in the late 90s. If you’re curious about #GlobalTalk, look up the hashtag on Mastodon and get started with Paul Rickards’ blog post which documents the essential info to get started. Also check out Andy Diller’s blog for some quick start archives that contain all the software necessary to connect to #GlobalTalk.
Bridging LocalTalk and LToUDP with the help of TashTalk
One of the challenges working with classic Apple networking standards is bridging connections across different networking interfaces, standards and layers. The challenge becomes even more interesting when we want to facilitate communications between real computers and classic Macs running in emulators. Luckily, nowadays there are a number of software and hardware projects that can help. Once I got connected to the #GlobalTalk network using my SE/30 as the Apple Internet Router, I wanted to connect to the network from my Linux PC by using an emulator. I chose Mini vMac due to its support of LocalTalk over UDP (LToUDP) in version 37 beta. However, I first needed to turn the normal LocalTalk connection, accessed over the ModemPort, into LToUDP — this is where the TashTalk comes in.
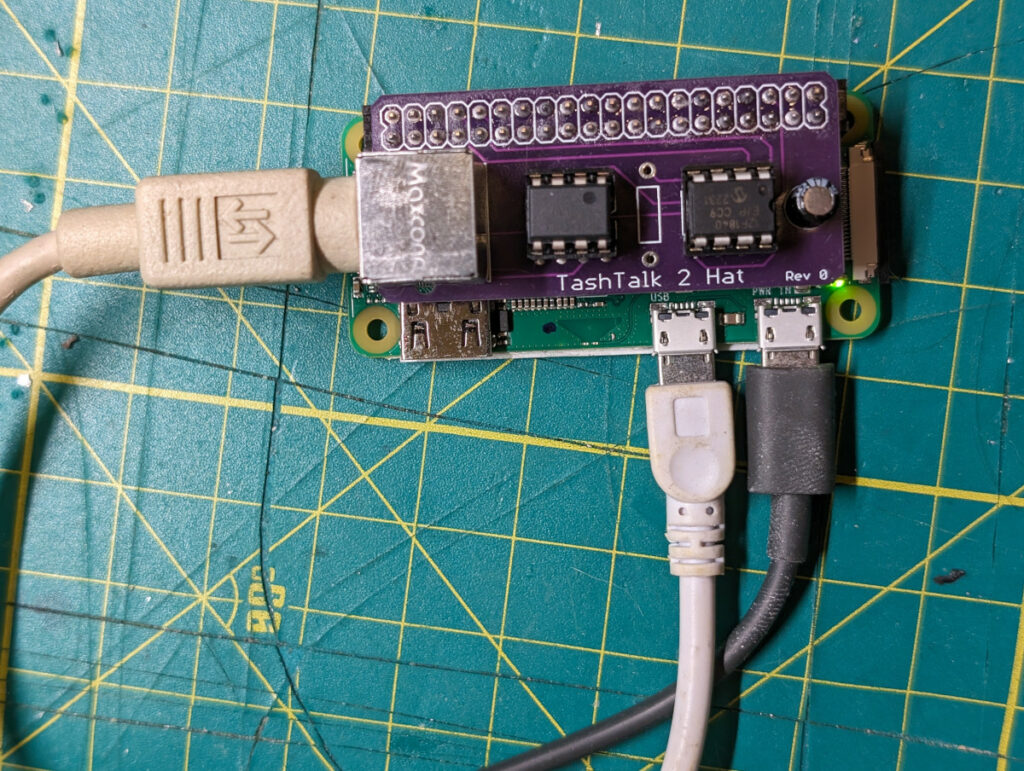
TashTalk 2 Hat is a very simple Raspberry Pi hat that handles turning LocalTalk serial signals into multicast UDP packets that will be picked up by LToUDP enabled clients on the local network TashTalk connects to. TashTalk was developed by tashtari over at 68kmla forums.
Like many other retrocomputing projects, TashTalk has a hardware and a software portion. The hardware consists of a pair of chips (RS422 transceiver and a PIC12F1840), a capacitor, a 40-pin header and a mini DIN connector. I bought a kit from tashtari and it came with a pre-programmed PIC12F1840. All I had to do was solder the components to the board, which only took a few minutes.
TashTalk 2 Hat mounts on top of a Raspberry Pi. I tested it with both a Raspberry Pi 2 and a Raspberry Pi Zero 2. Reportedly TashTalk has issues with WiFi, so I installed mine on a RPi Zero with a USB ethernet dongle.
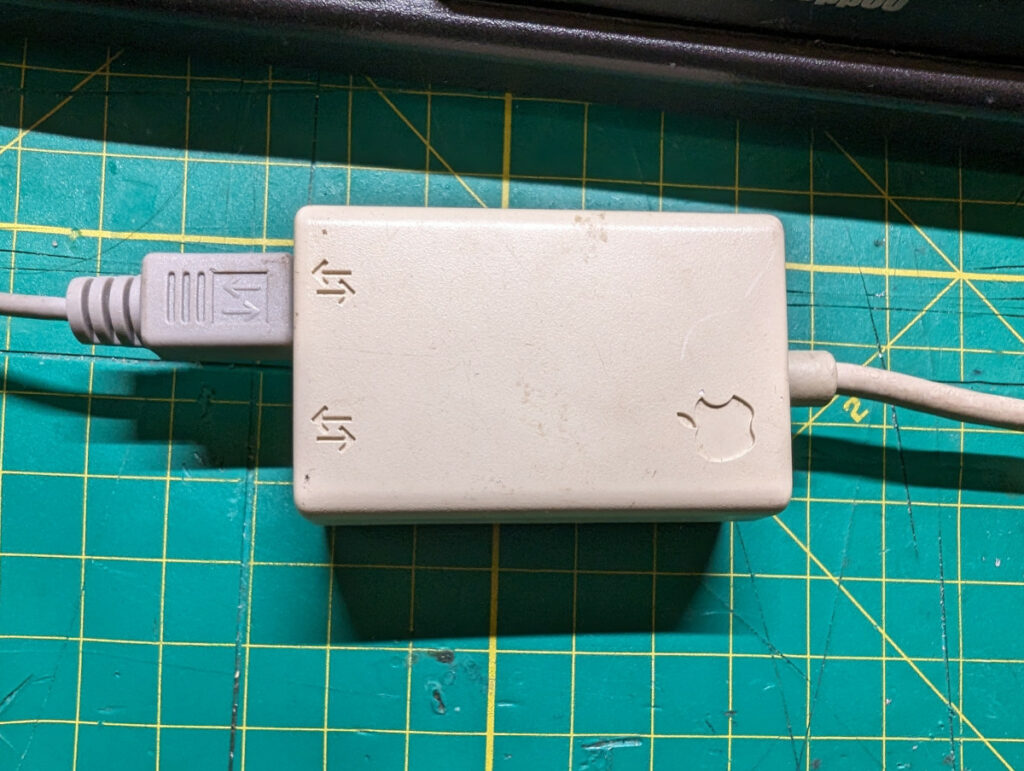
Once you have your hardware assembled, you need to set up the software portion. You will need to place an operating system image on the Raspberry Pi. I used a regular Raspberry Pi OS (formerly Raspbian) image. I connected the Raspberry Pi to my local network over Ethernet, and to my SE/30 with a LocalTalk dongle (note that per tashtari you have to use a LocalTalk or PhoneNet dongle, a serial cable will not work due to the type of transceiver used).
I then proceeded to get the TashTalk software from github by cloning its repo to the Rpi. I then navigated to the tashtalkd folder and ran the program with ./tashtalkd --device /dev/ttyAMA0 -vv &
-vv is just here for added verbosity. Since I was already physically connected to the SE/30 I immediately started seeing LocalTalk traffic:
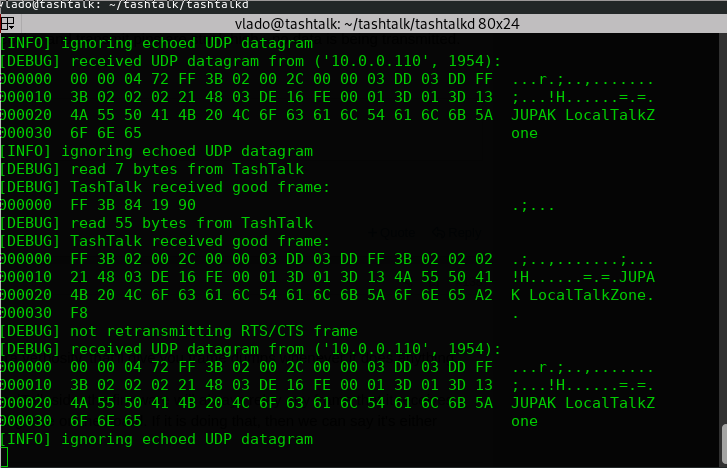
This was fantastic — the TashTalk just worked! The next step, getting Mini vMac to work, was a bit more difficult. Note that you will need to add the tashtalkd command to some kind of startup script unless you want to run it manually each time.
Connecting Mini vMac emulator to SE/30 via TashTalk and LToUDP
Instructions to use a Mini vMac with Localtalk over UDP. These instructions are for generating a beta version of a standard Mini vMac which emulates a Macintosh Plus.
Generate a localtalk enabled Mini vMac executable
- download Mini vMac 37 (Beta) from https://www.gryphel.com/c/minivmac/beta.html
- it’s important to get the beta version because standard version 36 only supports localtalk on OSX
- follow instructions to build vMac: https://www.gryphel.com/c/minivmac/build.html
- first compile the configuration tool
gcc setup/tool.c -o setup_t - generate your setup script with
./setup_t -br 37 -t *YOUR ARCHITECTURE* -lt > setup.sh- for example, a Linux 64 bit is generated with
./setup_t -br 37 -t lx64 -lt > setup.sh
- for example, a Linux 64 bit is generated with
- make your setup script executable (
chmod +x setup.sh) - execute the setup script
./setup.sh - compile the executable with
make
- this will make an executable called
minivmac
- first compile the configuration tool
- place the minivmac executable in a folder with a copy of a Macintosh Plus ROM. You should source this yourself and name it
vMac.ROM - you will also need a working system with AppleTalk support. You can set this up yourself or use a pre-set image like some that you can find here: https://macintoshgarden.org/apps/mini-vmac-ready-go
- you may also find the ROM in some of those files
- I used version Mini_vMac_os_7.5.3_ready_to_go.zip
- make sure you use the Mini vMac executable you generated above with localtalk enabled, not the one attached to the ready-to-go image!
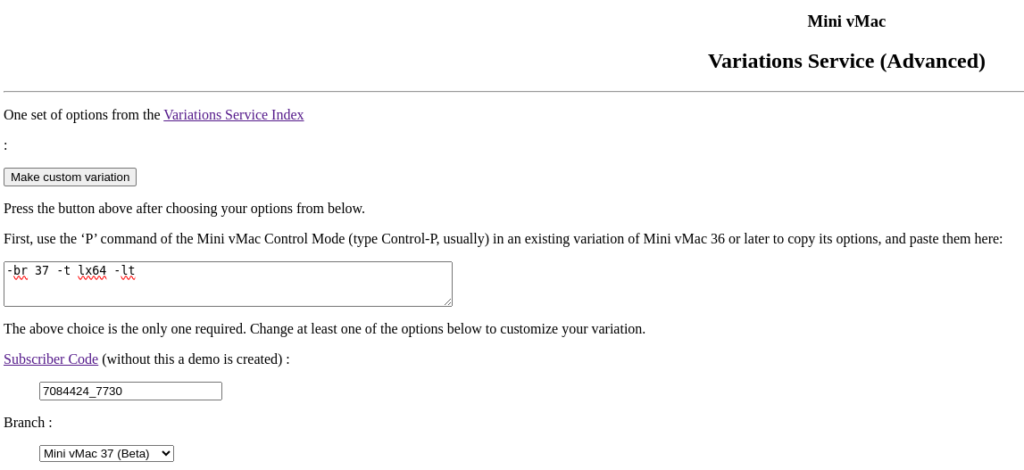
You can also skip manually building your executable. Gryphel.com features a Variations Service where you can build your own vMac based on requirements. Note that by default this service will add a “demo” badge on your build, but you can remove it by the use of a code that is now published on the intro page. If you’re using a 64 bit Linux host, these are the settings you should use for your image:
Here’s a list of all the codes for different host platforms:
{Beta} -t mcar { Macintosh OS X - ARM (Apple Silicon) }
-t mc64 { Macintosh OS X - x86-64 }
-t imch { Macintosh OS X - x86-32 }
-t mach { Macintosh OS X - PowerPC }
-t wx64 { Microsoft Windows - x86-64 }
-t wx86 { Microsoft Windows - x86-32 }
-t lx64 { Linux - x86-64 }
-t lx86 { Linux - x86-32 }
-t lppc { Linux - PowerPC }
-t larm { Linux - ARM }
-t lspr { Linux - SPARC }
-t fb64 { FreeBSD on x86-64 }
-t fbsd { FreeBSD on x86-32 }
-t nb64 { NetBSD on x86-64 }
-t nbsd { NetBSD on x86-32 }
-t oi64 { OpenIndiana on x86-64 }
-t oind { OpenIndiana on x86-32 }
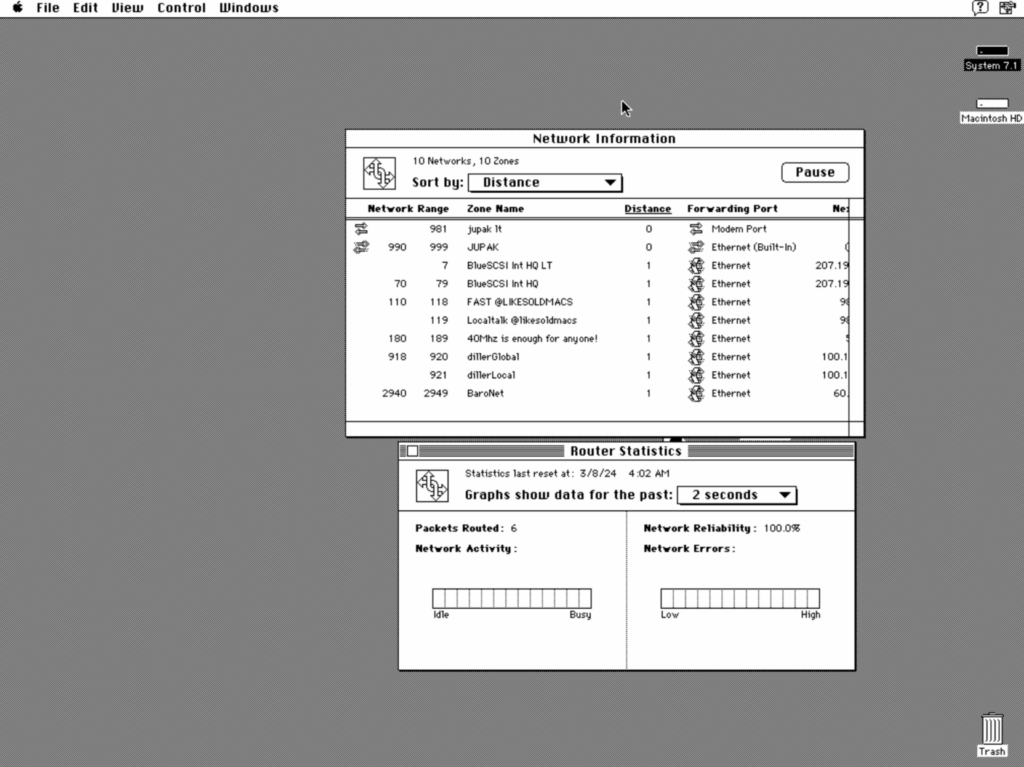
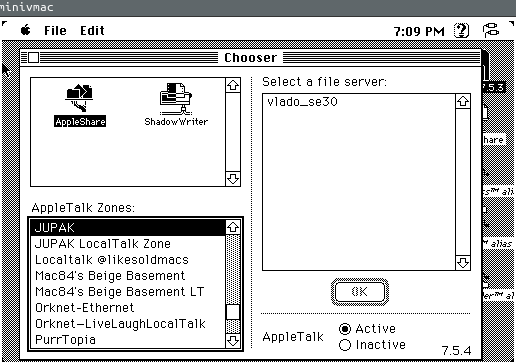
-t wcar { Pocket PC - ARM }Once you have your Mini vMac executable, start it with your image. If your install is ready for AppleTalk, navigating to Chooser will immediately show you all the #GlobalTalk AppleTalk zones your Apple Internet Router computer is connected to:
And that’s it! You can now participate in any of the fun activities folks are doing on the #GlobalTalk network, such as printing to an ImageWriter on another continent, chatting inside a HyperCard application or playing Bolo with friends in different countries.
Note: this is not the only way to join #GlobalTalk from an emulated Mac. I will also publish the instructions on how to use Basilisk II to run your own Apple Internet Router from an emulated machine (though for now I don’t think it’s possible to connect it to other physical machines)